The “acct” or “psacct” are two of the best-known tools for assisting system administrators in keeping track of other users’ activity on their system and what resources are being consumed.
Prior to moving further into the explanation, let me clarify that both of these tools are the same, just known by different names; “acct” is for Debian and Ubuntu, while “psacct” is known for RedHat and Fedora.
Now, this tool (or you can call it a package) holds multiple programs in it. So, when you install it, all those programs together get available on your system, with a daemon that keeps running in the background to monitor user activity, process execution, and system resources.
The following is the list of programs (or commands) that become accessible when you install the “acct” or “psacct” package on your system.
- “
ac“: It will print the statistics on how long users have been connected in hours, - “
lastcomm“: It will show you the list of commands executed by the user. - “
accton“: Allows to turn on/off process for accounting. - “
sa“: Summarize the accounting information.
In summary, this group of command-line programs is best suited to actively monitor the activity of other users, including the resources they have utilized, how long they have been active on the system, and process execution statistics.
So, stick with this article till the end to learn its installation and usage steps with a practical example.
Tutorial Details
| Description | “acct” or “psacct“ |
| Difficulty Level | Low |
| Root or Sudo Privileges | Yes |
| OS Compatibility | Ubuntu, Manjaro, Fedora, etc. |
| Prerequisites | – |
| Internet Required | Yes (for installation) |
How to Install acct or psacct on Linux
As discussed previously in the introduction, both “acct” and “psacct” packages are the same in terms of functionality but known by different names in various Linux distributions. So, to install them on your Linux distribution, you can execute one of the appropriate commands.
#On Debian, Ubuntu, Linux Mint, Pop!_OS, etc.
$ sudo apt install acct

#On RedHat, Fedora, CentOS, AlmaLinux, etc.
$ sudo dnf install psacct

#On Arch, Manjaro, EndeavourOS, etc.
$ sudo pacman -S acct

#On OpenSUSE
$ sudo zypper install acct

#On Alpine Linux
$ sudo apk add psacct
Once the package is installed, the “ac“, “lastcomm“, “accton“, and “sa” commands become available from the terminal, but ensure that the “acct” or “psacct” services are actively running in the background to find out; run the following command.
#For acct package
$ sudo systemctl status acct

#For psacct package
$ sudo systemctl status psacct
If the status is active, then it’s great; otherwise, start the service and enable it to autostart on system boot by executing the following commands:
#For acct package
$ sudo systemctl start acct
$ sudo systemctl enable acct
$ sudo systemctl status acct

#For psacct package
$ sudo systemctl start psacct
$ sudo systemctl enable psacct
$ sudo systemctl status psacct
How to Use acct or psacct in Linux
Let’s learn how to use the “ac“, “lastcomm“, “accton“, and “sa” programs offered by the “acct” or “psacct” package by starting with it.
Check the Statistic of User Connect Time
When you run the “ac” command without any options, it will print the amount of time (in hours) users have been connected to the system:
Users’ status is determined by their login and logout activity. For example, if a user logs in and out twice, with one session lasting 1 hour and the second 30 minutes, the user’s total connected time will be 1.30 hours.
$ acOutput:

Check the Statistic of All User Connect Time
The “-p” option with the “ac” command will print the total login time for each user in hours.
$ ac -pOutput:

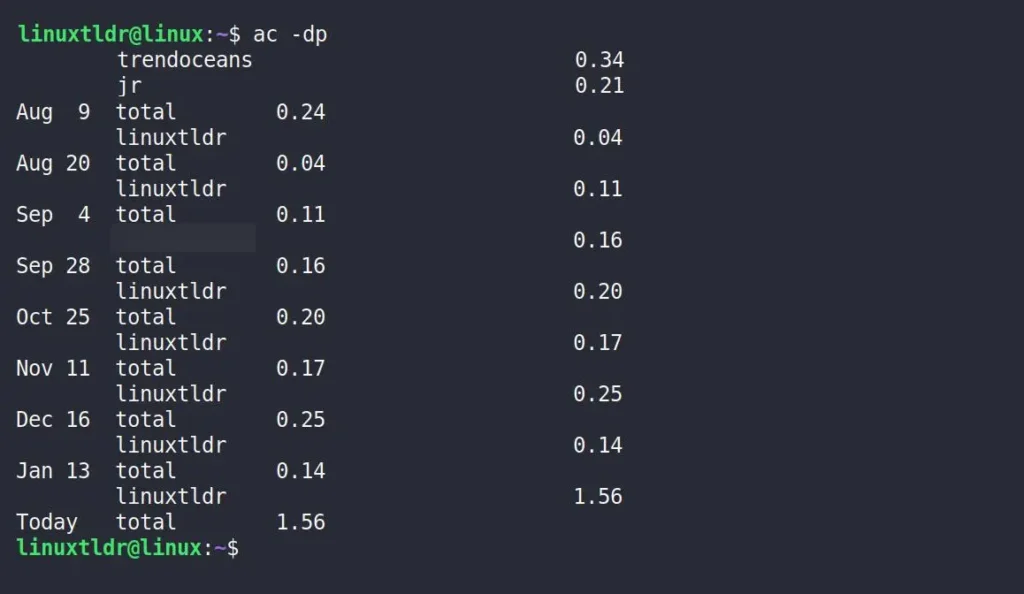
Check the Statistic of Users Day-Wise
The “-d” option with the “acc” command will print out the total login time in hours, day-wise. You can also use the “-p” option to print the username for each entry.
$ acc -dpOutput:

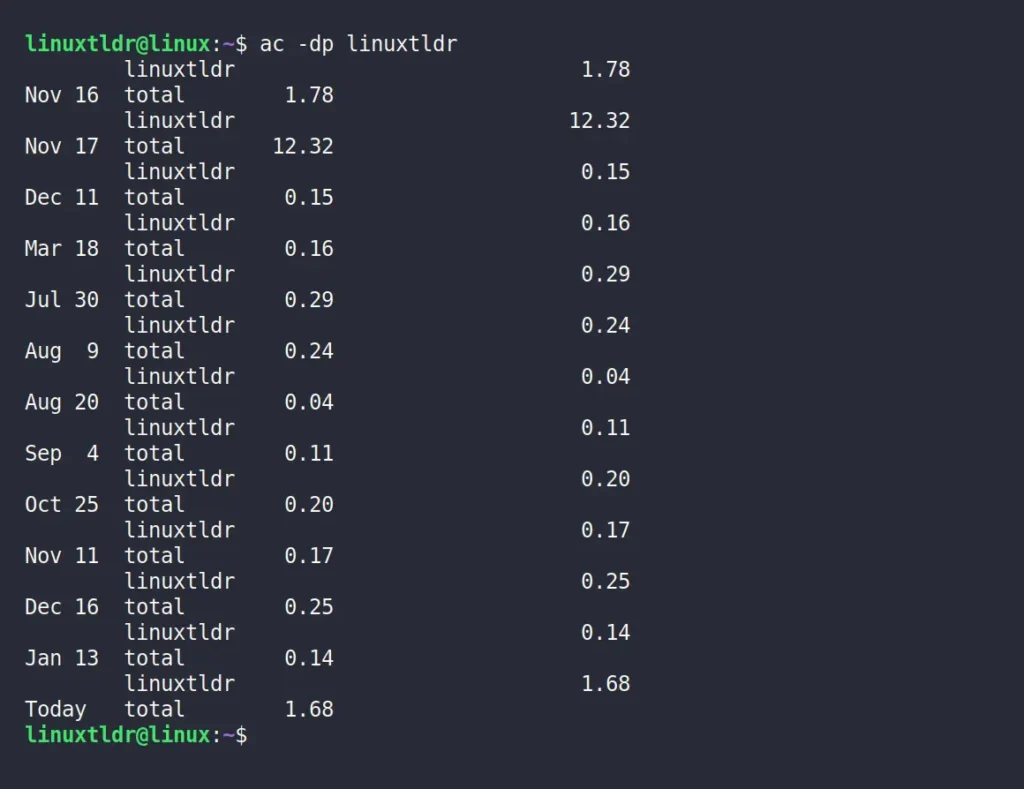
Check the Statistic of Specific Users Day-Wise
Specify the username as an argument to the “ac -dp” command to check their login time in hours per day.
$ ac -dp linuxtldrOutput:

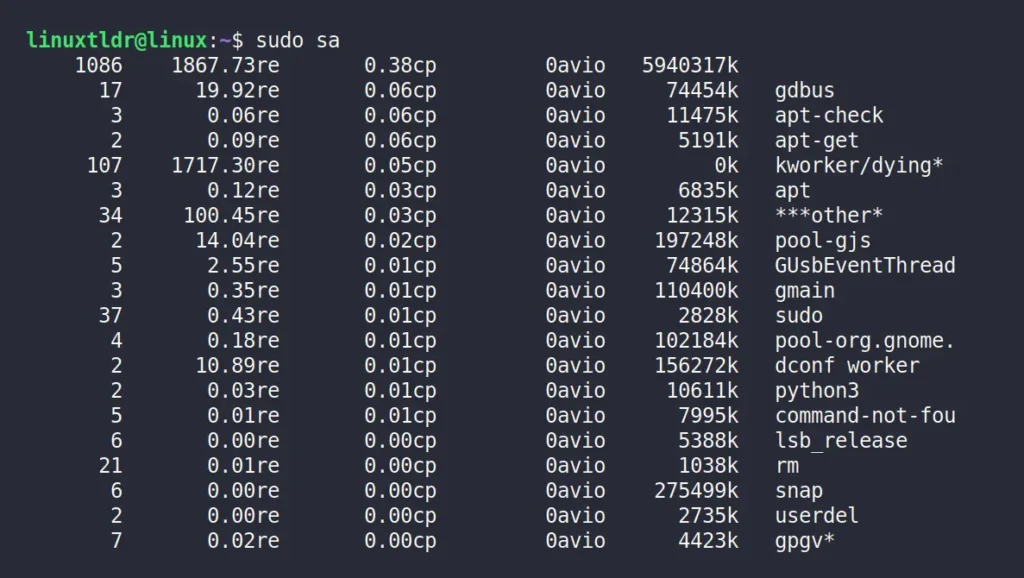
List All Commands Executed by Users
The “sa” command without any options will print all the commands executed by users.
$ sudo saOutput:

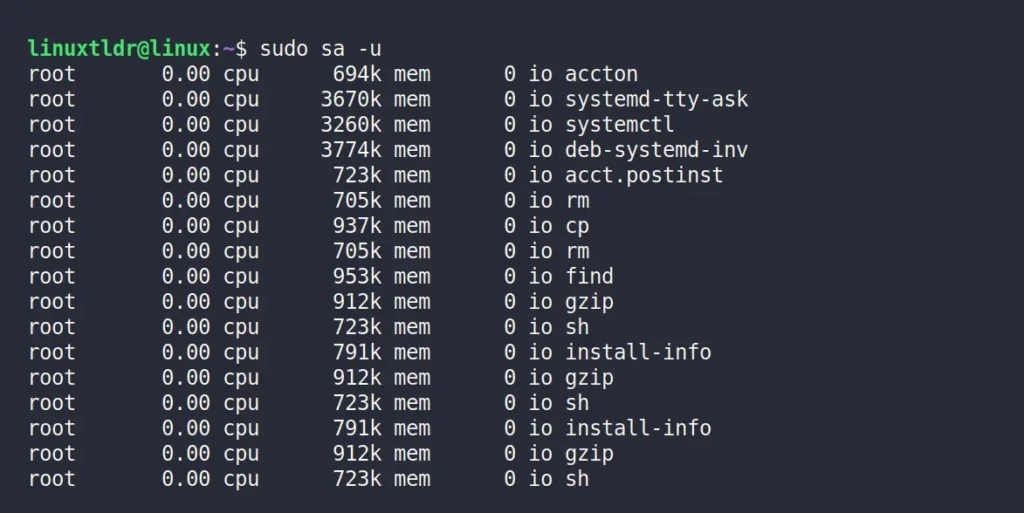
List All Commands Executed by Users With Their Username
Use the “-u” option to print the user-executed commands along with their usernames.
$ sudo sa -uOutput:

List of Resources Recently Used By the User
Use the “-m” option to print the resources recently used per user, which include the total number of processes and CPU minutes.
$ sudo sa -mOutput:

List the Last Executed Commands of the User
The “lastcomm” command is used to print the record of all commands executed by users. Running this command without any options will list all user records, but individual user records can be printed by assigning their username as a parameter.
$ sudo lastcomm
$ sudo lastcomm linuxtldr
Output:

As you can see, this command is so useful for system administrators to monitor user activity on the system; I suggest checking its manual page to learn more.
If you have any questions or queries, do let me know in the comment section.
Till then, peace!


