Look at the following command and tell me what each part of it does:
$ find . -type f -printf '%s %p\n' | sort -nr | head -10 | numfmt --to=iec-i --suffix=B --format="%.3f"You might be full of confidence if you are a pro Linux user, but things are not that easy for beginners, and even for advanced users, there will be some commands that put them in a loop of confusion.
Now, you might be thinking there are two ways to break down the above command: first, by directly searching for it on the internet, and second, by manually checking each part of the command on the manual page.
For now, we will keep the first way aside (because you will rarely find the command’s explanation on the internet); however, the second way, manually checking on the manual page, can be too boring, mentally painful, and time-consuming for a Linux user.
But what if I told you that there is an amazing web-based tool known as ExplainShell, an alternative to the traditional manual page, that can quickly decode each part of the specified commands and give you a beautiful hierarchy with an explanation of each part?
What is ExplainShell?
ExplainShell is a web-based tool that helps you by providing a detailed explanation of each part of a command in a beautiful hierarchy with its usage.
It contains the 29761 parsed manual pages from sections 1 and 8 found in Ubuntu’s manpage repository, covering most of the commands that you might ever search for.
How to Use the ExplainShell
Since ExplainShell is a web-based tool, you can easily head over to the site and start making queries for commands you are interested in.
For example, we will take the example of the previous commands stated at the beginning of this article:
$ find . -type f -printf '%s %p\n' | sort -nr | head -10 | numfmt --to=iec-i --suffix=B --format="%.3f"Open the ExplainShell web portal by clicking on the following button:
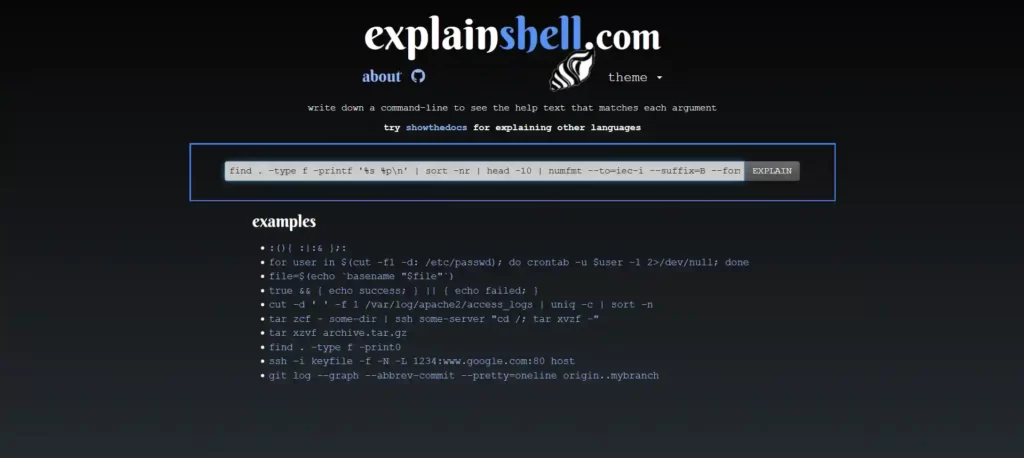
And then copy and paste the above command in the input field, and click on submit.

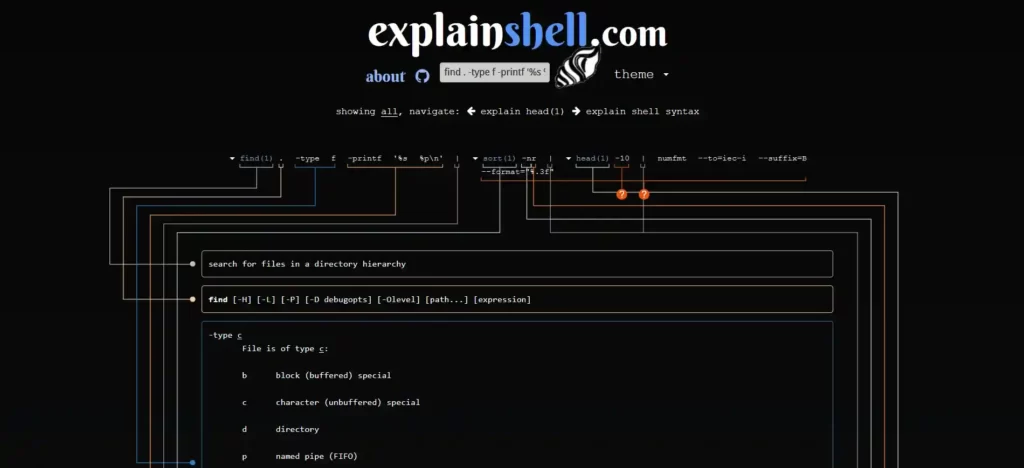
Now it will pull all the information related to each part of the specified command, and once it is finished, it will display their explanation one by one in a beautiful hierarchy, as shown.

As you can see in the above picture, the explainshell decoded each part of the defined command and displayed each part with a detailed explanation that you can explore by scrolling down.
How to Run the ExplainShell Locally
If you do not have proper access to the internet or lack it due to any unknown reason, then you can easily setup this tool locally using docker and docker-compose by following each of the following steps one by one.
1. Clone the explainshell github repository in your current working directory.
$ git clone https://github.com/idank/explainshell.git2. Jump into the cloned directory.
$ cd explainshell/3. Execute the following commands one by one to run the explainshell Docker image.
$ sudo docker-compose build
$ sudo docker-compose up
Wait for a few minutes until the image is being pulled, and once it is finished, it will launch the local web server running at “http://0.0.0.0:5000“, but before browsing this URL, you need to import the man pages using the following command:
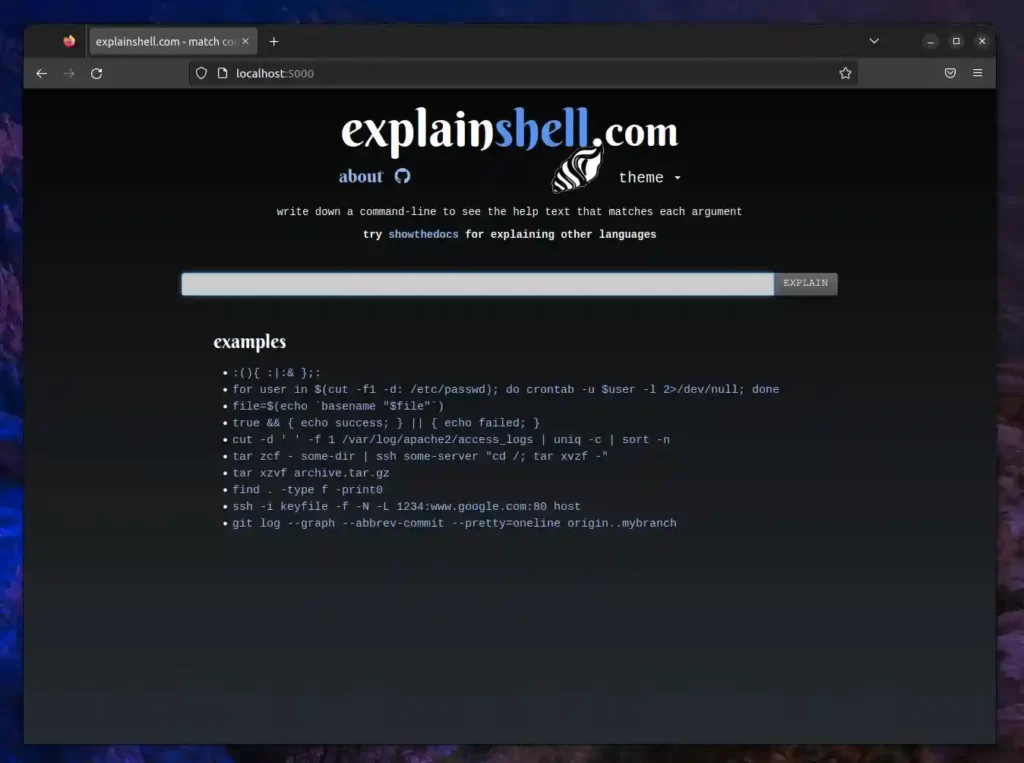
$ docker exec explainshell_web_1 bash -c "PYTHONPATH=. python explainshell/manager.py --log info /usr/share/man/man1/cp.1.gz"Lastly, open your favorite browser and point to “http://0.0.0.0:5000” or “http://localhost:5000“, and then you will be interacted with by the explainshell web portal, as shown.

That’s all for now.
I’ve been using this tool for a long time and have not encountered any issues that should be mentioned in this article.
However, if you are facing any issues or errors while using this tool, feel free to tell us in the comment section.


