
Tiny Tiny RSS (also known as TT-RSS) is a free, open-source, and highly customizable web-based RSS reader that you can set up on your local machine or on your server using Docker.
It’s quite an unrecognizable RSS reader, but I find it way better compared to other alternatives. It allows you to create your own personal library of RSS feeds without any limitations.
If you didn’t like the UI, don’t worry; you have a number of other themes, including Feedly and our beloved Google Reader, that you can easily set up. It even provides features through a plugin that are unavailable in other premium RSS readers.
In this article, I’ll show you how you can set up Tiny Tiny RSS on your PC using Docker, set up themes, install plugins, and provide a few usage examples.
Tutorial Details
| Description | Tiny Tiny RSS |
| Difficulty Level | Low |
| Root or Sudo Privileges | No |
| OS Compatibility | Linux, Windows, and macOS |
| Prerequisites | – |
| Internet Required | Yes |
How to Setup Tiny Tiny RSS Using Docker
The installation method I’ll show you uses Docker as a base because it’s quite easy to manage, and you can perform the same steps on your Linux, Windows, and macOS.
I won’t show you Docker’s installation steps because it would lengthen this article, and we already have a separate article on installing Docker on Linux. Windows users can refer to this link, and macOS users can refer to this link.
I assume you now have Docker installed on your system. Now, create a “ttrss” directory and move into it. If you’re using a Linux or macOS machine, you can use the following command:
$ mkdir ~/ttrss && cd ~/ttrssNext, create a “.env” file using your choice of text editor (for me, it’s Nano).
$ nano .envNow, you need to copy-paste the following template into this file. But before that, ensure to change the value of “ADMIN_USER_PASS” to your desired password (highlighted in green below), and if you wish, you can also create a non-admin user by uncommenting the line (in red) below and specifying their username and password.
# Put any local modifications here.

# Run FPM under this UID/GID.
# OWNER_UID=1000
# OWNER_GID=1000

# FPM settings.
#PHP_WORKER_MAX_CHILDREN=5
#PHP_WORKER_MEMORY_LIMIT=256M

# ADMIN_USER_* settings are applied on every startup.

# Set admin user password to this value. If not set, random password will be generated on startup, look for it in the 'app' container logs.
ADMIN_USER_PASS=changeme

# Sets admin user access level to this value. Valid values:
# -2 - forbidden to login
# -1 - readonly
#  0 - default user
# 10 - admin
ADMIN_USER_ACCESS_LEVEL=10

# Auto create another user (in addition to built-in admin) unless it already exists.
#AUTO_CREATE_USER=
#AUTO_CREATE_USER_PASS=
#AUTO_CREATE_USER_ACCESS_LEVEL=0

# Default database credentials.
TTRSS_DB_USER=postgres
TTRSS_DB_NAME=postgres
TTRSS_DB_PASS=password

# You will likely need to set this to the correct value - it should point to external tt-rss URL as seen in your browser.
TTRSS_SELF_URL_PATH=http://example.com/tt-rss

# You can customize other config.php defines by setting overrides here. See tt-rss/.docker/app/Dockerfile for complete list. Examples:

# TTRSS_PLUGINS=auth_remote
# TTRSS_SINGLE_USER_MODE=true
# TTRSS_SESSION_COOKIE_LIFETIME=2592000
# TTRSS_FORCE_ARTICLE_PURGE=30
# ...

# Bind exposed port to 127.0.0.1 to run behind reverse proxy on the same host. If you plan expose the container, remove "127.0.0.1:".
HTTP_PORT=127.0.0.1:8280
#HTTP_PORT=8280
Once done, save and close the file, then create another file named “docker-compose.yml” using your preferred text editor (for me, it’s Nano again).
$ nano docker-compose.ymlHere, you just need to copy-paste the following lines into this file without any modifications.
version: '3'

services:
  db:
    image: postgres:15-alpine
    restart: unless-stopped
    env_file:
      - .env
    environment:
      - POSTGRES_USER=${TTRSS_DB_USER}
      - POSTGRES_PASSWORD=${TTRSS_DB_PASS}
      - POSTGRES_DB=${TTRSS_DB_NAME}
    volumes:
      - db:/var/lib/postgresql/data

  app:
    image: cthulhoo/ttrss-fpm-pgsql-static:latest
    restart: unless-stopped
    env_file:
      - .env
    volumes:
      - ./html:/var/www/html
      - ./config.d:/opt/tt-rss/config.d:ro
    depends_on:
      - db

  updater:
    image: cthulhoo/ttrss-fpm-pgsql-static:latest
    restart: unless-stopped
    env_file:
      - .env
    volumes:
      - ./html:/var/www/html
      - ./config.d:/opt/tt-rss/config.d:ro
    depends_on:
      - app
    command: /opt/tt-rss/updater.sh

  web-nginx:
    image: cthulhoo/ttrss-web-nginx:latest
    restart: unless-stopped
    env_file:
      - .env
    ports:
      - ${HTTP_PORT}:80
    volumes:
      - ./html:/var/www/html:ro
    depends_on:
      - app

volumes:
  db:
  app:
  backups:
Finally, save and close the file, and then execute the following command to pull the required Docker images defined in the Docker Compose file and start the Docker container in detached mode.
$ docker compose pull && docker compose up -dThat’s it! Tiny Tiny RSS is now successfully installed and configured on your PC.
Usage of Tiny Tiny RSS
Once you have it installed on your system, you can open your favorite browser, either Chrome or Firefox, and visit the following link to access the Tiny Tiny RSS dashboard.
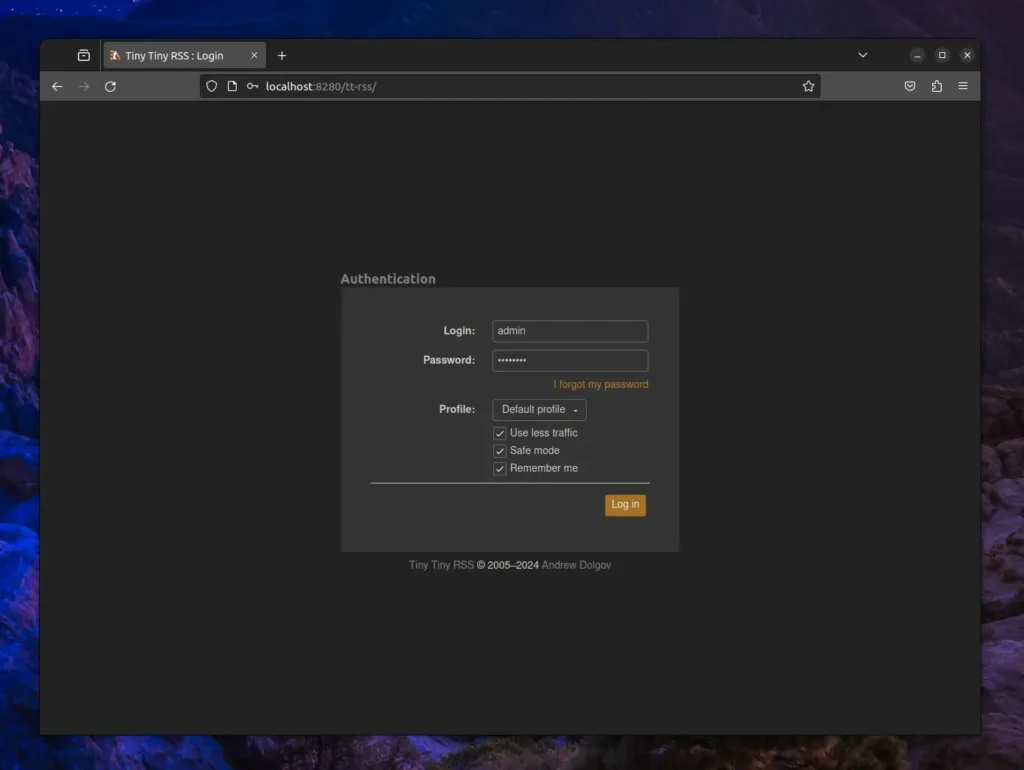
http://localhost:8280When you visit the above link, you will be redirected to the following Tiny Tiny RSS login page where you can enter the username as “admin” and password, which you specified in the “.env” file (if you haven’t changed it, then the default password is “changeme“).
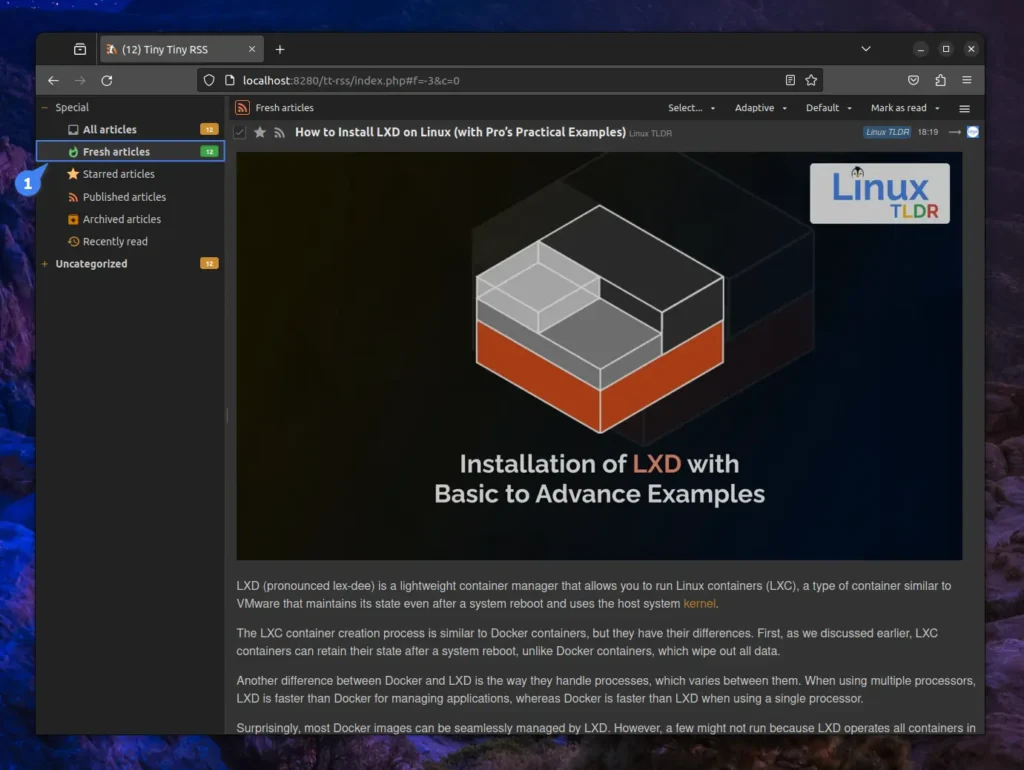
Once you authenticate, you will be redirected to the following homepage:
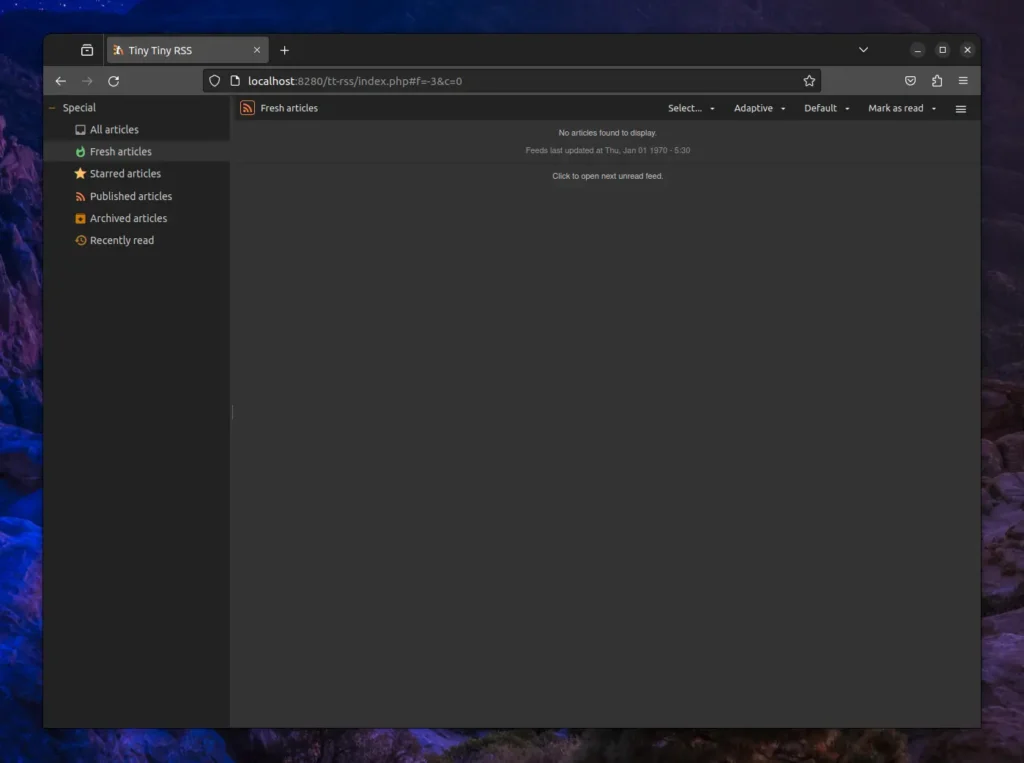
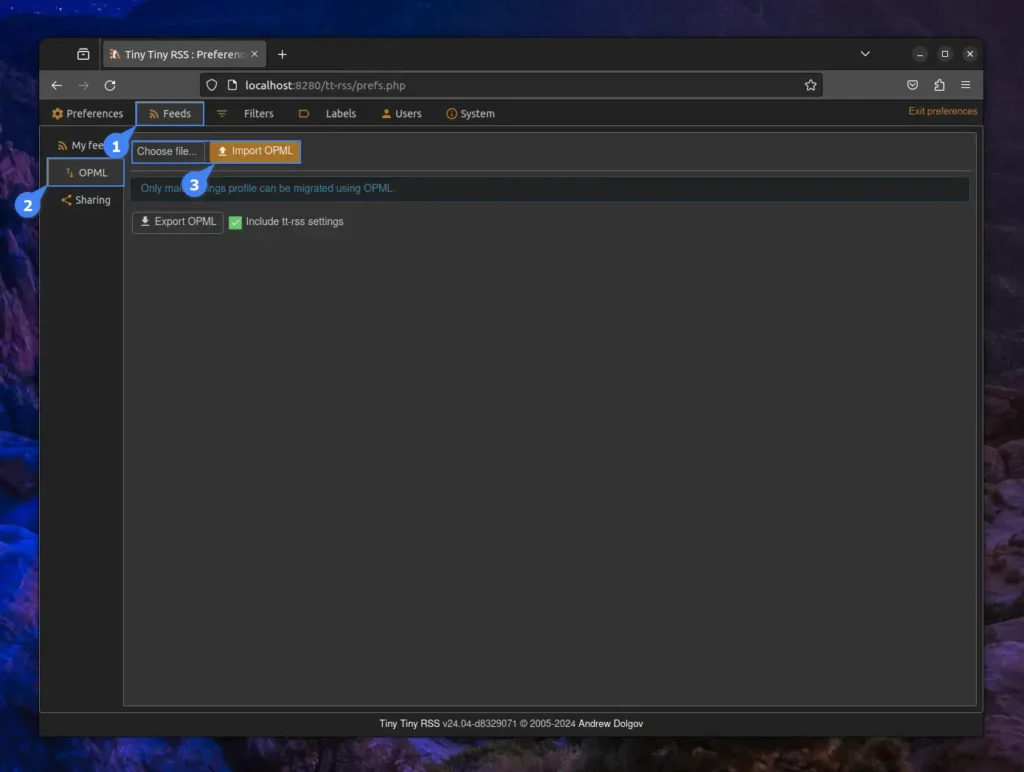
You’ll notice the home page is empty, so if you’ve been using another RSS reader, you can export the OPML file from there and import it into Tiny Tiny RSS by going to “Menu” -> “Preferences…” -> “Feeds” -> “OPML“, then selecting the file and clicking the “Import OPML” button.
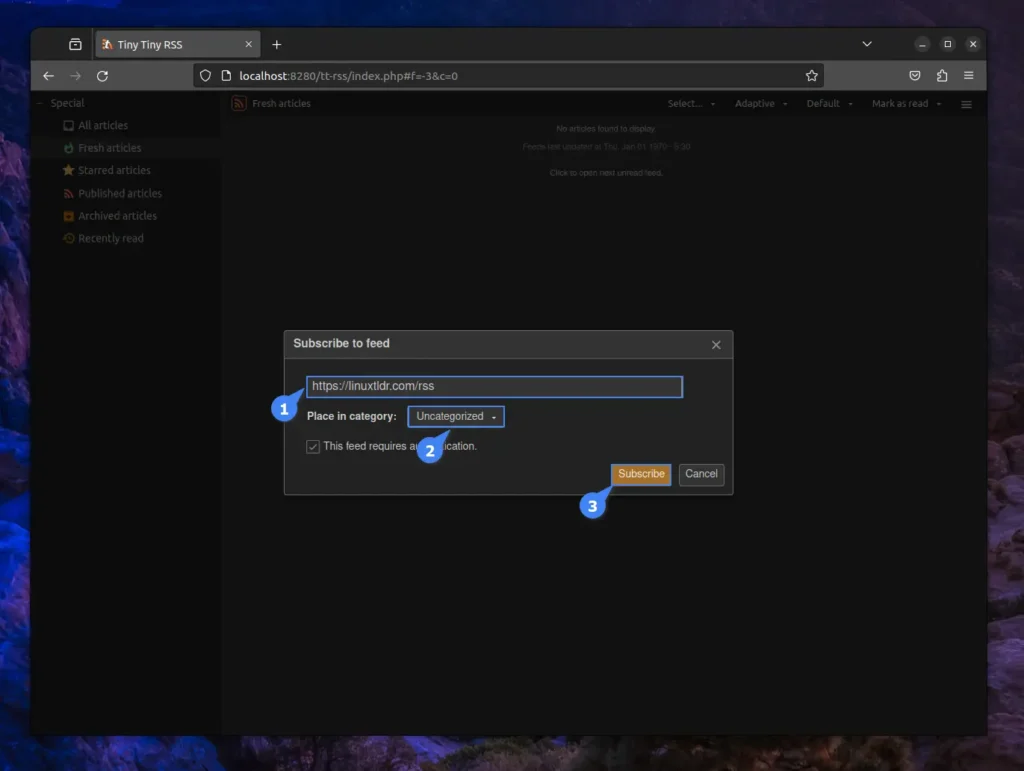
If you haven’t used any RSS Reader before, and this is your first one, you can begin by adding an RSS feed to your Tiny Tiny RSS. Just go to “Menu” and click on the “Subscribe to feed…” option, and then the “Subscribe to feed” window will appear.
Here, you’ll need to input the RSS feed, select a category, and if authentication is required, check the corresponding box and provide the necessary information. Otherwise, just click on the “Subscribe” button.
Once you added the RSS feed, refresh the Tiny Tiny RSS page, and it will fetch all the latest articles from the RSS feed and provide them in the “Fresh articles” section on the homepage.
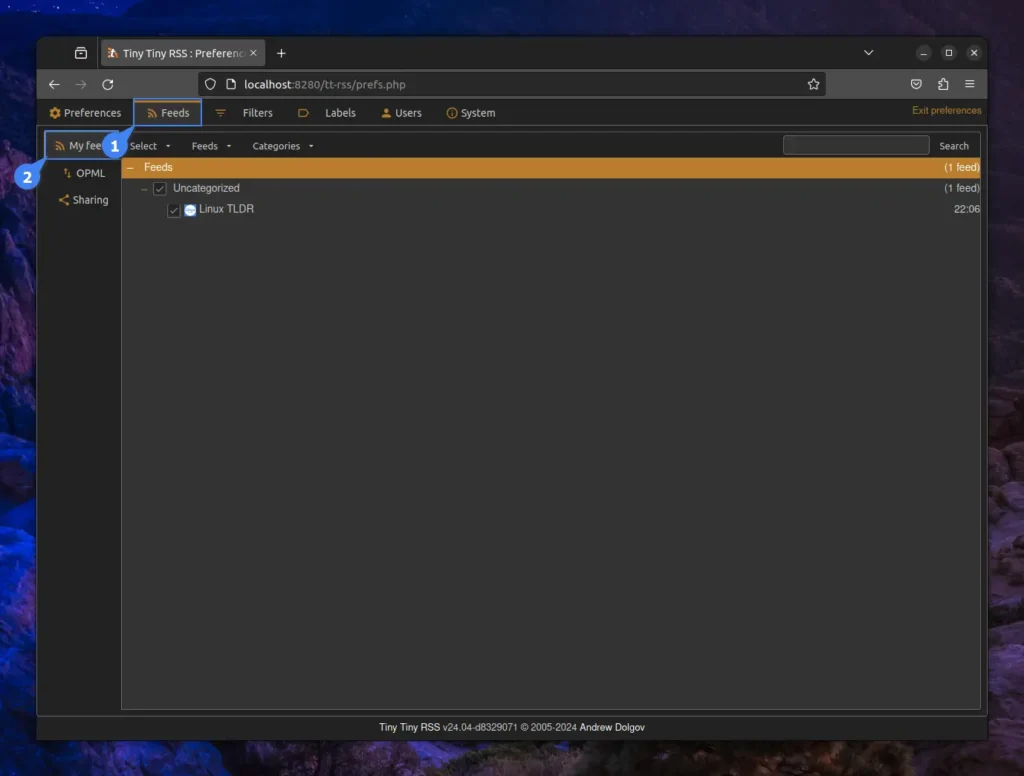
If you remember correctly, while adding the RSS feed, there was only one category named “Uncategorized” (it’s default), so to add more categories, you can navigate to “Menu” -> “Preferences…” -> “Feeds” -> “My feeds“.
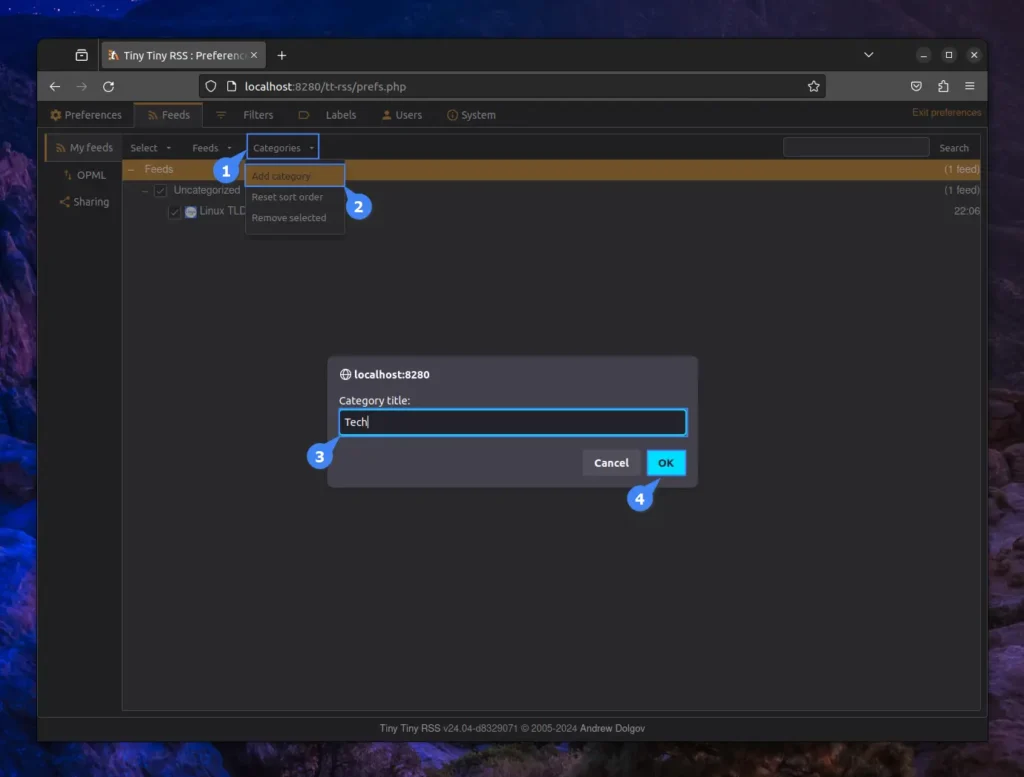
Here, go to “Categories” -> “Add category“, and it prompts a window asking for the name of your new category, so name it, and when you’re done, click on the “OK” button.
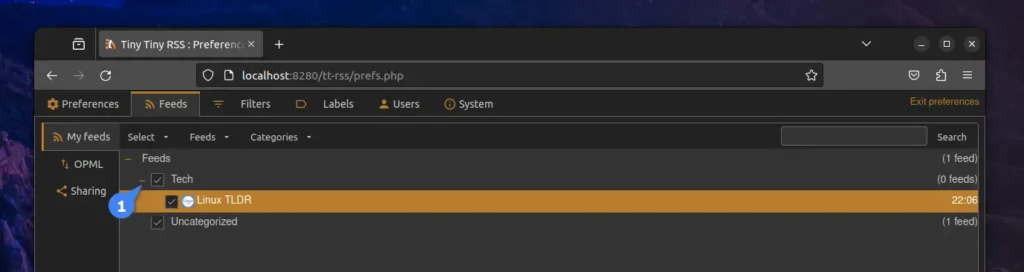
Once you’re done, your category will be created and listed. Now, you can easily select this category while adding your next RSS feed, or you can also move the RSS feed from the “Uncategorized” category to your new category by simply drag-n-drop.
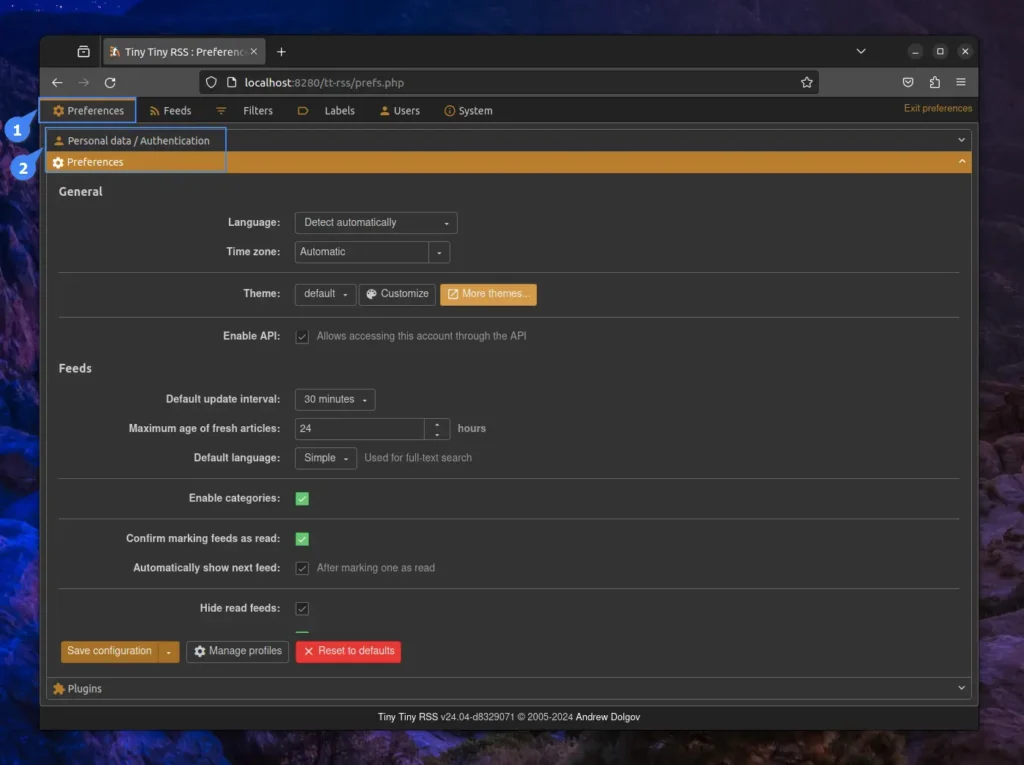
To update a full name, email, password, enabling Authenticator (OTP), changing language, timezone, theme (available in light and dark), default update time, Amount of time the article is considered fresh, auto-delete articles after n days, and all important settings can be easily configured from “Menu” -> “Preferences…” -> “Preferences” and check “Personal data / Authentication” or “Preferences“.
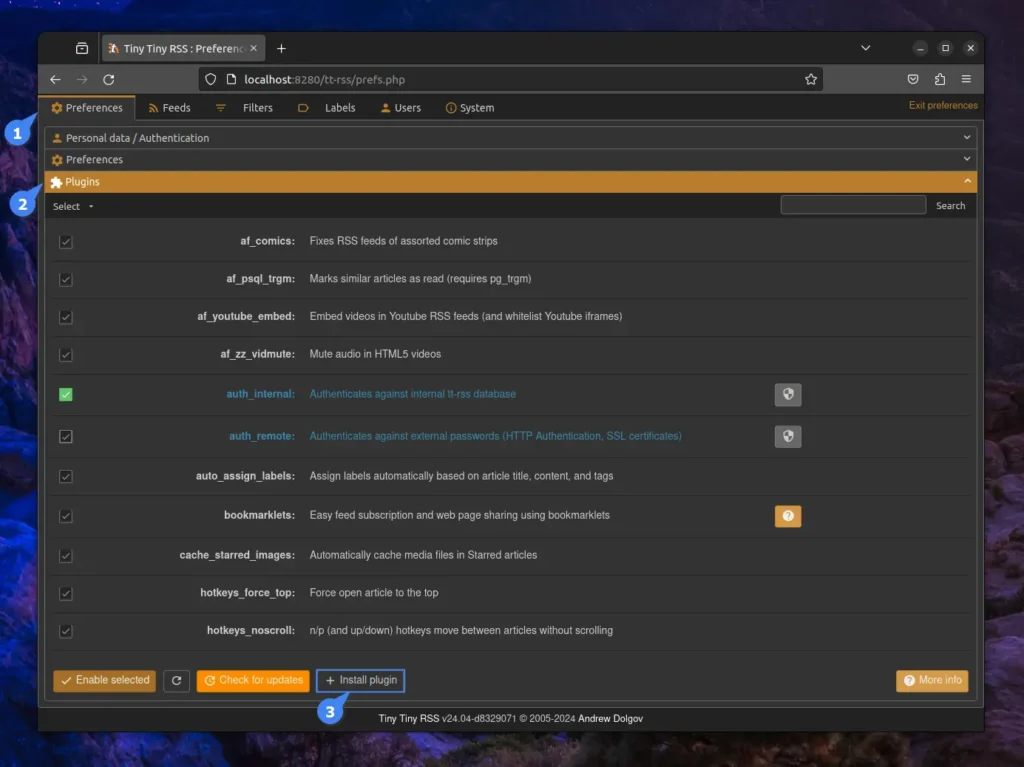
To access the built-in plugin or add a new one, you can navigate to “Menu” -> “Preferences…” -> “Preferences” -> “Plugins“, where you can check the list of all existing plugins for tweaking.
If you want to add a new plugin, then click on the “Install plugin” button. It will prompt a window with a list of more plugins that you can install by clicking on the “Install” button next to them.
Finally, let’s see how you can add a new theme apart from the default one to Tiny Tiny RSS.
Add a New Theme to the Tiny Tiny RSS
Adding a new theme to Tiny Tiny RSS isn’t a big challenge; the difficulty lies in choosing the correct one. Many themes for Tiny Tiny RSS are available, but most are outdated and don’t support the current version.
For demonstration, I’ll choose the most popular feedmei theme (inspired by “feedly“), but feel free to check other themes. To install the feedmei theme, you need to clone the theme directory and copy the content of “themes.local” to your “themes.local” folder in your Tiny Tiny RSS installation.
Furthermore, to enable the additional features, you can copy the content of the “plugins.local” folder to your “plugins” directory in your Tiny Tiny RSS installation. If you are using Linux or macOS, you can use the following commands to perform this task:
$ git clone https://github.com/ltguillaume/feedmei.git
$ sudo cp -r feedmei/themes.local/* ~/ttrss/html/tt-rss/themes.local/
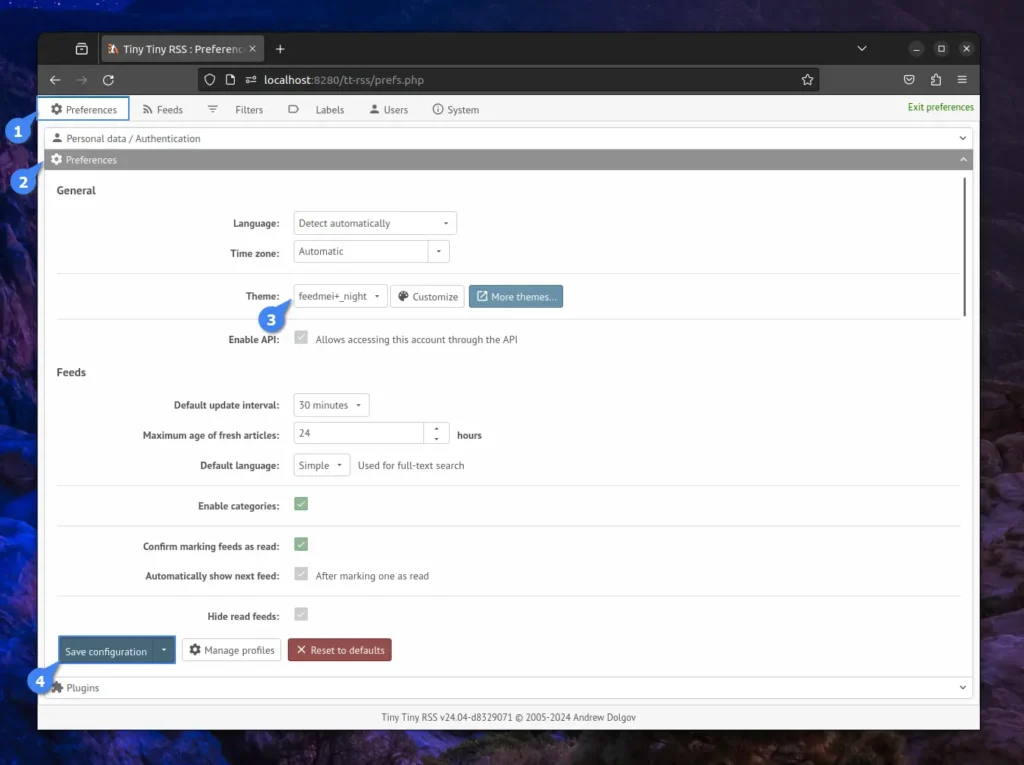
$ sudo cp -r feedmei/plugins.local/* ~/ttrss/html/tt-rss/plugins/Once done, navigate to “Home” -> “Menu” -> “Preferences…” -> “Preferences” -> “Preferences” and look for the “Theme” option. Select the “feedmei+” (light mode) or “feedmei+_night” (dark mode) theme, then click on the “Save configuration” button.
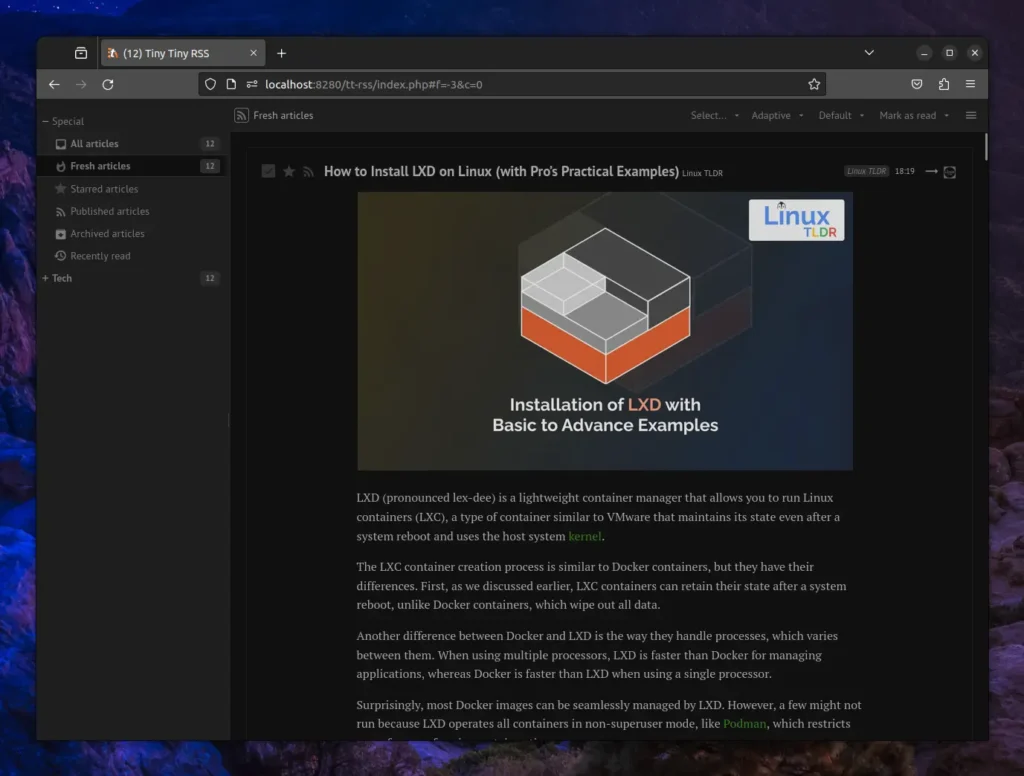
You can now go to the home page and check out your new theme in action.
Final Word
Here comes the end of this article, but you can see how easy it is to set up Tiny Tiny RSS and how it’s so easy to use and flexible compared to other free and premium RSS readers. If you want to switch to a new RSS reader in the future, you can easily export the OPML file and import it into your new application.
Now, if you have any questions or queries related to the topic, do let me know in the comment section.
Till then, peace!


Hi,
Thank you – that was a very useful guide to an installation that can seem quite complicated for people that, like me, are not advanced computer wizzes. However, I ran into a problem after installation (macos 12.7.5); my browser (firefox) says: 502 Bad Gateway when I put localhost:8280 in the search bar.
Further, when I did the last step of the installation process, I got:
docker compose pull && docker compose up -d
WARN[0000] ~/ttrss/docker-compose.yml: `version` is obsolete
[+] Pulling 32/4
✔ updater Skipped – Image is already being pulled by app 0.0s
✔ app Pulled 45.4s
✔ db Pulled 44.0s
✔ web-nginx Pulled 80.2s
WARN[0000] /Users/jonatankrause-jensen/ttrss/docker-compose.yml: `version` is obsolete
[+] Running 6/6
✔ Network ttrss_default Created 0.2s
✔ Volume “ttrss_db” Created 0.0s
✔ Container ttrss-db-1 Started 7.0s
✔ Container ttrss-app-1 Started 6.9s
✔ Container ttrss-web-nginx-1 Started 7.2s
✔ Container ttrss-updater-1 Started
Hope you can help – let me know if you have any follow-up questions. I’ve really wanted to install TTRSS and I am quite ‘in deep water’ on my own in this area. If I get it to work, will certainly make a donation!
Thx in advance,
Jonatan
Hi Jonata,
You can do a few things to ensure nothing goes wrong:
1. Make sure to access
http://localhost:8280as it sometimes redirects to “https“.2. Confirm the port 8280 is not used by any other application; you can use the
sudo ss -tulpn | grep :8280command.3. Allow some time for the database configuration by Docker.
4. Try using a different browser.