
killport is a CLI tool that provides a simple solution to stop processes by their port number, thereby resolving the problem of users struggling to identify the processes behind an open port.
This way, you don’t have to follow the traditional method of finding the open port, then looking for the responsible processes behind that port, then finding the process PID, and then stopping it.
Instead, all you need to do is pass the port number to the killport command as an argument, and then it will immediately stop the processes behind that port by sending “SIGTERM” signals.
In this article, I’ll show you its features, how to install killport on Linux, how to list open ports, and then stop it by using the port number with killport.
Tutorial Details
| Description | Killport: Killing Processes Listening on Specific Ports |
| Difficulty Level | Low |
| Root or Sudo Privileges | Yes |
| OS Compatibility | Linux, Windows, and macOS |
| Prerequisites | – |
| Internet Required | Yes (for installation) |
Features of Killport
The following is a list of standout features of Killport:
- It’s cross-platform and available for Linux, Windows, and macOS.
- Kill processes by port number.
- You can kill multiple ports at once.
- Specify a “
SIGHUP“, “SIGKILL“, or “SIGTERM” signal that is to be sent. - Use the verbose option to receive detailed output.
How to Install Killport on Linux
There are multiple ways to install killport on your desired Linux distribution; the recommended one is by using the “brew” command. So, if you have Homebrew installed on your Linux system, you can use the following command (it also works for macOS).
$ brew install killportIf you have the Cargo package manager installed on your Linux, Windows, or macOS, then you can easily install it using the following command:
$ cargo install killportFinally, on Linux and macOS, if you prefer, you can use its installation script (not recommended) using the curl command. The script will automatically download the latest binary package and place it in the users “/bin” directory.
$HOME/.local/bin” in your $PATH environment variable. If you’re unsure how to do this, simply add this line: “export PATH="$HOME/.local/bin:$PATH"” at the end of your shell configuration file (“~/.bashrc” for bash).$ curl -sL https://bit.ly/killport | shOnce completed, you can run the following command to confirm its successful installation on your Linux system:
$ killport --helpOutput:
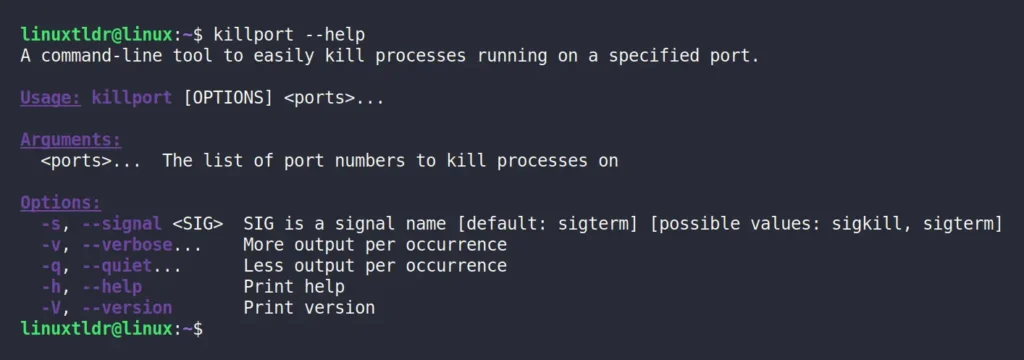
Usage of Killport
Once killport is installed, you can start killing processes based on their port number. To showcase its usage, I’ll first check the list of all open ports on my Linux system using the “ss” or “netstat” commands:
$ ss -tulpn

#OR

$ netstat -tulpn
Output:
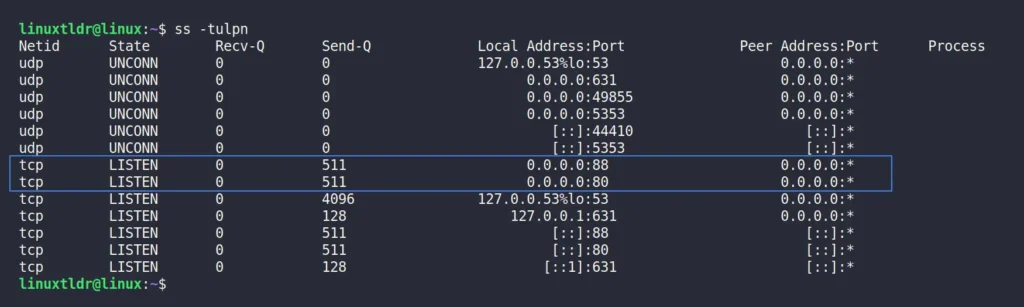
In the above picture, ports “80” and “88” are shown to be in a LISTEN state, handled by Nginx and Apache2. To stop one or both of these open ports, you can use the following killport commands:
# The following command will kill port 80.
$ sudo killport 80

# The following command will kill ports 80 and 88 at onces.
$ sudo killport 80 88
Output:

Voila, you’ve successfully terminated the two processes responsible for listening on ports “80” and “88“. To show you the proof, I’ll re-check the list of all open ports on my Linux system.
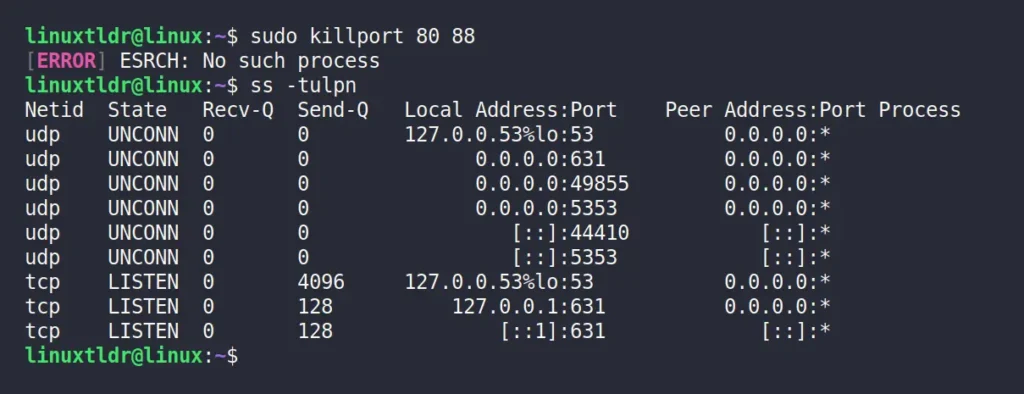
If you notice, the two ports mentioned aren’t on the list. Now, you might be thinking that in the output there is an “[ERROR] ESRCH: No such process” message, which makes it seem that there was never such a process and nothing has been terminated. Then, my friend, you are mistaken.
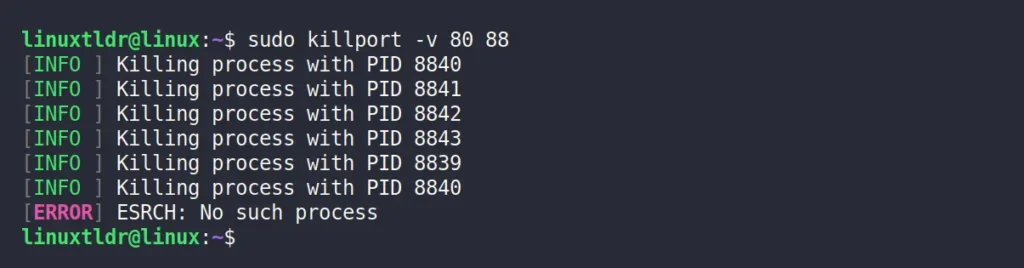
The message we are receiving in the output is the last signal sent to the process, ensuring that the target process is terminated. To confirm, you can enable the verbose mode using the “-v” flag and see for yourself that this message appears at the end.
$ sudo killport -v 80 88Output:
I’ve told you, look. Finally, to kill the process using the specific “SIGHUP“, “SIGKILL“, or “SIGTERM” signal, you can use the “-s” flag. However, if you’re unsure of the differences between them, you can refer to the following table:
| Signal Name | Signal Value | Behavior |
|---|---|---|
SIGHUP | 1 | Hangup (a less secure way) |
SIGKILL | 9 | Kill Signal (forceful) |
SIGTERM | 15 | Terminate (default and safest) |
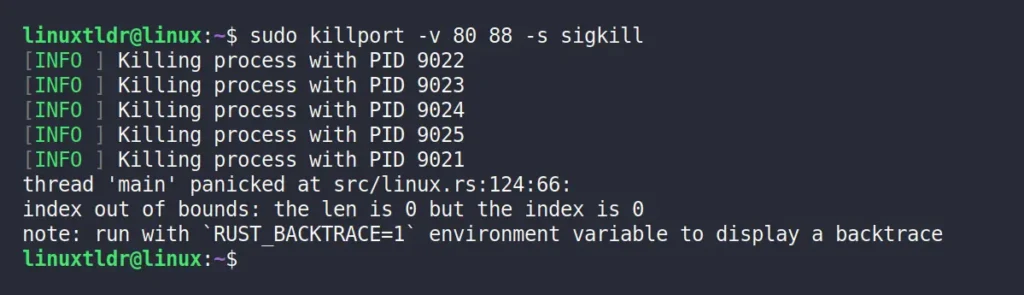
So, to kill the process responsible for ports “80” and “88” by sending a “SIGKILL” signal, use the following command:
$ sudo killport -v 80 88 -s sigkillOuput:
That’s it. Here comes the end of this article. To give you my opinion, I find this tool pretty amazing because finding the process PID and then killing it makes me sick. I’m usually aware of which ports are started by me and can easily identify them, so when they are not in need, I can quickly kill them using the “killport” command.
Now, I am interested in knowing your thoughts and opinions on this, so do share them in the comment section.
Till then, peace!


