Perl, a high-level programming language renowned for its flexibility and robust text manipulation capabilities, was developed by Larry Wall and introduced in 1987.
Upon its release, this tool gained widespread popularity across various domains, notably in scripting, text processing, system administration, web development, and beyond.
Top MNC companies, such as Amazon, cPanel, Cisco, NASA, IMDB, Craigslist, Shutterstock, and more, continue to use Perl for various purposes.
In this article, you will learn how to install Perl on Linux and run your first Perl program.
Tutorial Details
| Description | Perl Programming Language |
| Difficulty Level | Low |
| Root or Sudo Privileges | No |
| OS Compatibility | Ubuntu, Manjaro, Fedora, etc. |
| Prerequisites | – |
| Internet Required | Yes |
Key Features
There are several compelling reasons to consider using Perl, especially on Linux. Here are some key factors that might persuade you to use Perl in a Linux environment:
- Cross-Platform: Perl is available on most operating systems, making it a versatile choice for scripting tasks on different platforms.
- Text Processing: Perl excels at working with text data, making it a preferred language for tasks like parsing log files, generating reports, and processing textual information.
- Modules and CPAN: Perl’s vast ecosystem, available through CPAN, provides numerous reusable modules that swiftly address common issues, significantly accelerating the development.
- System Administrator: Perl robust text processing and cross-platform compatibility make it a top choice for automating system administration tasks.
- Web Development: Perl, though less common than languages like Python or PHP, played a significant role in earlier web development to build dynamic websites and applications.
Utilizing the powerful capabilities of Perl on Linux, you can harness its flexibility and robustness to the fullest extent.
How to Install Perl on Linux
Perl is quite popular and comes pre-installed in the majority of Linux distributions, primarily due to its widespread utilization within the backend of numerous Linux tools.
If it’s not present in the distribution, you have two options for installation: use the system default package manager or compile and install from source. So, let’s begin with…
Installing Perl from the Package Manager
Open your terminal and execute one of the following commands based on your Linux distribution:
$ sudo apt install perl                                                                                                  #For Debian or Ubuntu
$ sudo dnf install perl                                                                                                  #For Red Hat or Fedora
$ sudo pacman -S perl                                                                                                #For Arch or Manjaro
$ sudo zypper in perl                                                                                                   #For OpenSUSE
After the installation is complete, execute the following command to ensure it’s accessible via the terminal:
$ perl -vOutput:
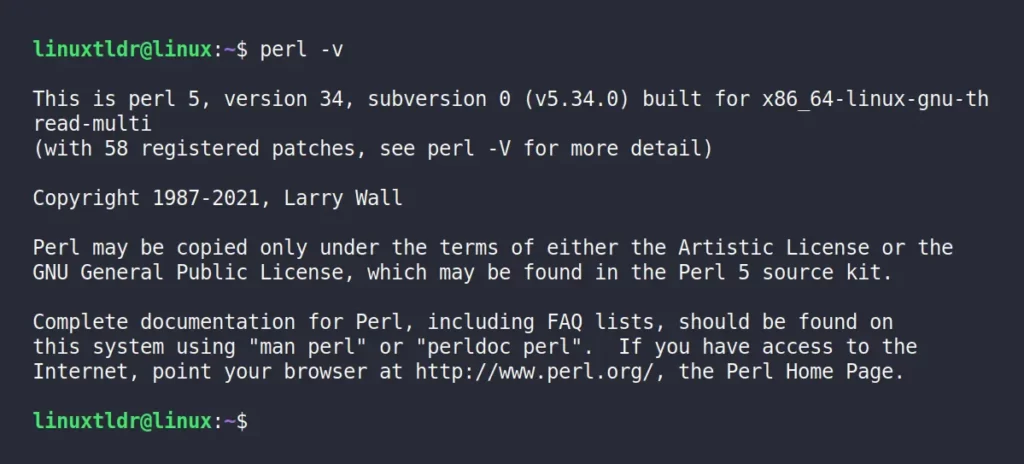
In the image above, you’ll notice that Perl v5.34.0 is currently installed, but a more recent version, 5.38.0, is already available.
This was the scenario with Ubuntu. As for Red Hat, Fedora, or Arch, they all had Perl version 5.36.0 installed. If your system’s repository offers an outdated Perl version, proceed to install the latest Perl version from source with the following steps:
Installing Perl from Source
To install Perl from source, you’ll need to follow a few additional steps. Let’s begin with…
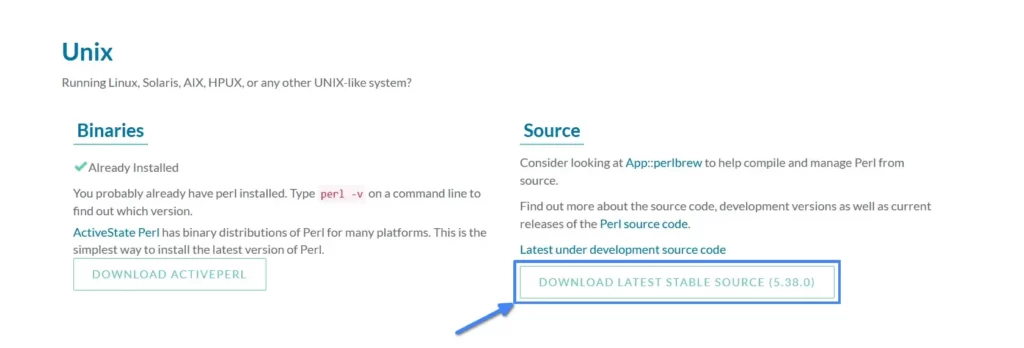
1. Download the latest Perl version straight from the official site:
2. Open your terminal and execute the appropriate command tailored to your Linux distribution. This will install the necessary development tools for compiling and installing Perl from source.
$ sudo apt install build-essential                                                                                #For Debian or Ubuntu
$ sudo dnf group install "Development Tools"                                                         #For Red Hat or Fedora
$ sudo pacman -S base-devel                                                                                    #For Arch or Manjaro
$ sudo zypper in -t pattern devel_basis                                                                    #For OpenSUSE
3. Go to the directory containing the downloaded Perl source, usually located at “~/Downloads/“. From there, run the command below to extract the contents of the tarball.
$ cd ~/Downloads/
$ tar -xzf perl-*.tar.gz
Output:

4. Navigate to the extracted directory.
$ cd perl-*/Output:

5. Configure and build Perl in your home directory. You can adjust the installation location by modifying the “-Dprefix” option.
$ ./Configure -des -Dprefix=$HOME/perlOutput:
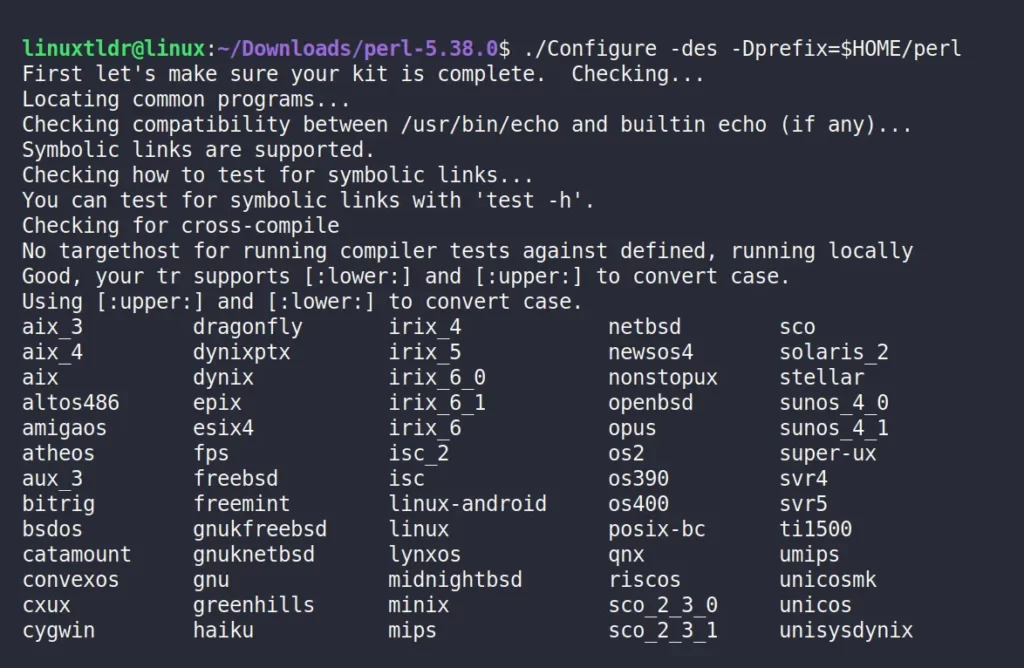
6. Prior to the actual installation, ensure the essential dependencies for Perl are installed.
$ makeOutput:
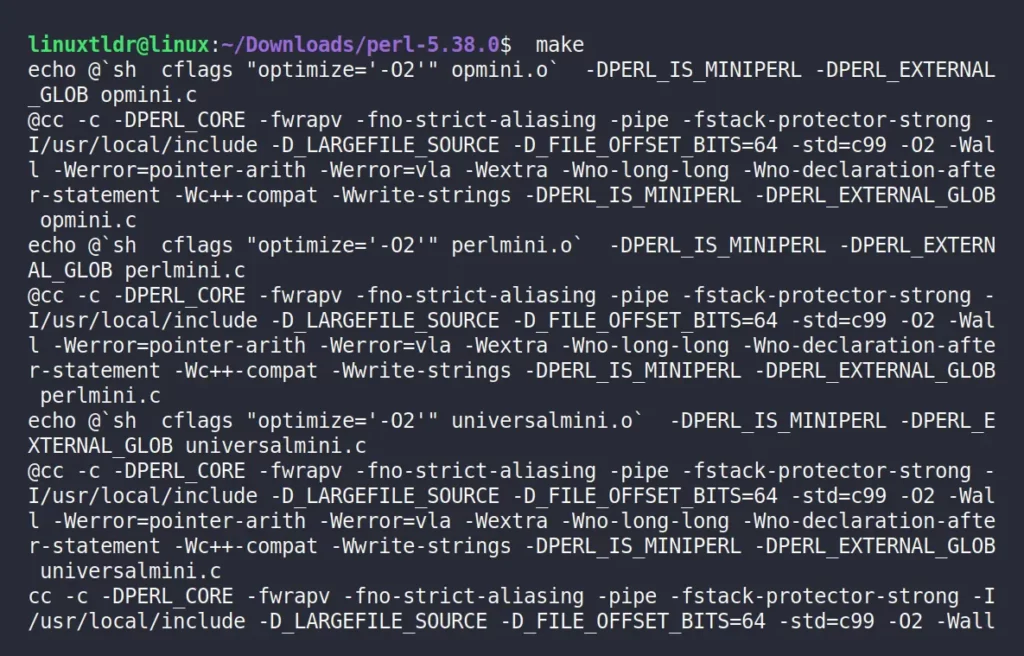
7. Perform a dry run test to verify the fulfillment of essential Perl installation prerequisites, which might take a long time (optional).
$ make testOutput:
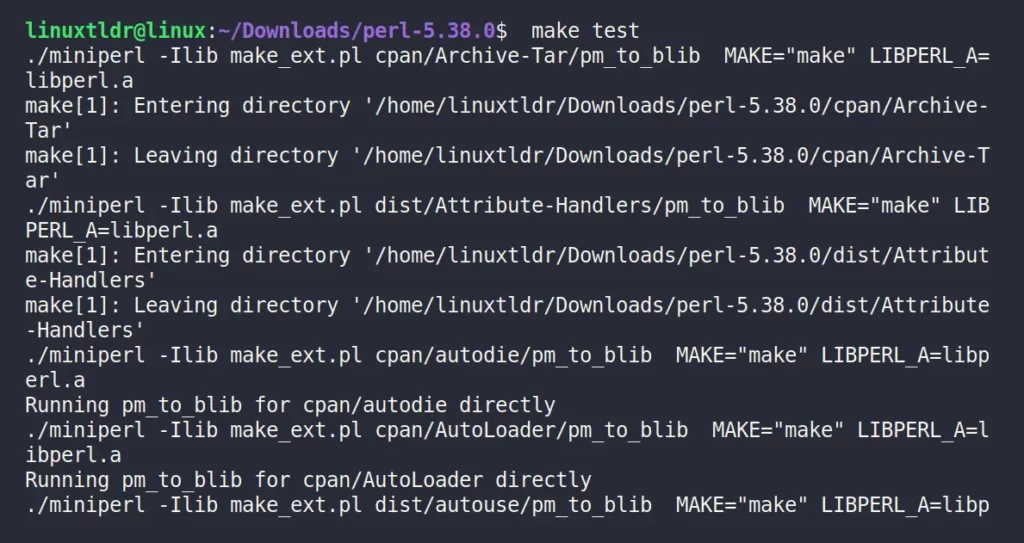
8. Execute the following command to setup and configure Perl from source:
$ make installOutput:
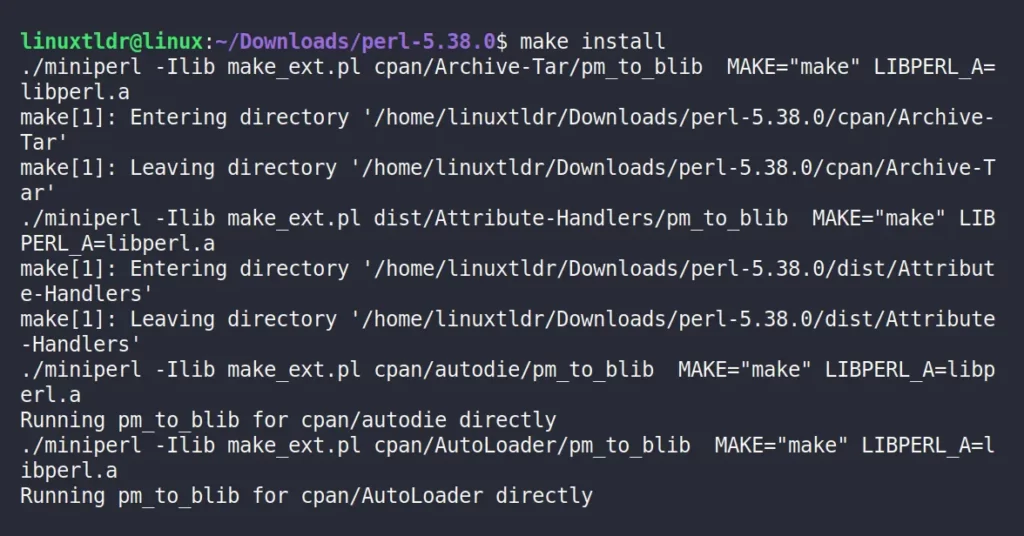
9. Once you’ve completed the aforementioned steps, add the following line to your shell configuration file, which could be “~/.bashrc“, and then refresh your terminal session to apply the changes.
export PATH=$HOME/perl/bin:$PATHOutput:

10. Run the following command to ensure the latest Perl version is installed from source:
$ perl -vOutput:
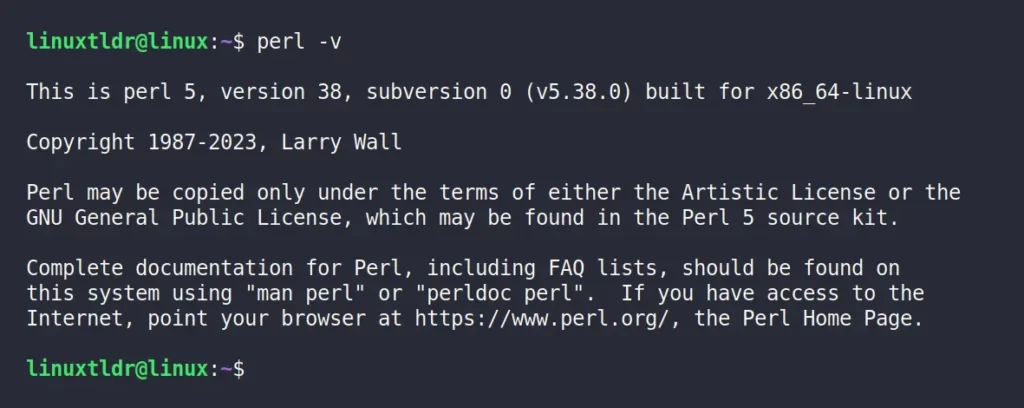
Congratulations on successfully installing the latest version of Perl on your Linux system!
How to Use Perl on Linux
Running a Perl program in Linux is straightforward; I’ll illustrate how to execute a Perl program using practical examples.
1. Begin by using your preferred text editor to create a text file. Name it “hello.pl“, ensuring the “.pl” extension is retained, while the filename itself can vary.
$ vim hello.pl2. Add the following Perl code to the file:
use strict;
use warnings;

print "Hello, world!\n";
Save and close the file.
3. To execute this Perl program, use the “perl” command, specifying the filename.
$ perl hello.plYou should see the output “Hello, world!” printed to the terminal, as shown.

That’s it! You’ve successfully created and executed a simple Perl program.
Final Word
I hope you find this article useful. If you have any questions or topic-related inquiries, please don’t hesitate to ask them in the comment section.
Till then, peace!


