
Recently, we wrote a detailed article on how to check a user’s login history in Linux to track user activity for a particular investigation.
Unfortunately, the command mentioned in that article can’t show the log of a user’s failed login attempt; it only shows the log of a successful login attempt.
And, as someone who has worked in this industry for a decade, I can confidently state that the most important evidence we capture from users failed login attempts
So, stick with this article to learn how to check a user’s failed login attempt on the server using the lastb command.
Tutorial Details
| Description | Show a Log of the User’s Failed Login Attempts |
| Difficulty Level | Low |
| Root or Sudo Privileges | Yes |
| OS Compatibility | Ubuntu, Manjaro, Fedora, etc. |
| Prerequisites | lastb |
| Internet Required | No |
What is the Lastb Command in Linux?
The lastb is a built-in Linux utility that can be found in major Linux distributions, making it the first choice for sysadmins to use while investigating the failed login attempts on the target machine.
Similarly to the last command, this one also uses the “/var/log/btmp” file to give you the output. You can also read our detailed article on this file to learn more.
Let’s keep this aside and move on to the usage of this command and its options (with practical examples).
Usage of the Lastb Command
The lastb command takes two arguments: one is the option, and the other is the username or TTY (all are optional).
$ lastb [OPTION] [USERNAME/TTY]When you execute this command without any arguments, you will be presented with the following screen:

The following is an explanation for each field in the above output:
- The user’s account name.
- The method through which the user tried to connect to the target machine (in this case, SSH).
- The hostname or IP address of the user.
- The data and time when the user tried to connect to the target machine.
- The duration of the user.
So, once you are familiar with the output, move on to the next section.
How to Check the Failed Login Attempts for a Single User
This command accepts the user’s account name as an argument that you can use to specify single or multiple users (using a space separator) to check their log of failed login attempts on the target machine.
$ sudo lastb jakeOutput:

Identically to this, you can specify the terminal line or TTY by following the next section.
How to Check the Failed Login Attempts Based on TTY
The terminal line, or TTY, shows how the user is connected to the target machine. It can be locally (physical access) or remotely (SSH).
You can filter the output based on this TTY by specifying it as an argument to the lastb command.
$ sudo lastb ssh:nottyOutput:

Note that you can specify a combination of the user’s account name and TTY to get the desired output.
Lastb Command Options
The lastb command provides you various options to filter out the data based on a specific or range of dates and times, show/hide columns, limit the number of lines in the output, etc.
Show N Number of Lines in the Output
The “-N” option, where “N” denotes any positive integer number, will be used to show the number of lines in the output.
$ sudo lastb -2The above command will only output the first two lines of the user’s failed login.

Display the User’s Failed Login for Today and Tomorrow
The “-s yesterday” and “-t today” options will display the logs of the user’s failed login attempts from the previous day and today, respectively.
$ sudo lastb -s yesterday -t todayOutput:

Display the User’s Failed Login for Last Few Days
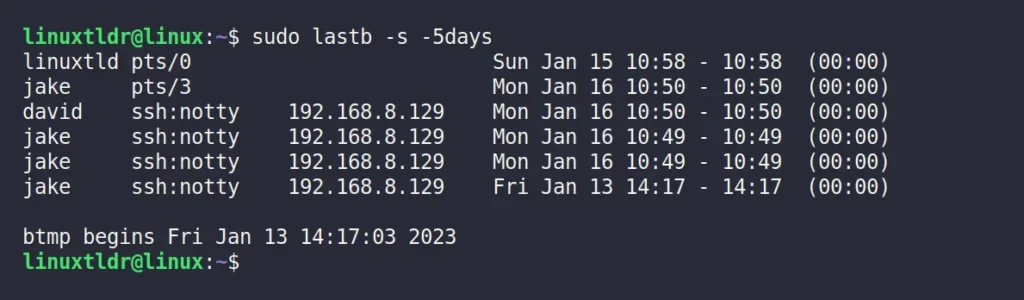
The following command will show you the log of the user’s login attempts for the last five days.
$ sudo lastb -s -5daysOutput:
Move the Hostnames into the Last Column
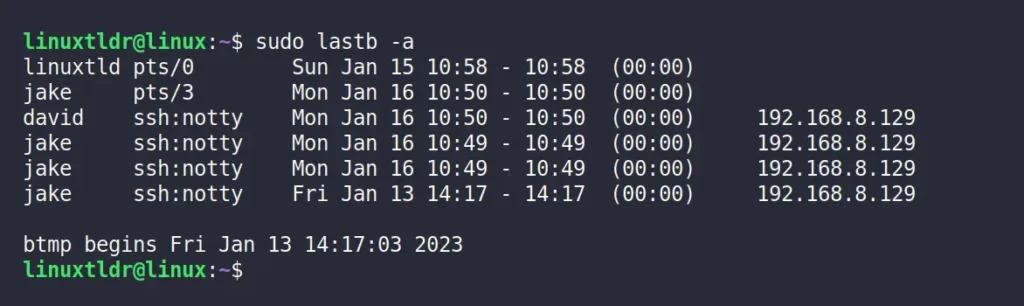
The “-a” flag will move the hostnames (which contain the user’s IP address) to the last column.
$ sudo lastb -aOutput:
Hide the Hostname Column from the Output
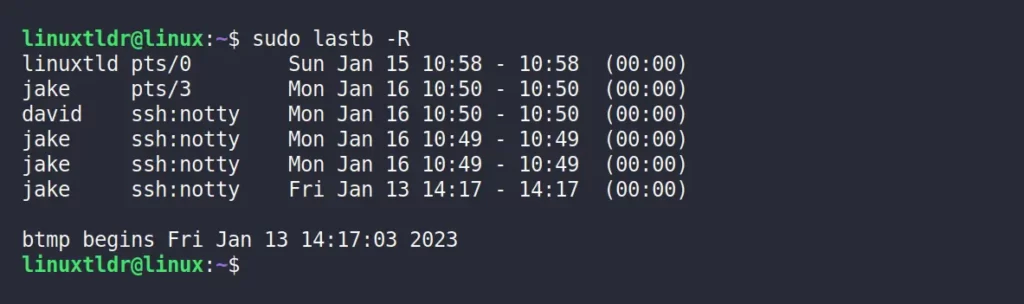
The “-R” flag will remove the hostname column from the output.
$ sudo lastb -ROutput:
Display the Full Timestamp
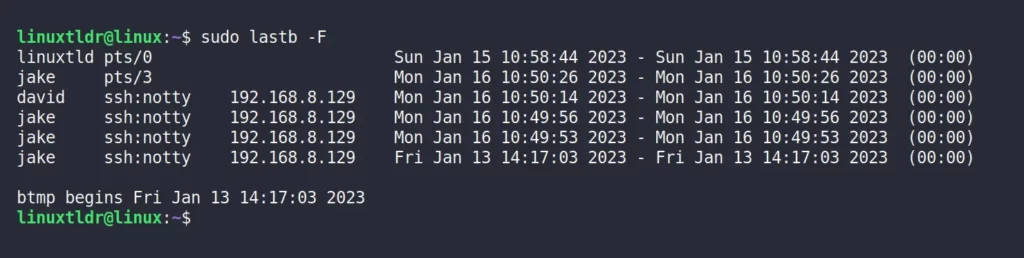
The “-F” flag will display the full timestamp while showing the user’s failed login attempt, which can be useful while sorting the output.
$ sudo lastb -FOutput:
That was the end of the final example for this command.
Note that the last and lastb commands share similar names for the options, so once you learn one, another will be easier to understand.
However, if you have any questions or queries related to this topic, then feel free to ask them in the comment section.
Till then, peace!


