
PING, also known as “Packet Internet Groper”, is the most common networking tool used in Windows, Linux, and macOS to test the connection between the source and the destination.
The destination, or remote system, could be a web server, your router, or a computer on your local network; you will specify them with their domain or IP address.
When you specify the destination (domain or IP address), the ping command will send a series of ICMP (Internet Control Message Protocol) packets to the remote system and wait for the response.
In the response output, you will get different pieces of information using which you can determine whether the remote system is alive or not, the latency of the network, and how many packets are dropped.
Although you might already be aware of the basic usage of this command, stick with this article to learn several variations and options for the ping command (with examples).
Tutorial Details
| Description | Ping |
| Difficulty Level | Low |
| Root or Sudo Privileges | No |
| OS Compatibility | Ubuntu, Manjaro, Fedora, etc. |
| Prerequisites | ping |
| Internet Required | No |
Ping Command Usage
The simplest way to use the ping command (which you might already know) is to specify the domain or IP address of the destination without any options.
In the following command, “google.com” is being ping to test whether the domain is alive or not by sending ICMP packets of 56 bytes.
$ ping google.com

#OR

$ ping 142.250.192.14
Output:
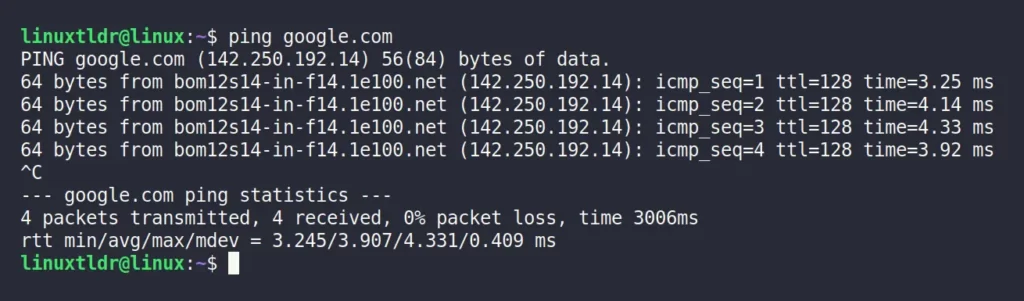
Note that the ping command will keep pinging the remote system unless you manually stop it by pressing the “Ctrl+C” shortcut key.
Once you stop the ping command, it will give you a summary of all the transmissions made between the source and destination that includes the following information:
from: It identifies the target by its IP address (the simplest way to obtain the IP address of any domain name).icmp_seq: It’s the sequence of the ICMP packet sent to the server in order.ttl: It tells how long a packet is allowed to stay in a network before it is thrown away by a router.time: It tells the amount of time it took for the referenced packet to reach the remote system and come back to the origin.
In addition, you will receive a summary of the total number of transmitted and received packets, the number of lost packets, and the average time spent exchanging a packet.
Now that you know how the ping command works and how to read its output, let’s see some of the other examples of the ping command’s usage with its options.
Ping a Host Only a Specific Number of Times
The default behavior of the ping command is to keep pinging the remote system unless the user manually stops the ping command.
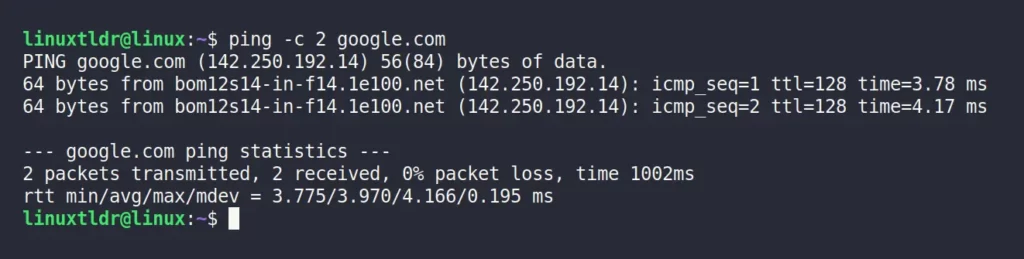
However, you can use the “-c” flag with the number of packets to send on the remote system, after which the ping command will automatically stop.
For example, the following command will only ping “google.com” twice.
$ ping -c 2 google.comOutput:
Apart from the number of packets, you can stop the ping command by specifying the timeout that you will learn in the next section.
Setting the Ping Timeout
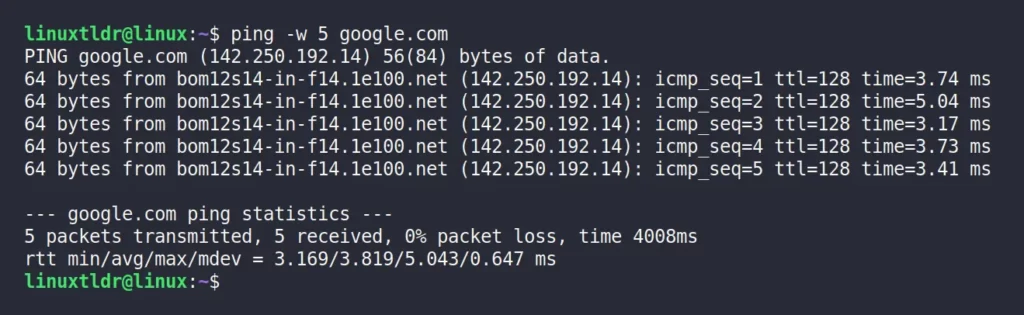
Aside from defining the number of packets to send, you can also specify the timeout using the “-w” flag, at which the ping command will automatically stop.
For example, the following command will only ping “google.com” for five seconds.
$ ping -w 5 google.comOutput:
Change the Time Interval While Sending Each Packet
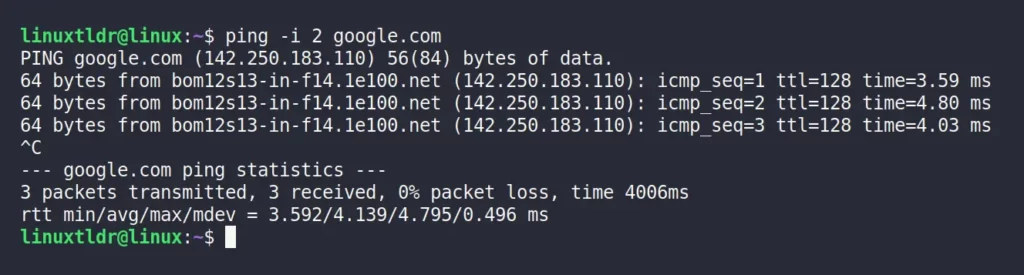
The default behavior of the ping command is to send packets at an interval of one second. However, you can use the “-i” flag to change the time interval between two pings to prevent getting blocked by the remote system.
For example, the following command will send ICMP packets to the remote system after two seconds on each request.
$ ping -i 2 google.comOutput:
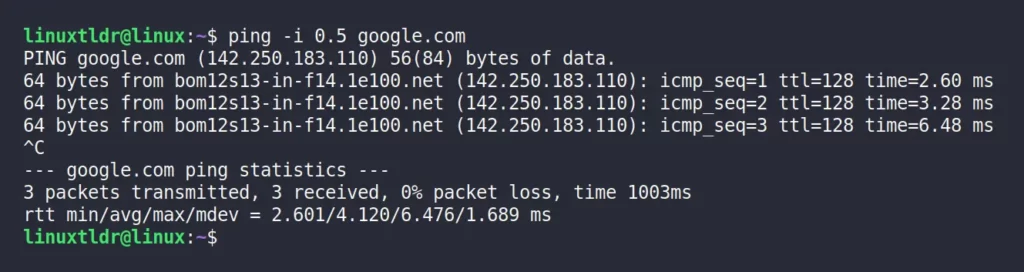
It should be noted that you can specify the time interval in milliseconds by assigning a value in floating point (decimal value), but you must do so as root or with sudo privileges.
For example, the following command will send the ICMP packet to the remote system after 0.5 seconds (500 ms).
$ ping -i 0.5 google.comOutput:
Changing the ICMP Packet Size
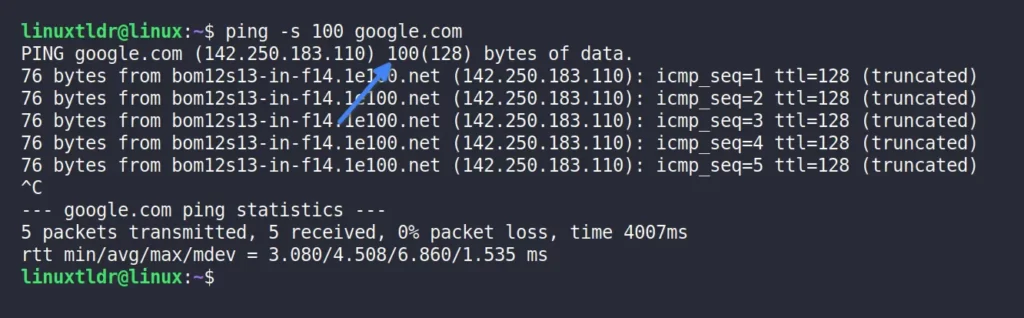
By default, the ping command sends the ICMP packets in 56 bytes, as you can see in the earlier outputs, but you are not limited to using this predefined size. Using the “-s” flag, you can send a remote system a custom-sized ICMP packet in bytes.
The following command will send an ICMP packet size of 100 bytes to “google.com“.
$ ping -s 100 google.comOutput:
Do not Lookup the Symbolic Names for the Host
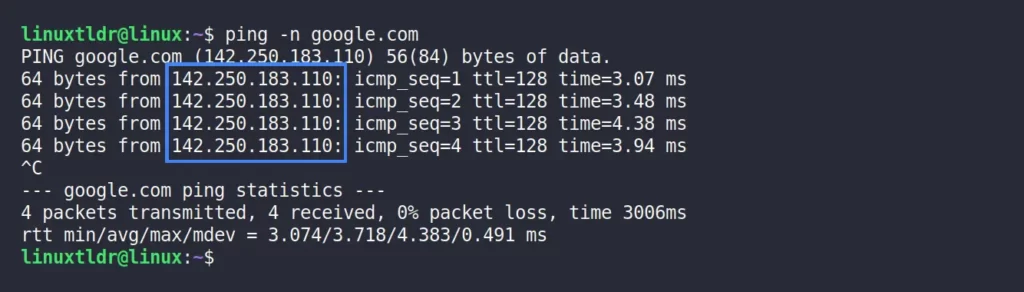
By default, the ping command looks for the symbolic names in specified DNS records to give the host name instead of an IP address. This could be easily avoided by using the “-n” flag.
For example, the following command will only give you the numeric output for “google.com” instead of symbolic names.
$ ping -n google.comOutput:
DoS Attack with Ping Flooding
One of the simple ways to determine the response of your remote system (or server) under high-load conditions is by initiating the DoS attack using the ping command, also known as “ping flooding“.
In this scenario, the ping command will send a large number of ping requests as fast as possible in a very short time frame.
For example, the following command with the “-f” flag will stress test “google.com” unless you manually interrupt the ping command.
$ ping -f google.comOutput:

When you initiate the ping flood, you will see some dots keep appearing and disappearing in the output.
Every “.” dot is a request, and a backspace is the answer. Since the backspace clears the dots, the dot appears and disappears.
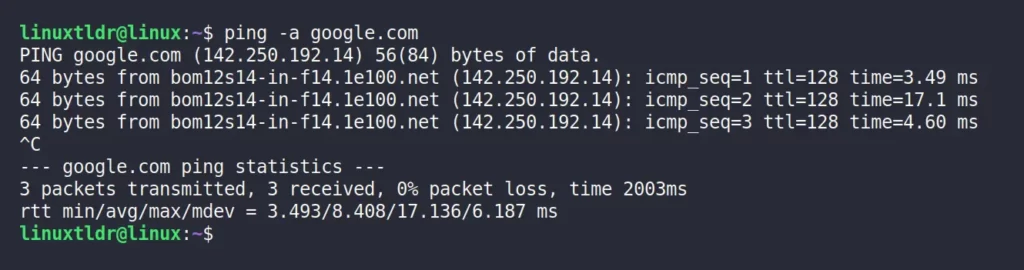
Every Successful Ping is Accompanied by a Sound Alert.
If you use the “-a” flag with the ping command, every successful ping request to the remote system will make a sound.
$ ping -a google.comOutput:
So, that’s all for now.
If you have any questions or queries related to this topic, feel free to ask them in the comment section.


