
The ps and top commands are the most popular and commonly used command-line programs to view the currently running processes on your Linux system.
The pstree is also similar to them, except that it outputs the running process in the form of a tree; if no arguments are passed, then it will list the complete process.
This way of inspecting the running processes in the form of a hierarchy is more convenient and visually appealing, especially for beginners (even if they don’t understand the output).
In this article, you will learn how to use the pstree command and how to use the different available options with it (with practical examples).
Tutorial Details
| Description | Pstree |
| Difficulty Level | Low |
| Root or Sudo Privileges | No |
| OS Compatibility | Ubuntu, Manjaro, Fedora, etc. |
| Prerequisites | pstree |
| Internet Required | No |
Syntax of the Pstree Command
The pstree command takes two arguments: one is the option, and the other is the pid or username; both of these arguments are optional.
$ pstree [OPTION] [PID or USERNAME]If you specify the PID along with the command, the hierarchy will start from the referenced PID; otherwise, it will start from PID 1 (which is your init process) as the default.
And if you specify the username, then the pstree will display the running process under the referenced username, but note that the pstree only accepts one argument, and that argument can be either username or pid.
The following is a list of known options:
| Options | Description |
|---|---|
-a | Display the command-line arguments for the running processes. |
-c | Display the identical branches separately. |
-H | Highlight the referenced process in the tree. |
-h | Highlight the parent process for each running process in the tree. |
-g | Display the GID along with each process in the tree. |
-l | Don’t truncate long lines. |
-n | Sort output based on PID. |
-p | Display the PID along with processes. |
-u | Display the owner/user of each process. |
-s | Show the parent process for the referenced process. |
-T | Hide threads in the process tree. |
Displaying the Running Process in Hierarchy
When you run the following command without any options or arguments, it will return a long list of processes that are currently running on your system in the form of a hierarchy.
$ pstreeOutput:
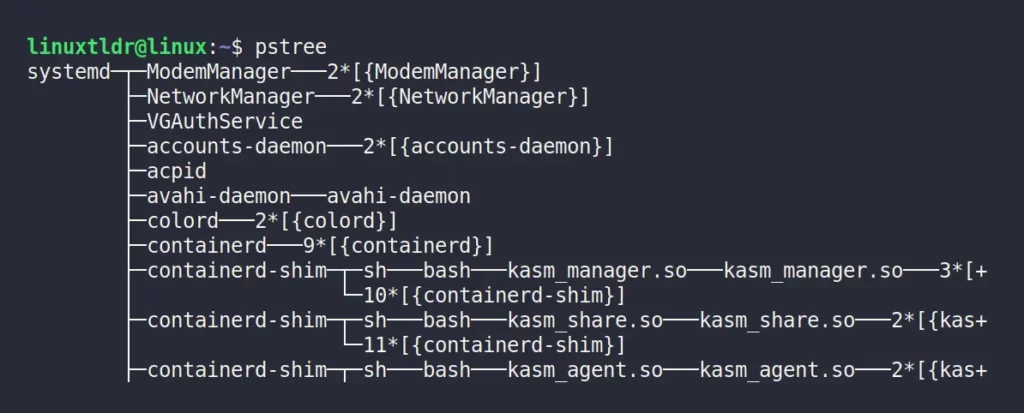
As you can see from the above output, without any arguments, this command will list all the processes starting from your first process, which is systemd in this case.
One thing you should note is that when you pass the pstree command without any options, it merges the identical branches by putting them in square brackets and prefixing them based on their repetition.
For example, the following branch:
udisksd -+- {udisksd}
               | -{udisksd}
               | -{udisksd}
               | -{udisksd}
Will becomes:
udisksd───4*[{udisksd}]Although, you can easily separate the identical branches by following the next section,
Displaying the Identical Branches Separately
Use the “-c” flag to display the identical branches separately without merging them together.
$ pstree -cOutput:
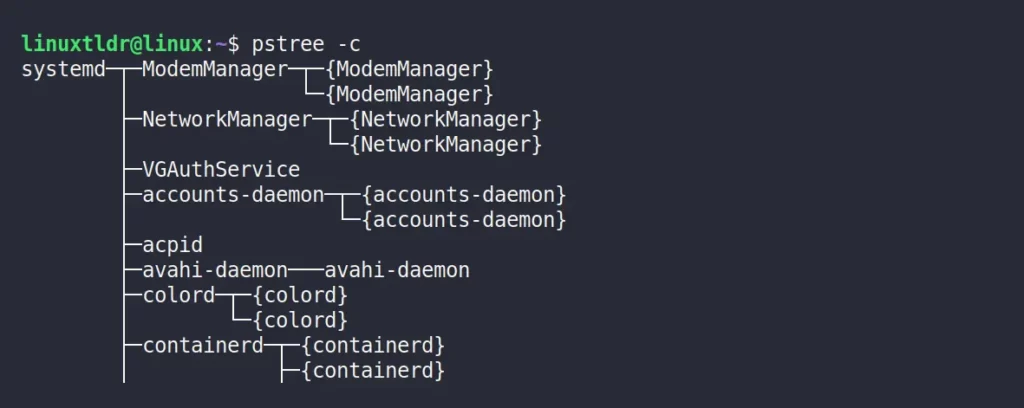
As you are avoiding merging the identical processes together, which indirectly affects the size of this command output, although you can use the less or more command to conveniently view the output.
Displaying the Command-line Arguments for the Running Processes in the Tree
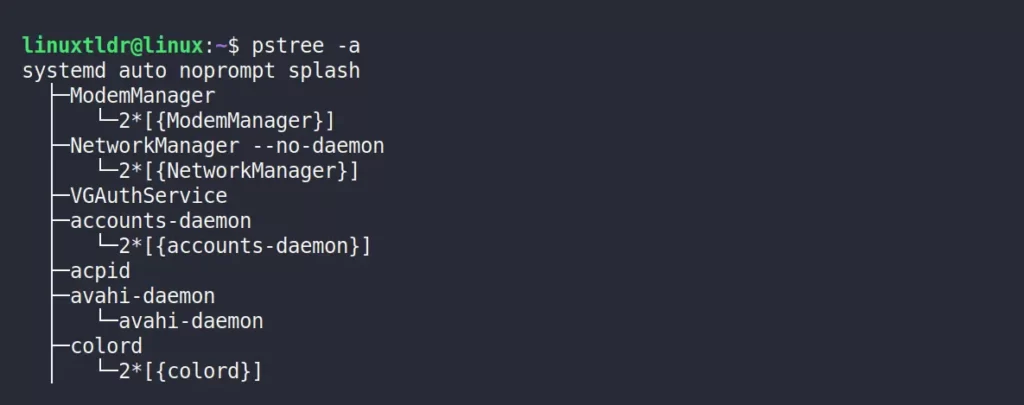
By default, the pstree does not show you the command-line argument that started the process in the first place.
However, you can use the “-a” flag to view the command-line arguments for all the running processes in the tree.
$ pstree -aOutput:
Displaying the PID for Each Process in the Tree
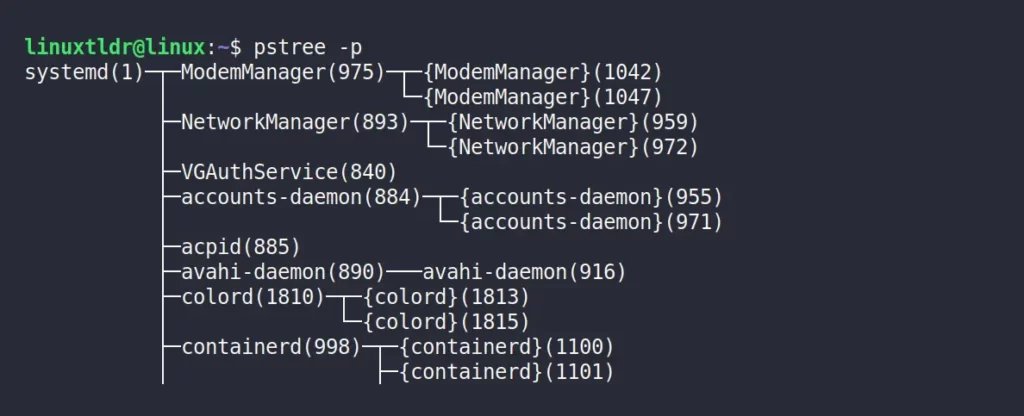
The most important information you might be looking for from the pstree output is the process ID (or PID) to perform various tasks like killing the process.
Using the “-p” flag will list all the running processes along with their PIDs in the tree.
$ pstree -pOutput:
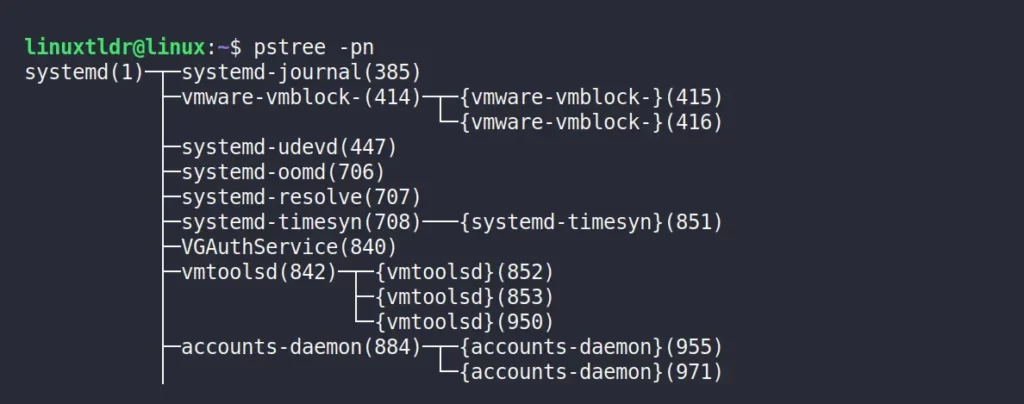
Sorting the Output Based on PIDs
By default, the output is sorted based on the parent process name, although you can sort the output based on the process PIDs by using the “-n” flag along with the “-p” flag.
$ pstree -pnOutput:
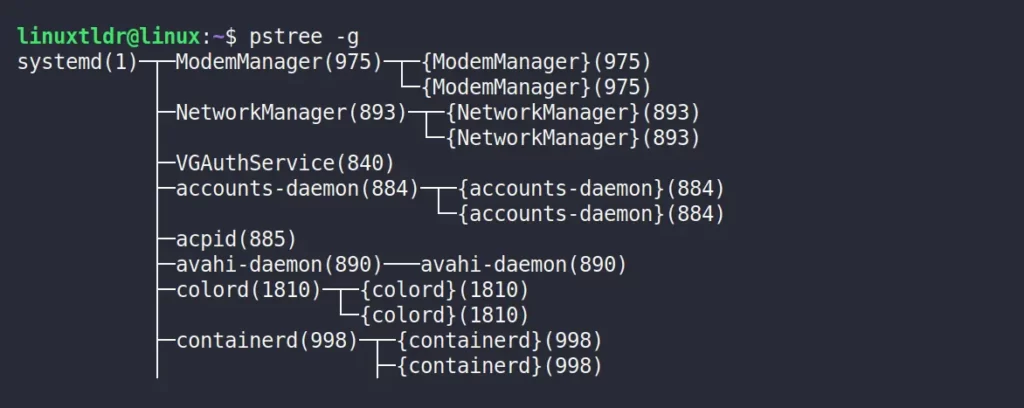
Displaying the PGIDs for Each Process in the Tree
The “-g” flag will display the process with the process group ID or PGID of the first member of the process group.
$ pstree -gOutput:
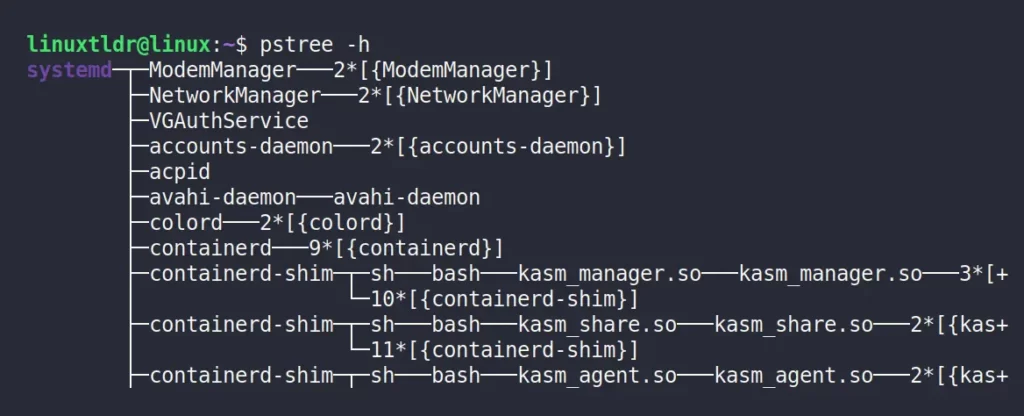
Highlight the Parent Process for Each Running Process in the Tree
The “-h” flag will highlight the parent process for each running process from the output to make it more convenient for you to spot the parent process.
$ pstree -hOutput:
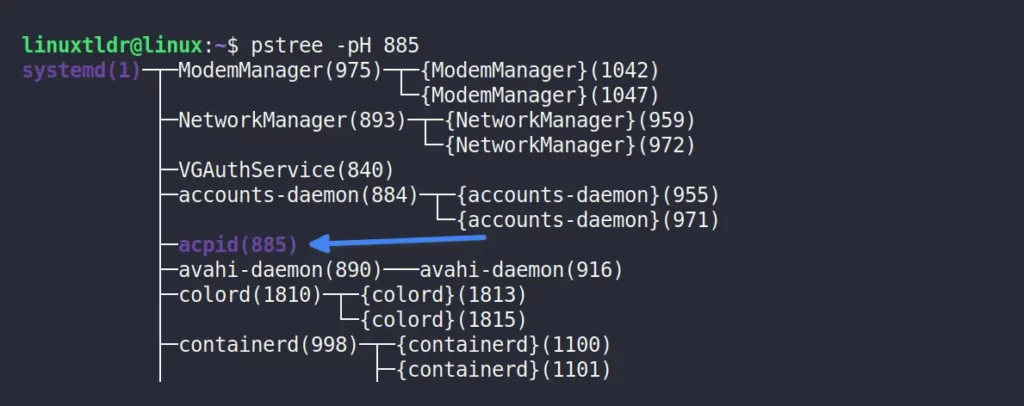
Highlight the Referenced Process in Tree
In the previous section, you learned how to highlight all parent processes; however, to highlight a specific process, you can use the “-H” flag with the process ID (or PID) as an argument.
$ pstree -pH 885 Output:
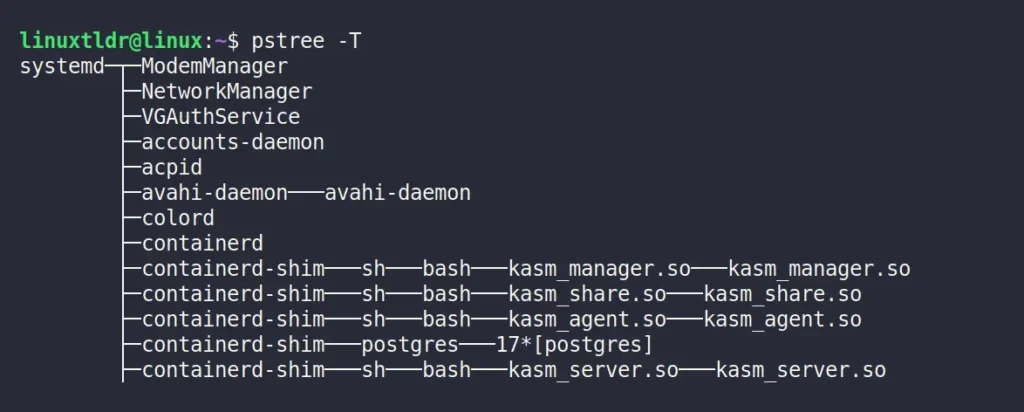
Hiding the Thread in the Process Tree
The “-T” flag will hide the thread from the process tree to make the output a bit shorter and simpler.
$ pstree -TOutput:
Display the Specific Process Tree in the Output
Once you found the PID for any particular process, you can use that PID to only output the tree for that specific process.
$ pstree -a 910The “-a” flag is used to expand the process branches.

That was the last example for the pstree command.
Conclusion
Although, this command-line tool is great and makes it easier for beginners to understand the structure of running processes in Linux in the form of a simple tree.
If you have any more tools similar to this in your hands, then let me know in the comment section.
Till then, peace!


