The Windows Docker container is gaining significant popularity, allowing users to easily deploy Windows 11, 10, 8.1, XP, etc., as a container and later access it via a browser (with VNC).
Before you confuse it with just a container, let me clarify that it uses Docker to download Windows images from the Microsoft server and then automatically configure it for installation, but behind the scenes, the downloaded image will be running in KVM (virtual emulator).
So, you need to ensure that virtualization is enabled in your BIOS settings, but the question arises: why do you need to run Windows in a Docker container then? The answer is quite simple. I’ve written a few points below that explain the advantages of running Windows in a Docker container.
- It is completely free, open-source, and legal.
- Automatically download the chosen Windows image from the Microsoft Server (for the latest Windows) or Bob Pony (for legacy Windows).
- Easy access to Windows 11, 10, 8.1, 7, Vista, XP, or Windows Server 2022, 2019, 2016, 2012, 2008, and more.
- It automatically configures the image and installs Windows, eliminating the need for going through manual installation. So, you can just run the Docker command and wait for your system to boot up.
- Access your RAM, storage, GPU, USB devices, etc., within the container.
- Easily delete and reinstall Windows like a sandbox.
- Access Windows locally or remotely via a browser.
- Use keyboard shortcuts through the remote desktop.
- Access the Windows applications and games that Wine cannot handle properly.
Now, there are certain things (consider them cons) that you need to take care of; thus, they are.
- Make sure that virtualization is enabled in the BIOS settings for Windows running in the Docker container, which uses KVM.
- The Windows within the container remains unactivated (though activation is possible through a purchased license key).
- Hardware devices like PCI and WiFi adapters cannot function (instead, opt for virtual machines).
- It demands the same system requirements as the original Windows (thus, less RAM results in slower speeds).
So, let’s see how you can install and set up the Windows 11 Docker container and access it via a web browser in Linux (such as Debian, Ubuntu, Arch, RedHat, Fedora, etc.).
How to Setup a Windows 11 Docker Container on Linux
To set up a Windows 11 Docker container, you need to ensure that Docker and Docker Compose are installed and configured on your system, after which you can follow one of the below-mentioned methods to set it up based on your preference.
- Using a single “
docker run” command (ease of use). - Using the “
docker-compose.yml” file (customization options are available).
I’ll explain how to set it up using both of these methods, so you can decide which is the perfect choice for you. Starting with…
Method 1: Using the Docker Run Command
This method is quite easy to follow because all you need to do is run the following command:
$ docker run -it --rm --name windows -v /var/win:/storage -p 8006:8006 -p 3389:3389 --device=/dev/kvm --cap-add NET_ADMIN --stop-timeout 120 dockurr/windowsWhereas:
- “
docker run -it --rm“: This is a Docker command to initiate a container in interactive mode, and with the “--rm” option, the container will be removed once terminated. - “
--name windows“: This sets the name of the container (which you can verify using the “docker ps” command). - “
-v /var/win:/storage“: The downloaded image and configuration files will be stored here, so later, when the container is reinitialized, you do not have to start from scratch. - “
-p 8006:8006 -p 3389:3389“: This exposes port 8006 for browser access through VNC and port 3389 for remote desktop. If you do not plan to use remote desktop, then remove the “-p 3389:3389” part. - “
--device=/dev/kvm“: Specifies the KVM file. - “
--cap-add NET_ADMIN“: Grants additional network capabilities to the container. - “
--stop-timeout 120“: Specifies a grace period in seconds (in this case, 120) for a running container to shut down gracefully before it is forcefully terminated. - “
dockurr/windows“: This is the image of the container.
Once you issue the command, you can check the status of the Windows 11 container by visiting “http://localhost:8006” in your browser.
Method 2: Using Docker Compose File
This method is for advanced users, as it requires a few manual steps to create the Windows 11 container using a compose file. So, to begin, first create a directory, and inside it, create a compose file with the following commands:
$ mkdir ~/Windows-Docker && cd ~/Windows-Docker
$ touch docker-compose.yml
Now, within the compose file, you can copy and paste the following compose template, which I manually adjusted while keeping customization and ease of use in mind. Feel free to change the highlighted red values according to your preferences.
version: "3"
services:
  windows:
    image: dockurr/windows
    container_name: windows
    devices:
      - /dev/kvm
    cap_add:
      - NET_ADMIN
    ports:
      - 8006:8006
      - 3389:3389/tcp
      - 3389:3389/udp
    stop_grace_period: 2m
    restart: on-failure
    environment:
      VERSION: "win11"
      RAM_SIZE: "4G"
      CPU_CORES: "4"
      DISK_SIZE: "64G"
    volumes:
      - /var/win:/storage
In the above compose template, most of the stuff is the same as the previously mentioned “docker run” command in method 1, so if you are directly visiting this method, make sure to first check that out.
The remaining options, which are new and consist of environment parameters such as “RAM_SIZE“, “CPU_CORES“, and “DISK_SIZE“, can be adjusted based on your preference and ensure that your system has the specified resources.
Now, once you have copied and pasted the provided compose template into the compose file, you can save, close the file, and execute the following command to start the container.
$ docker compose up -dHow to Access Windows 11 Running on a Docker Container
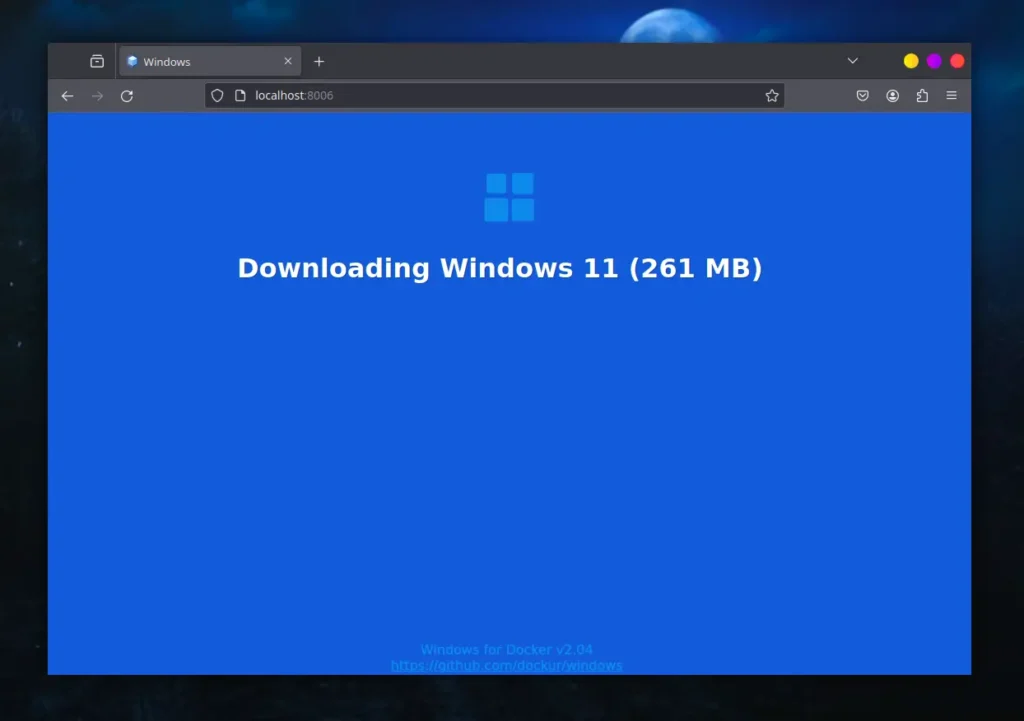
Once the container is initialized, it will begin downloading the mentioned Windows image, extracting it, and building it. You can open your favorite Firefox or Chrome browser and visit “http://localhost:8006” to monitor the status of your container.
The following is a picture of when the Windows 11 image is being downloaded.
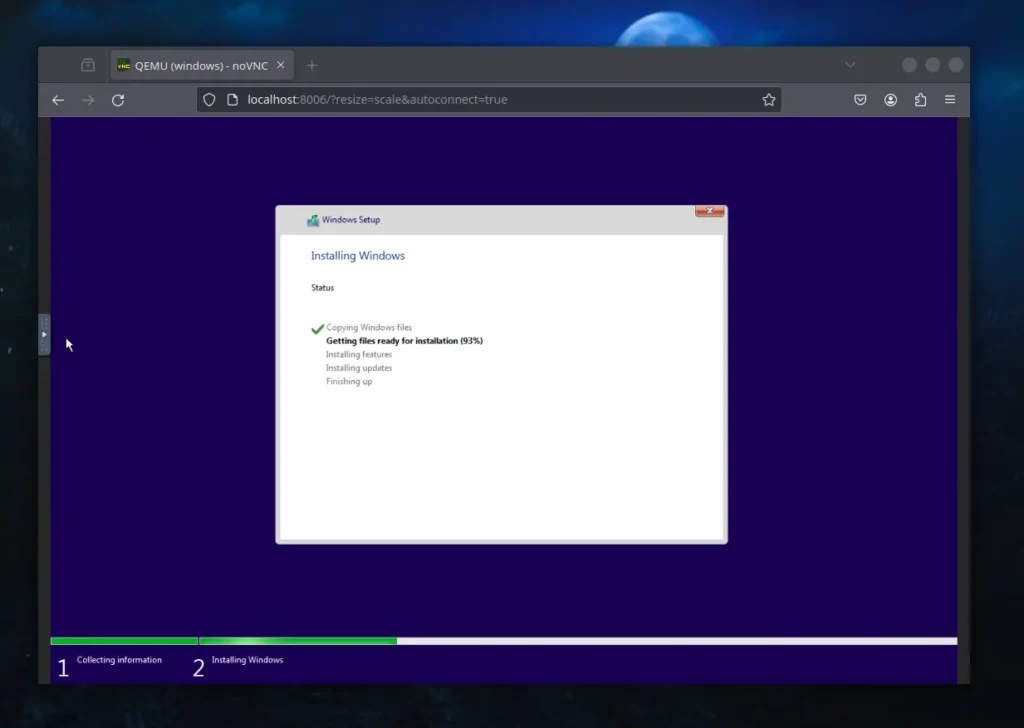
Once the download process is complete, it will automatically begin installing Windows 11 in a Docker container without requiring any manual steps.
This process will take a few minutes, so you can take a coffee break and come back when you see the following Windows 11 home screen.
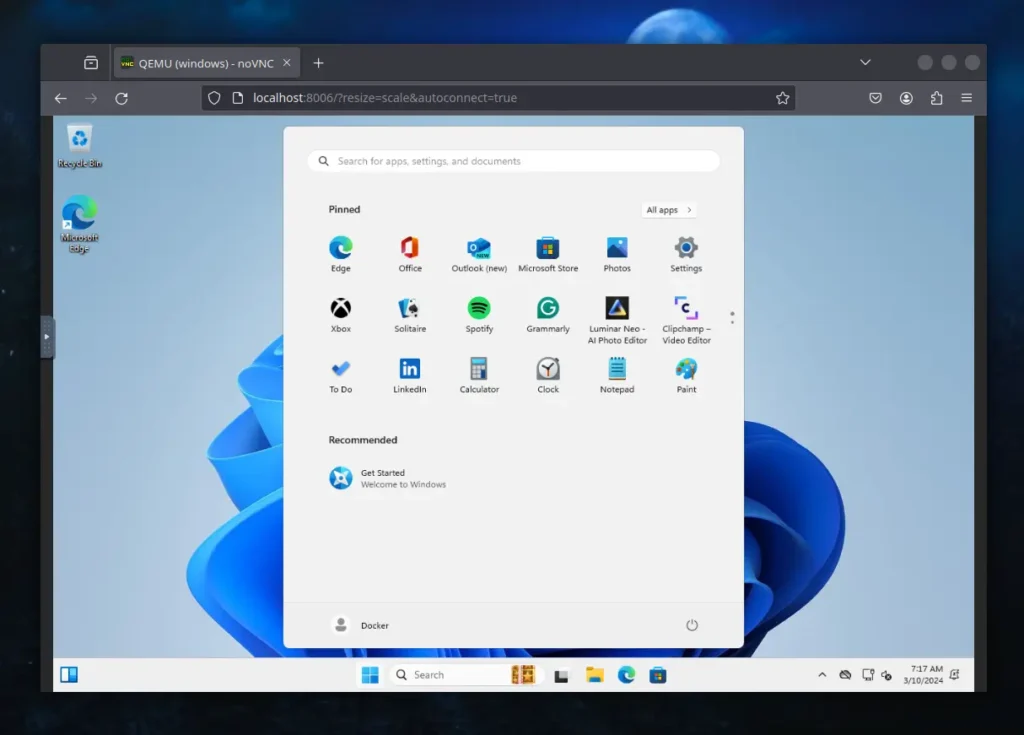
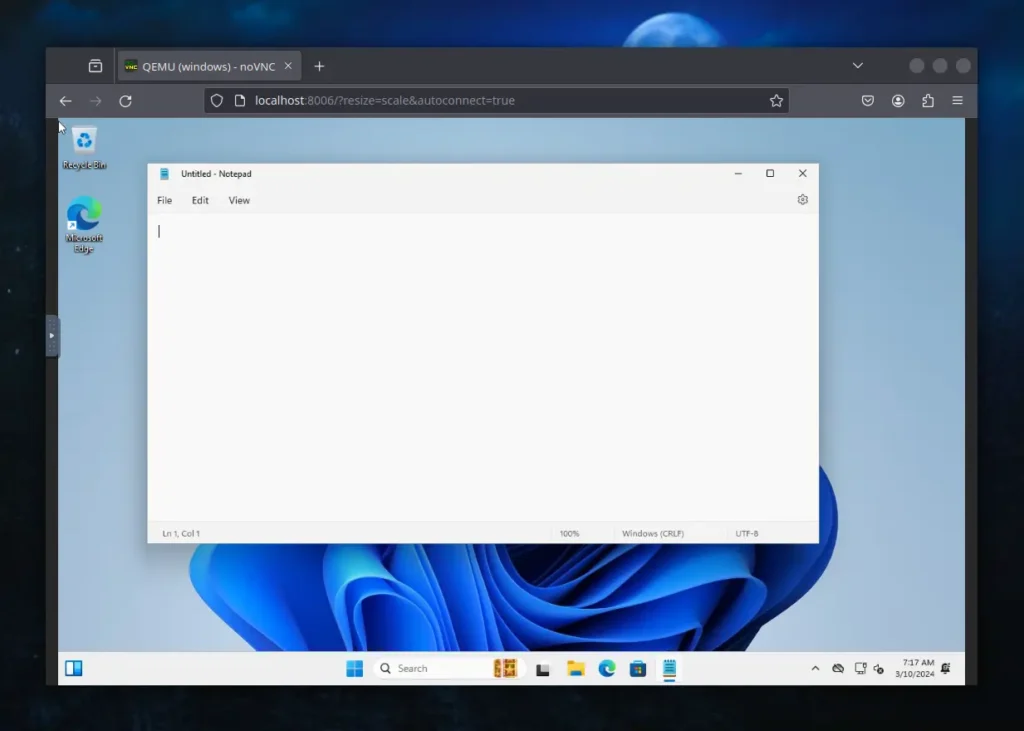
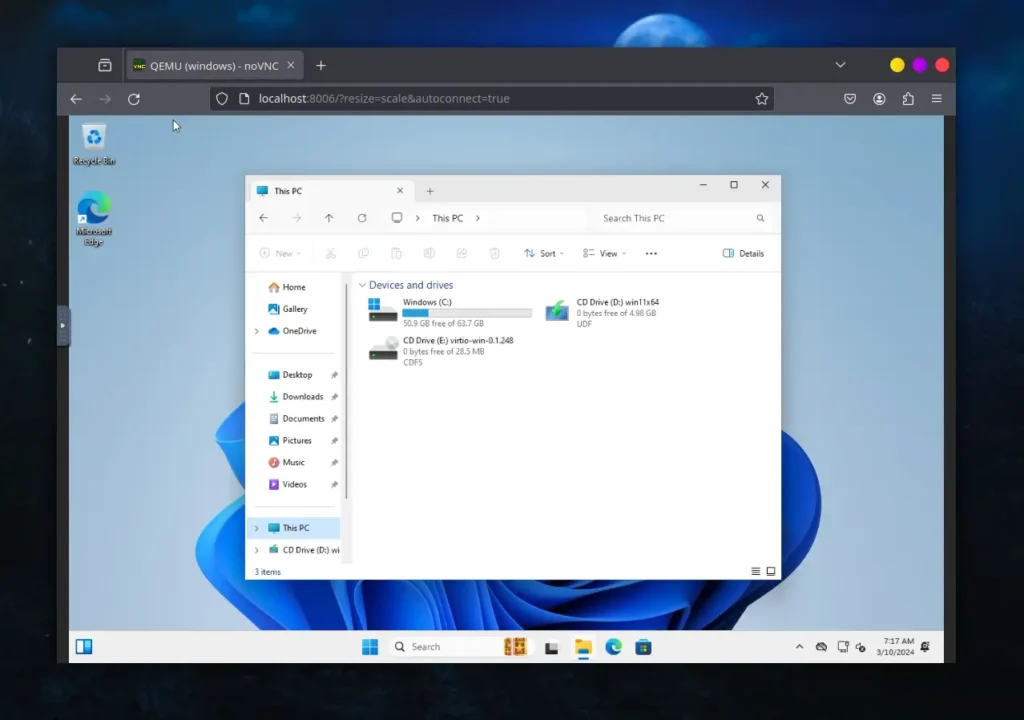
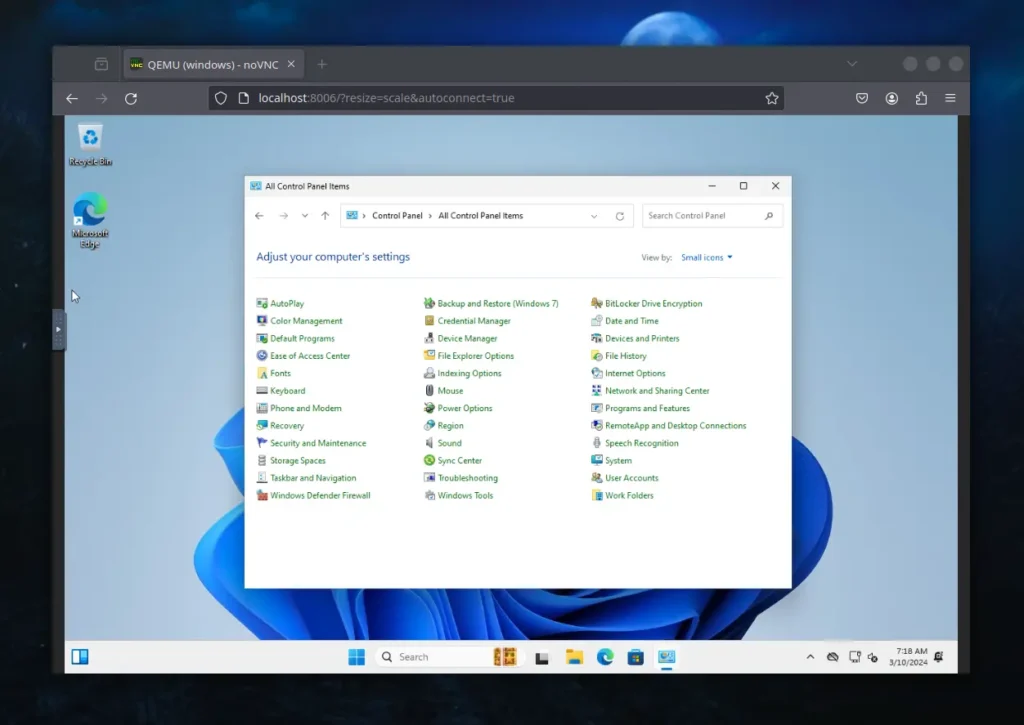
Congratulations! You have successfully set up a Windows 11 Docker container on your Linux system. Now, below, I’ve attached a few images of running different applications to give you an idea of how they look.
The following is an image of Notepad running on a Windows 11 Docker container:
The following is an image of File Explorer on a Windows 11 Docker container:
The following is an image of the Control Panel on a Windows 11 Docker container:
That’s it. Now you can use it like your regular Windows 11 machine on your Linux system without a virtual machine. Once you’re done using it, you can terminate it from your terminal.
Additional Tips on Using Windows on a Docker Container
Instead of accessing the Windows 11 Docker container from your browser through VNC, I would suggest you first enable remote desktop from Windows settings and then access it via a remote desktop client application to easily use keyboard shortcuts and achieve a proper screen view.
Now, in this article, we focus on setting up a Windows 11 container, but you can set up different Windows versions, such as 10, 8.1, 7, XP, or Windows Server, by simply replacing “win11” from “VERSION: "win11"” under environment in the compose file with the value mentioned in the following tables.
| Value | Description | Source | Transfer | Size |
|---|---|---|---|---|
win11 | Windows 11 Pro | Microsoft | Fast | 6.4 GB |
win10 | Windows 10 Pro | Microsoft | Fast | 5.8 GB |
ltsc10 | Windows 10 LTSC | Microsoft | Fast | 4.6 GB |
win81 | Windows 8.1 Pro | Microsoft | Fast | 4.2 GB |
win7 | Windows 7 SP1 | Bob Pony | Medium | 3.0 GB |
vista | Windows Vista SP2 | Bob Pony | Medium | 3.6 GB |
winxp | Windows XP SP3 | Bob Pony | Medium | 0.6 GB |
2022 | Windows Server 2022 | Microsoft | Fast | 4.7 GB |
2019 | Windows Server 2019 | Microsoft | Fast | 5.3 GB |
2016 | Windows Server 2016 | Microsoft | Fast | 6.5 GB |
2012 | Windows Server 2012 R2 | Microsoft | Fast | 4.3 GB |
2008 | Windows Server 2008 R2 | Microsoft | Fast | 3.0 GB |
core11 | Tiny 11 Core | Archive.org | Slow | 2.1 GB |
tiny11 | Tiny 11 | Archive.org | Slow | 3.8 GB |
tiny10 | Tiny 10 | Archive.org | Slow | 3.6 GB |
Final Word
I find it very interesting to use a Windows machine within a Docker container, with the added benefit of its automatic installation process eliminating the need for manual steps. However, you can opt for manual installation by specifying “MANUAL: "Y"” in the environment.
Another great aspect of using it is running legacy games on your system that require older versions of Windows, or free games shipped with Windows XP and 7. It’s better for running most applications that the Windows compatibility layer (such as Wine) can’t handle.
However, I want to know if you find it interesting and, if so, what you plan to use it for. Let me know in the comment section.
Till then, peace!


We had to remove the windows 11 container complely using rm
because when we ran the docker compose and changed to another windows OS, windows 11 would run not the other OS.
So is this the case that only one container can exist?
Thanks.
Did you get sound working on this setup?
You may encounter sound problems, especially with Windows 11.
I was wondering: other than the ease of instlling Windows itself, which seems to all be automated, what are the advantages, as it is still a [K]VM in the end. Does it reduce any complexity in the virtual hardware management ?
No. This allows you to consolidate your tools. Let’s say your usual flow doesn’t include vagrant and other such VM automation.
If HW management is important, this adds an additional layer of complexity over just using libvirt.
And, if you need production workload on k8s, for example, you should just setup a Windows k8s cluster, instead of relying on virtualization.
Hi,
Thanks for this article found it very helpful.
Having one issue though. I installed win10 docker containor on a ubuntu os,
if I understand correctly the following instruction in the yamal file is to be able to share folders between the windows in the docker containor and the ubuntu (in my case) host:-
volumes:
– /var/win:/storage
But I can’t get this to work, can kindly explain how this file or folder sharing work please? Thanks