
Zypper is a popular and robust package management tool, holding its position as a cornerstone in both openSUSE Leap, freely available for personal use, and SUSE Linux Enterprise, exclusively designed for business applications.
It is a command-line based package management tool that empowers Linux users to effortlessly install, update, remove, and manage packages on their Linux systems.
Zypper, powered by the ZYpp library (libzypp), integrates with RPM to manage RPM packages. Alongside PackageKit, it provides a high-level package management abstraction, ensuring a consistent API for package management across Linux distributions.
Zypper primarily operates through a command-line interface (CLI), making it a preferred choice for system administrators and experienced Linux users.
However, it can also be used with GUI front ends like YaST (Yet Another Setup Tool), the default configuration tool for openSUSE, to provide a graphical package management interface.
In this article, you’ll gain valuable insights into effectively managing SUSE Linux packages using the Zypper command.
Tutorial Details
| Description | Zypper Package Manager |
| Difficulty Level | Moderate |
| Root or Sudo Privileges | Yes |
| OS Compatibility | openSUSE Leap, SUSE Linux Enterprise |
| Prerequisites | – |
| Internet Required | Yes |
How to Use the Zypper Package Manager
Please be aware that certain commands demonstrated in the following examples may lead to system-wide modifications, requiring root or sudo privileges.
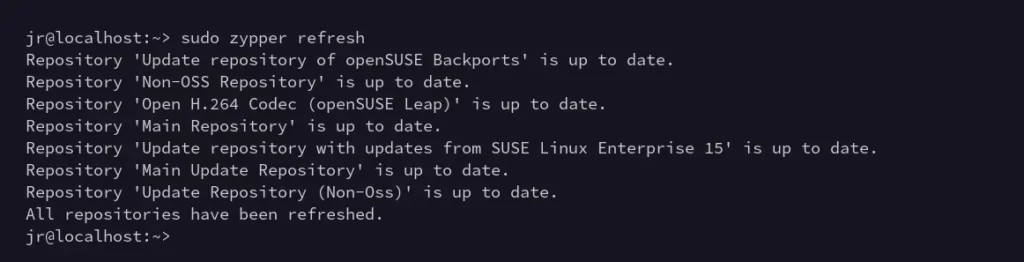
1. Update Package Repositories
Execute the following command to update the package repositories on your system, ensuring they have the latest package information:
$ sudo zypper refresh

#OR

$ sudo zypper ref
Output:
2. Update System Packages
The following command will update the installed software packages based on the available version information in the repositories:
$ sudo zypper update

#OR

$ sudo zypper up
Output:

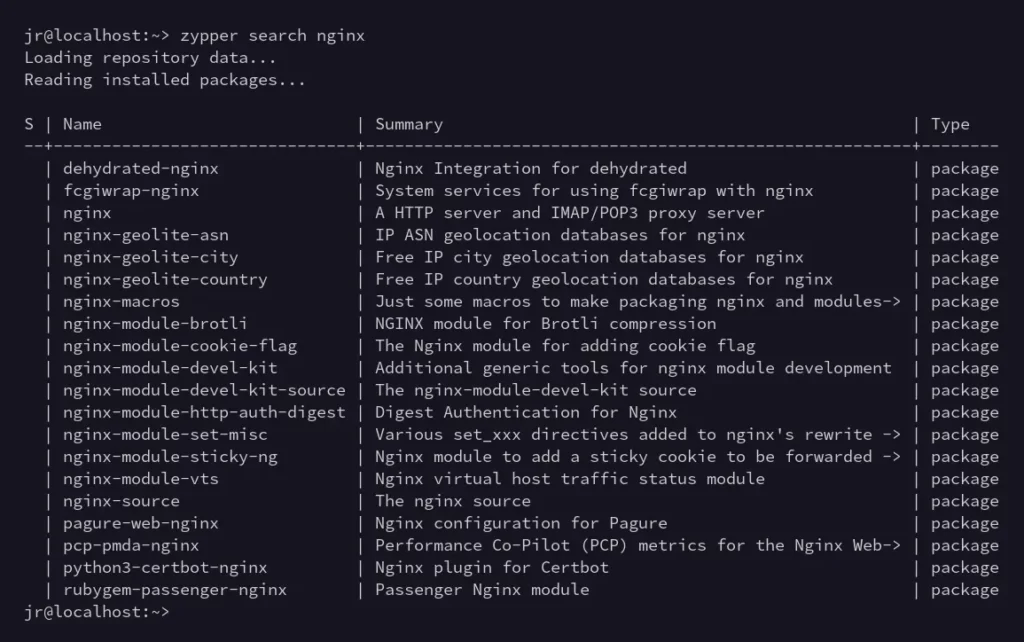
3. Search for a Package
The following command will search for the provided package (ex: “nginx“) in the system repositories:
$ zypper search nginx

#OR

$ zypper se nginx
Output:
4. Install a Package
Specify the package name in the following command to install it:
$ sudo zypper install nginx

#OR

$ sudo zypper in nginx
Output:

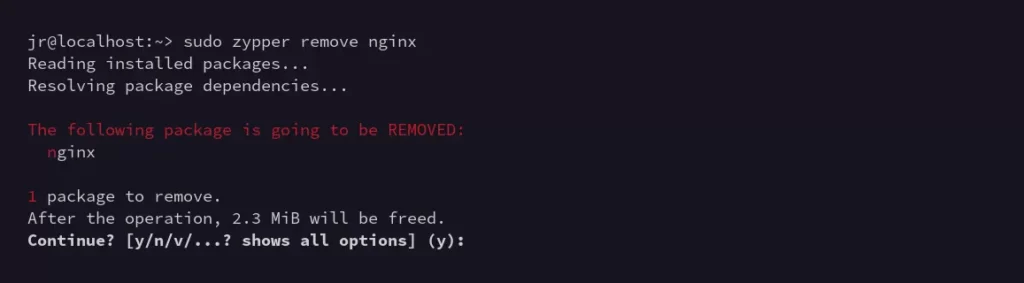
5. Remove a Package
To uninstall or remove a package, specify its name in the following command:
$ sudo zypper remove nginx

#OR

$ sudo zypper rm nginx
Output:
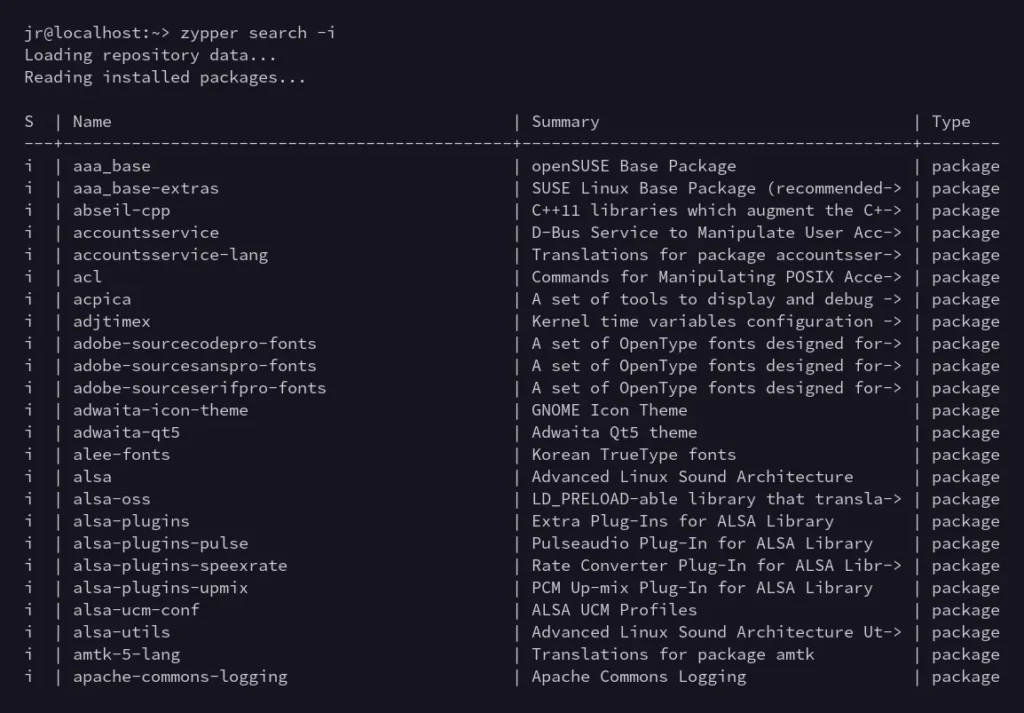
6. List Installed Packages
The following command will search for and display information about installed packages:
$ zypper search -i

#OR

$ zypper se -i
Output:
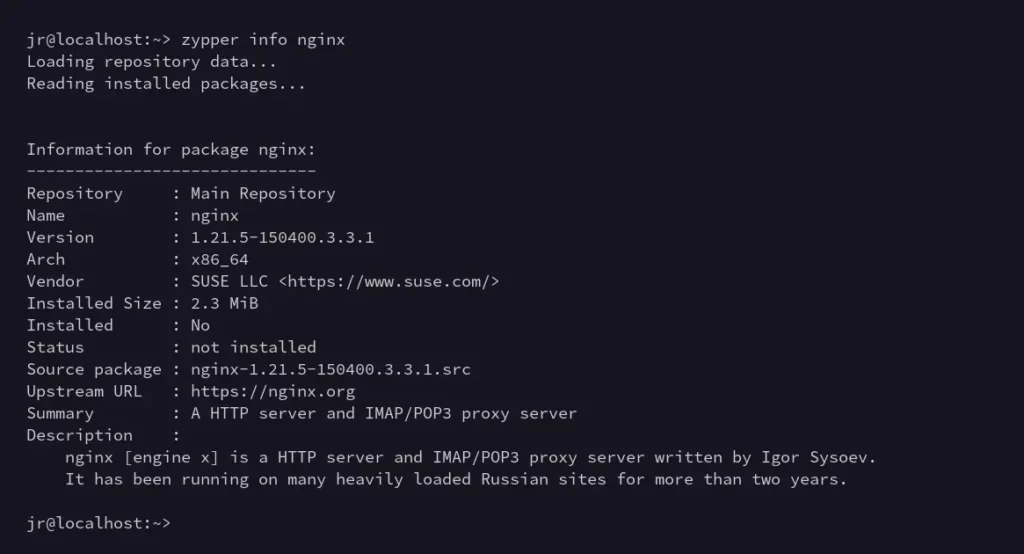
7. Show Package Information
The following command retrieves detailed information about specified packages, such as repository, name, version, arch, vendor, installed size, installation status, source package, upstream URL, summary, and description, whether they are installed or not.
$ zypper info nginxOutput:
8. List Available Patches
The following command will display the list of available patches and updates for your system:
$ zypper list-patches

#OR

$ zypper lp
Output:

9. Apply Patches
The following command will apply the software updates and security patches:
$ sudo zypper patch

#OR

$ zypper patch --auto-agree-with-licenses      #Use to Auto agree all the Licenses/Agreements
Output:

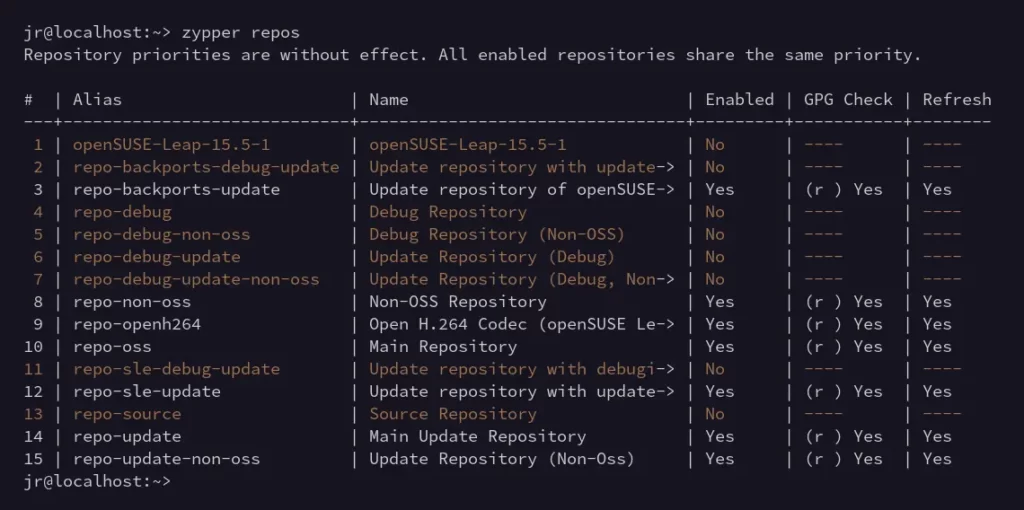
10. Show Repository Details
The following command will list all the enabled and disabled repositories in your system, including the status of GPG check and refresh:
$ zypper reposOutput:
11. Show All the Available Packages from a Specific Repository
The following command will list all the available packages associated with the references (ex: “repo-update“) repository:
$ zypper search --repo repo-update

#OR

$ zypper se --repo repo-update
Output:

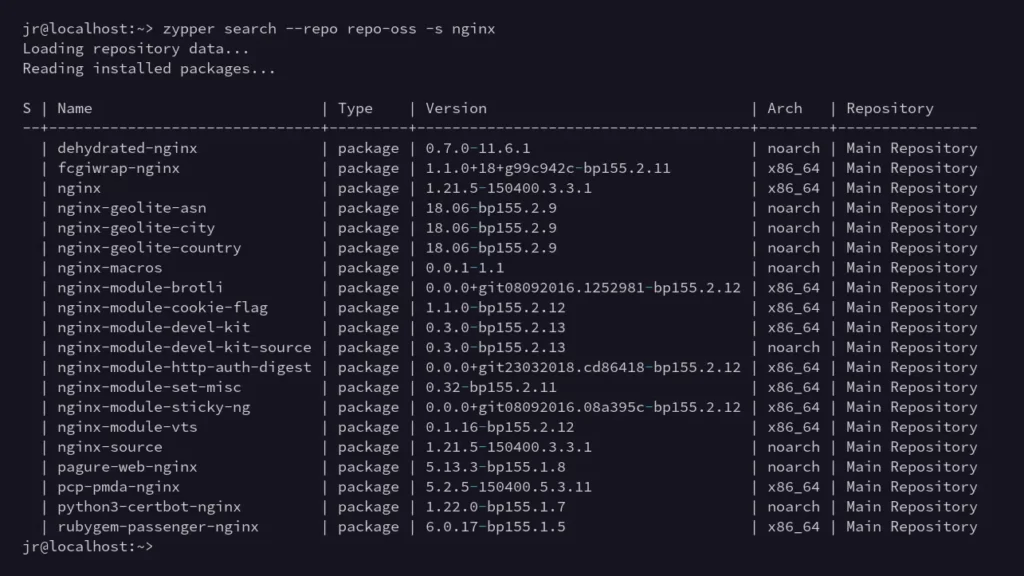
12. Search for a Specific Package from a Specific Repository
The following command will look for a specific (ex: “nginx“) package in the specific (ex: “repo-oss“) repository:
$ zypper search --repo repo-oss -s nginx

#OR

$ zypper se --repo repo-oss -s nginx
Output:
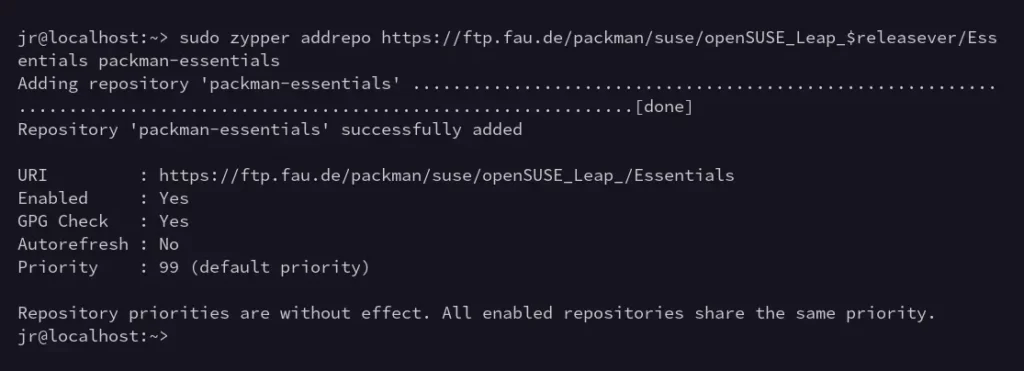
13. Add a Repository
To add an external repository, you can use “zypper addrepo” or “zypper ar”, followed by the repository location and a unique alias for the repository.
--name” flag followed by the name you want to assign to the repository for identification purposes.$ sudo zypper addrepo https://ftp.fau.de/packman/suse/openSUSE_Leap_$releasever/Essentials packman-essentials
#OR
$ sudo zypper ar https://ftp.fau.de/packman/suse/openSUSE_Leap_$releasever/Essentials packman-essentialsOutput:
14. Remove a Repository
Specify the unique alias of the repository in the following command to remove it from the repository list:
$ sudo zypper removerepo packman-essentials

#OR

$ sudo zypper rr packman-essentials
Output:

15. Enable a Repository
Specify the unique alias of the repository as the following to enable it:
$ sudo zypper modifyrepo --enable repo-source

#OR

$ sudo zypper mr --enable repo-source
Output:

16. Disable a Repository
Like the previous example, use the “--disable” flag with the unique alias of the repository to disable it:
$ sudo zypper modifyrepo --disable repo-source

#OR

$ sudo zypper mr --disable repo-source
Output:

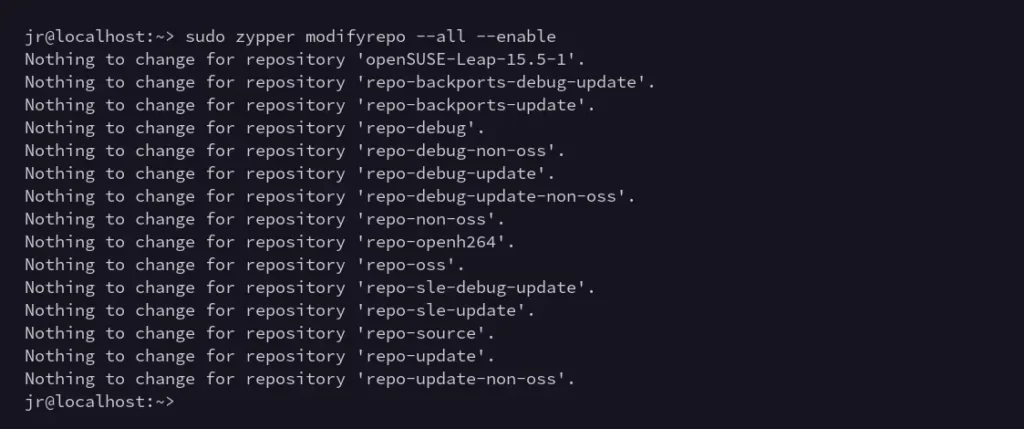
17. Enable All Repositories
The following command will enable all the repositories:
$ sudo zypper modifyrepo --all --enable

#OR

$ sudo zypper mr --all --enable
Output:
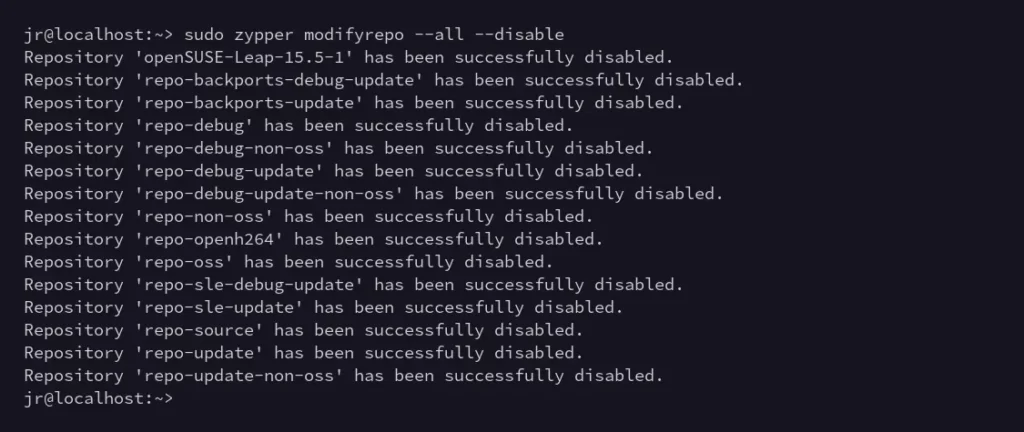
18. Disable All Repositories
The following command will disable all the enabled repositories:
$ sudo zypper modifyrepo --all --disable

#OR

$ sudo zypper mr --all --disable
Output:
19. Check for Dependency Problems
The following command will check the integrity of the installed packages and ensure that no files have been modified or corrupted on your system:
$ sudo zypper verifyOutput:

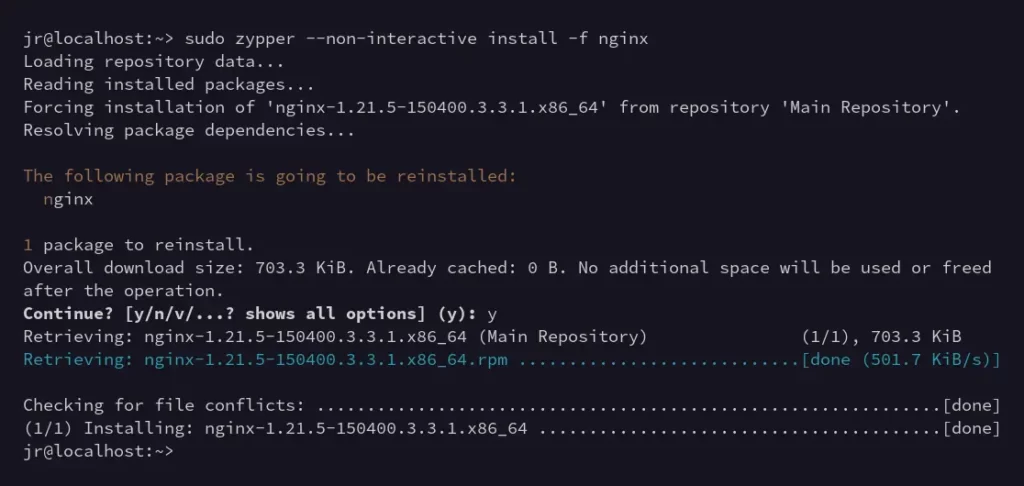
20. Resolve Dependency Issues
Forcefully update the corrupted package in non-interactive mode using the “--non-interactive” and “-f” flags followed by the package name:
$ sudo zypper --non-interactive install -f nginxOutput:
21. Show Packages that Require Updates
The following command will list all the packages that require an update:
$ zypper list-updates

#OR

$ zypper lu
Output:

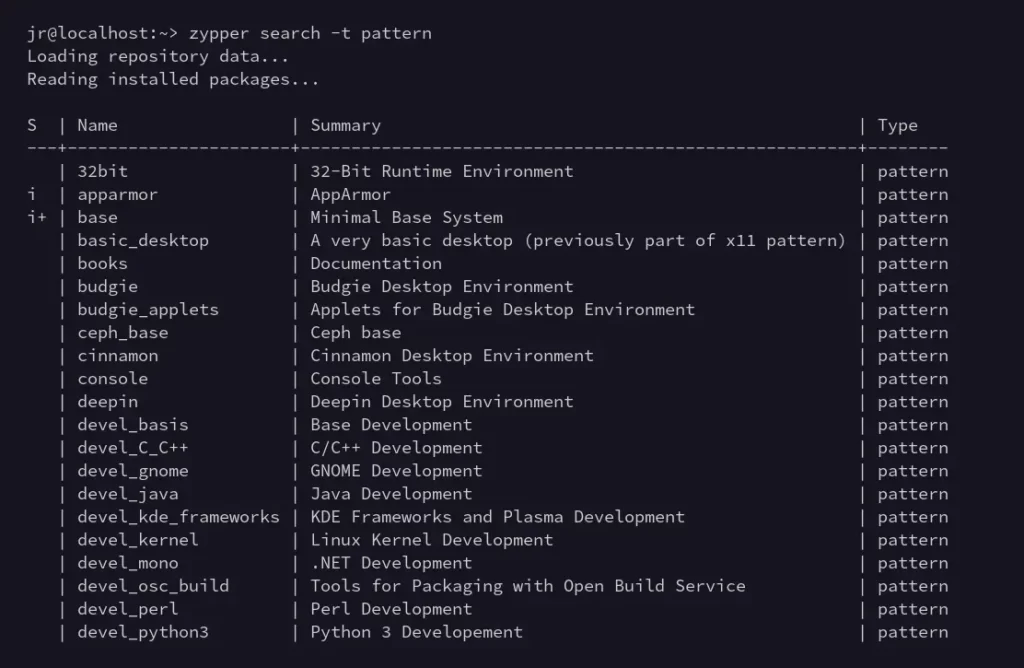
22. Show Available Package Groups
The following command will display the list of available package groups along with their descriptions:
$ zypper search -t pattern

#OR

$ zypper se -t pattern
Output:
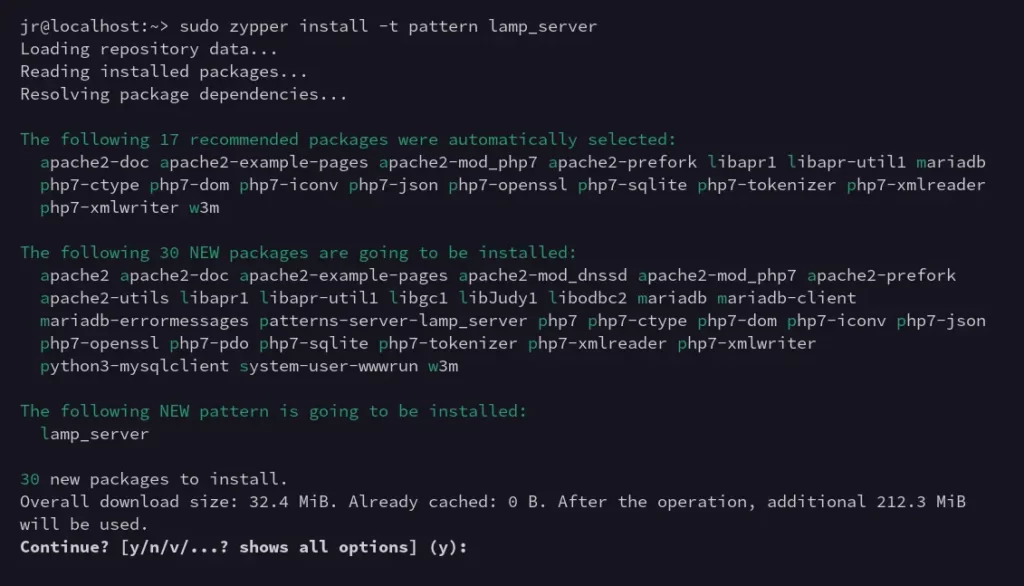
23. Install a Package Group
Specify the specific package group whose packages you want to install in the following command:
$ sudo zypper install -t pattern lamp_server

#OR

$ sudo zypper in -t pattern lamp_server
Output:
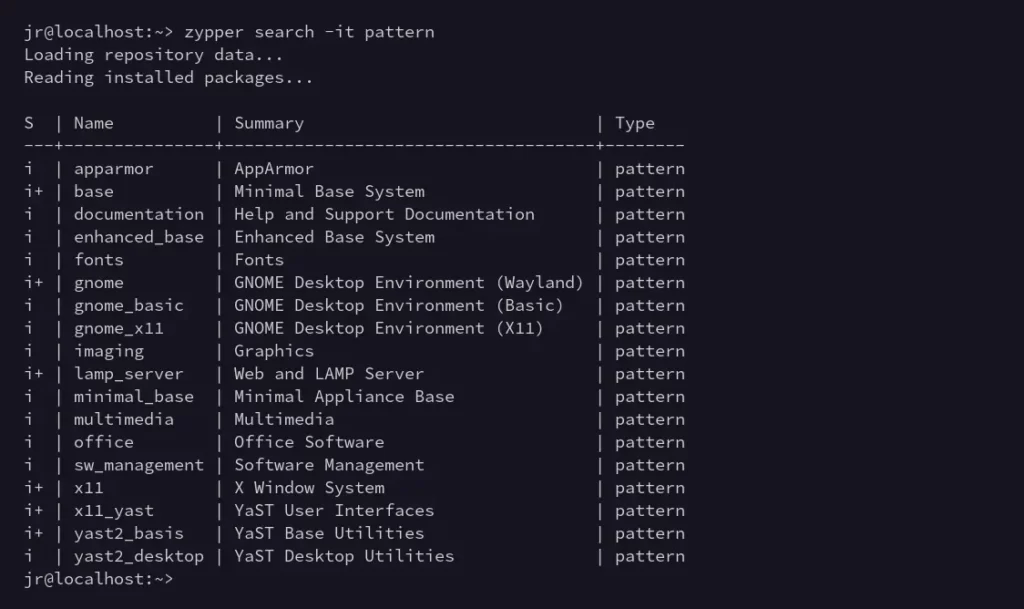
24. Show Installed Package Groups
The following command with the “-it” flag will only list the installed package groups on your system:
$ zypper search -it pattern

#OR

$ zypper se -it pattern
Output:
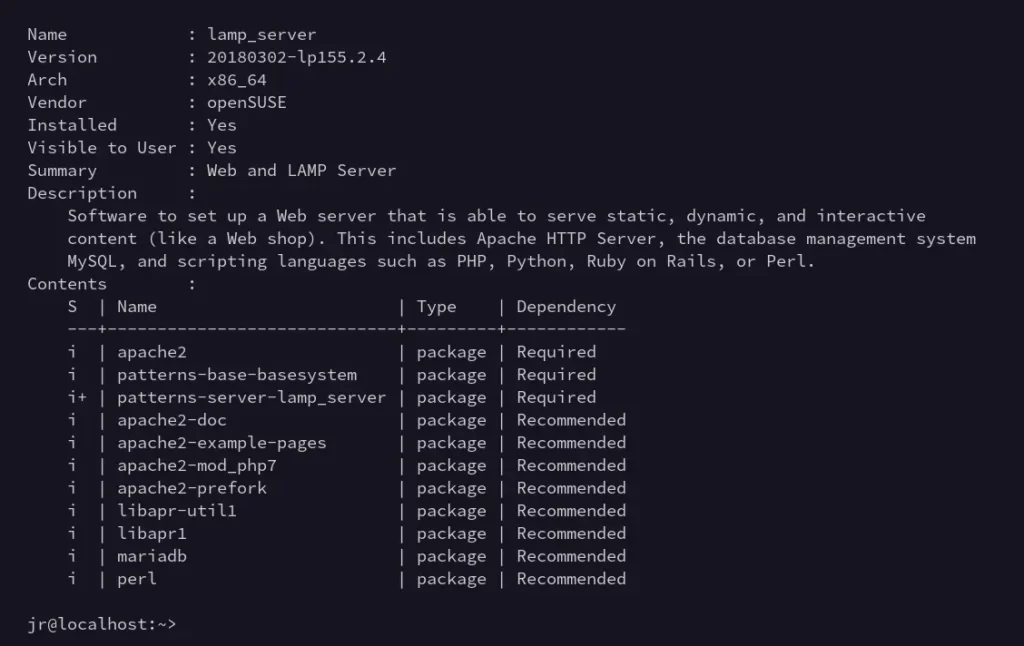
25. Show the Content of the Installed Package Group
Execute the below command, followed by the installed package group, to list its contents:
$ zypper info -t pattern lamp_serverOutput:
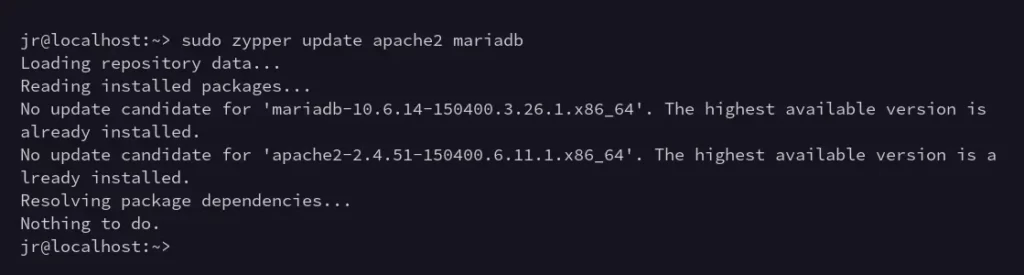
26. Update a Single Package from the Package Group
Like the normal package update, you can specify a single or multiple package names from the package group to the “zypper update” command:
$ sudo zypper update apache2 mariadb

#OR

$ sudo zypper up apache2 mariadb
Output:
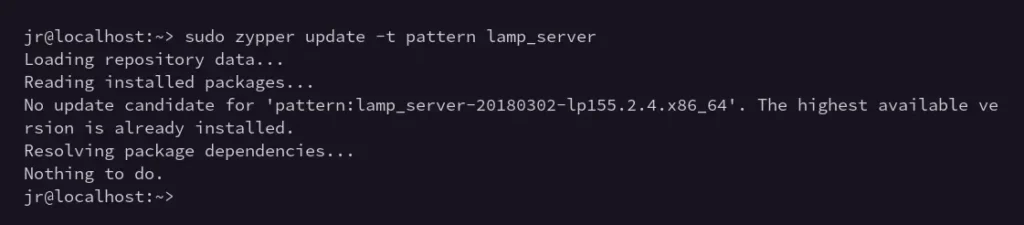
27. Update All the Packages from the Package Group
The following command will check for updates and, if available, update the packages from the specified package group:
$ sudo zypper update -t pattern lamp_server

#OR

$ sudo zypper up -t pattern lamp_server
Output:
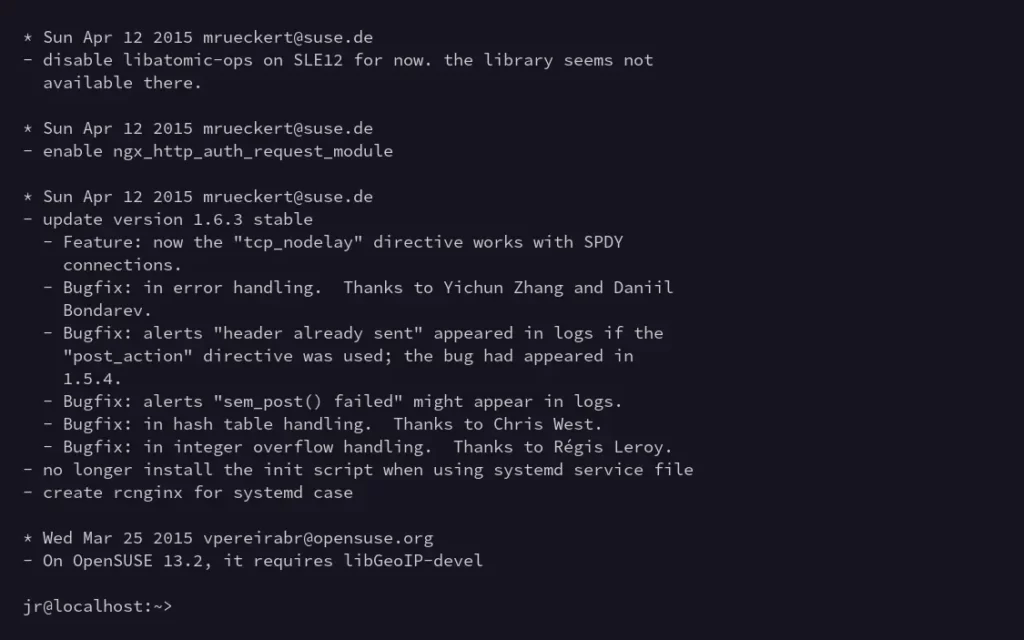
28. Show Package Changelog
Zypper currently does not support listing the changelog of packages. However, you can easily retrieve all the changelogs for a specific package using the “rpm” command:
$ sudo rpm -q --changelog nginxOutput:
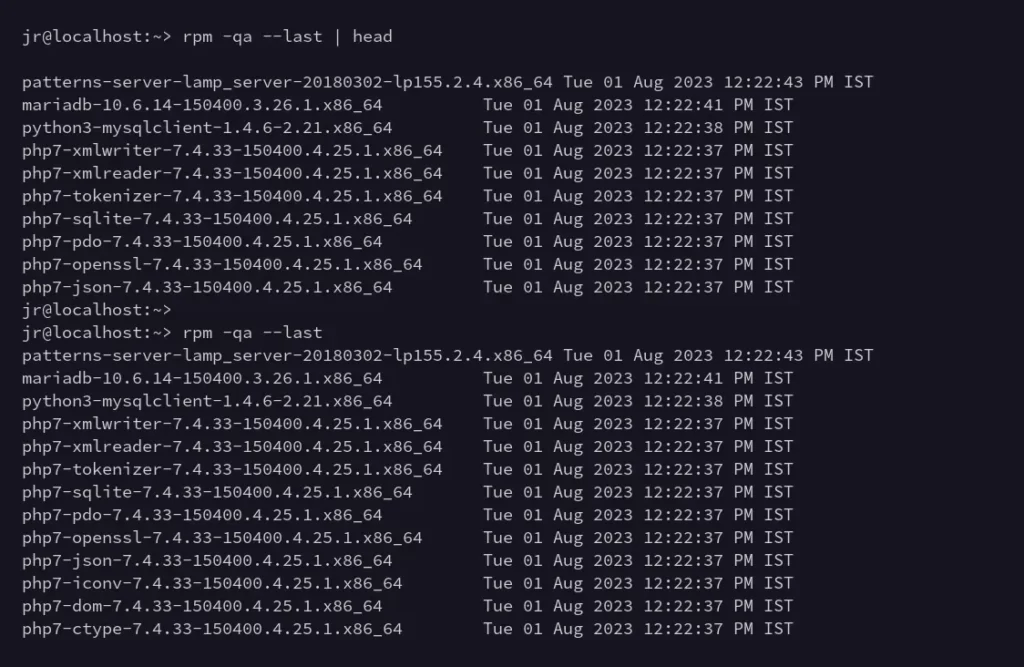
28. Show Recently Installed Packages
Like the previous example, you can use the “rpm” command to display all the recently installed packages along with their installation dates.
$ rpm -qa --lastOutput:
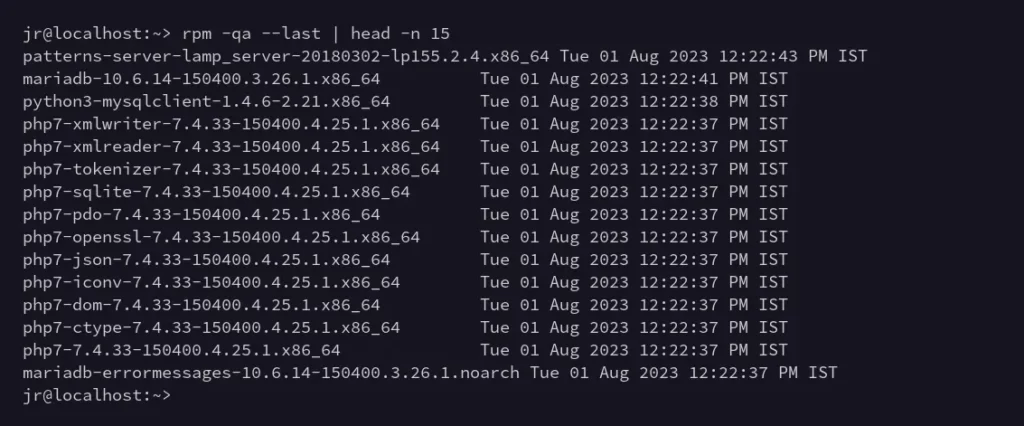
To limit the results, you can use the head command to output the first few lines, showing the most recently installed packages:
$ rpm -qa --last | head -n 15The above command will only list the fifteen recently installed packages, as shown:
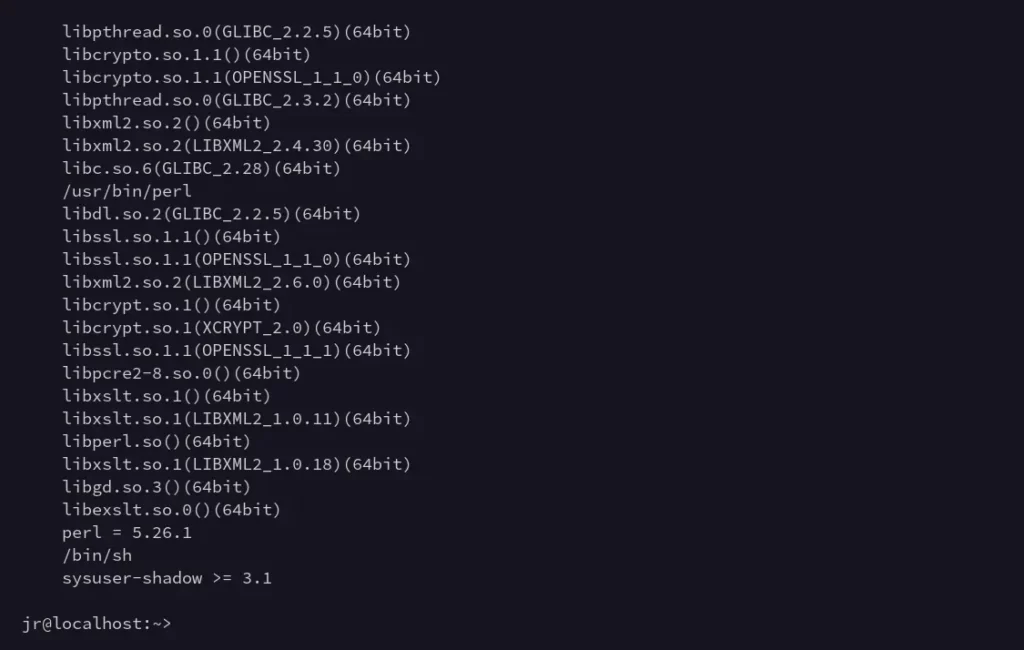
30. Show Dependencies for a Package
The following command will list all the required dependencies for a package:
$ zypper info --requires nginxOutput:
31. Show Orphaned Packages
The following command will remove the packages and dependencies that are no longer required and are not being used by any other packages:
$ sudo zypper packages --orphaned

#OR

$ sudo zypper pa --orphaned
Output:

32. Clean Package Cache
The following command will free up disk space by removing the Zypper cache:
-a” flag to remove all the metadata and package caches.$ sudo zypper cleanOutput:

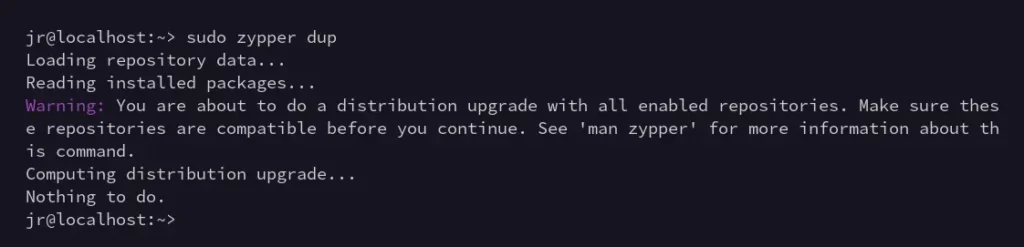
33. Update Distribution to a New Version
The following command will perform the system upgrade, ensuring the operating system and installed packages are up to date:
$ sudo zypper dupOutput:
34. Install a Local RPM Package
If you have the RPM package locally saved on your system, then you can specify its path in the following command to install it:
$ sudo zypper install /path/to/package.rpm

#OR

$ sudo zypper in /path/to/package.rpm
35. Install the Package without User Interaction
To install the package without user interaction from the repositories or locally, you can use the “--non-interactive” flag with the Zypper command:
$ sudo zypper --non-interactive install /path/to/package.rpm

#OR

$ sudo zypper --non-interactive in /path/to/package.rpm
Final Word
I hope you find this comprehensive guide to Zypper useful. However, if you have any questions or queries related to this article, then feel free to tell us in the comment section.
Till then, peace!


