
Podman is a fantastic Docker alternative, yet challenges arise when attempting to utilize Docker images in Podman, particularly those only compatible with Docker like Portainer.
Yet, there is a certain way by which you can easily use Docker images like Portainer on the Podman (the main topic of this article).
If you’re not familiar with Portainer, you can read our article on “Portainer Server on Linux“, but for a quick overview, it’s a web-based GUI application that simplifies the deployment, management, and monitoring of containerized applications.
So, let’s keep aside all the things and focus on our main topic: how to deploy Portainer on Podman in Linux.
Tutorial Details
| Description | Portainer Server on Podman |
| Difficulty Level | Moderate |
| Root or Sudo Privileges | No |
| OS Compatibility | Ubuntu, Manjaro, Fedora, etc. |
| Prerequisites | Podman |
| Internet Required | Yes |
How to Deploy Portainer with Podman on Linux
The Portainer can be easily deployed on Podman with a few modifications in the command, but before showcasing that, make sure that Podman is installed and running on your Linux system.
So to correctly setup the Portainer with Podman to manage your Podman, follow the below steps one by one.
Step 1: Pulling the Official Portainer Image
1. If you haven’t already, install Podman on your Linux system by executing:
$ sudo apt install podman #For Debian 11+ or Ubuntu 20.10+
$ sudo dnf install podman #For Fedora
$ sudo yum install podman #For CentOS
$ sudo pacman -S podman #For Arch or Manjaro
$ sudo zypper install podman #For OpenSUSE
$ sudo emerge app-containers/podman #For Gentoo
$ sudo apk add podman #For Alpine Linux
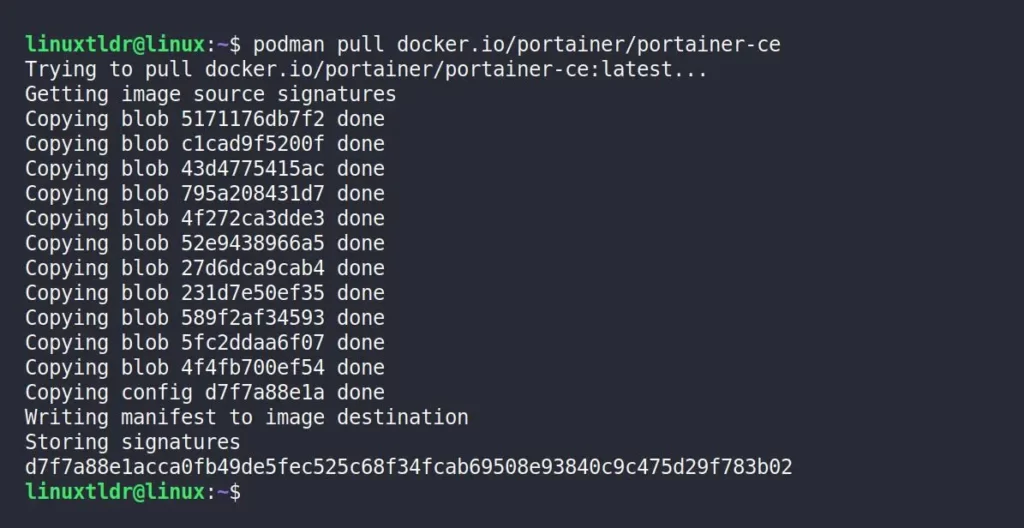
$ brew install podman #For Homebrew2. Once the installation is complete, pull the latest official Portainer Community Edition image by running:
$ podman pull docker.io/portainer/portainer-ceOutput:
3. To verify the image was successfully pulled, run:
$ podman imagesOutput:

Now that the image is pulled, there are two ways to run Portainer with Podman: either as root or rootless (recommended). Let’s get started.
Step 2.1: Deploying the Portainer Server on Podman with Root
1. Begin by activating the Podman socket at system level through this systemctl command:
$ sudo systemctl enable --now podman.socketOutput:

2. Run the Portainer in a Podman root environment by running:
$ podman run -d -p 9443:9443 --privileged -v /run/podman/podman.sock:/var/run/docker.sock:Z docker.io/portainer/portainer-ceOutput:

That’s it. Now you can check out this section to continue.
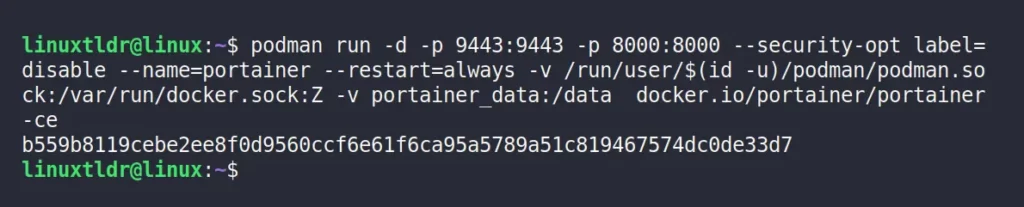
Step 2.2: Deploying the Portainer Server on Podman without Root
1. To run the Portainer server on Podman in a rootless environment, you have to enable the Podman socket for your user by running:
$ systemctl --user enable --now podman.socketOutput:

2. Run the Portainer in a Podman rootless environment by running:
$ podman run -d -p 9443:9443 -p 8000:8000 --security-opt label=disable --name=portainer --restart=always -v /run/user/$(id -u)/podman/podman.sock:/var/run/docker.sock:Z -v portainer_data:/data docker.io/portainer/portainer-ceOutput:
Step 3: Verifying the Portainer Container Status
When you launch the Portainer on Podman, you can verify the container is running with the following command:
$ podman psOutput:

Additionally, when Portainer launched, it also created a volume, which is verifiable by executing:
$ podman volume lsOutput:

The Portainer will use this volume to ensure persistent data storage across reboots.
Step 4: Accessing the Portainer
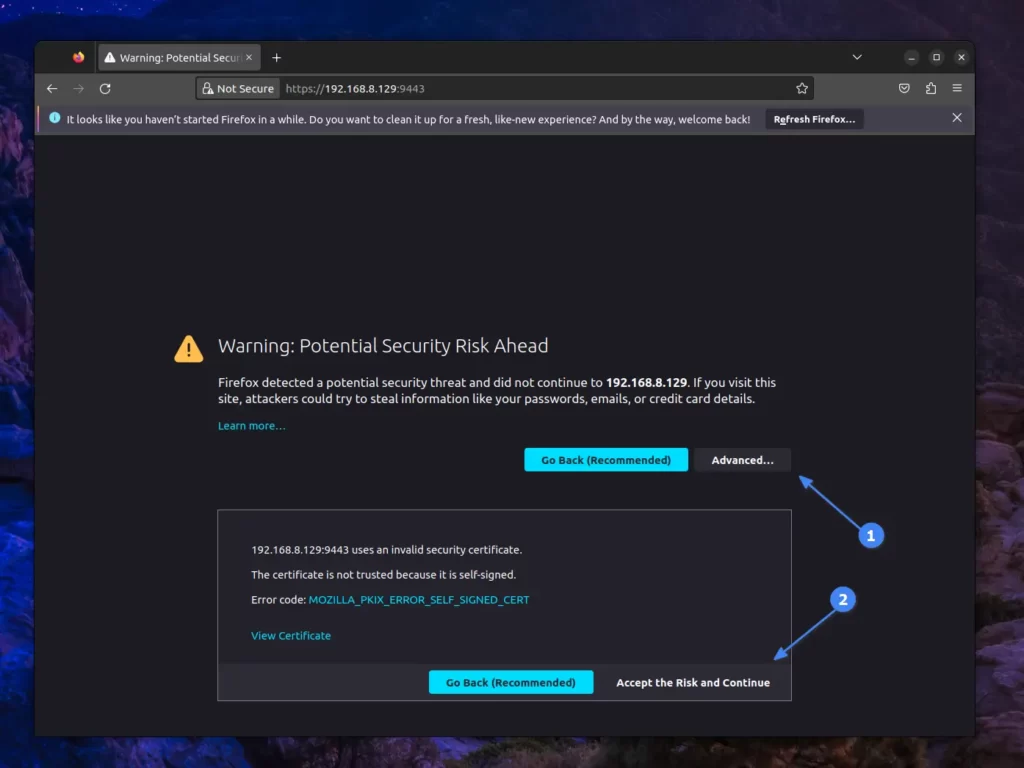
To open the Portainer web interface, just launch your preferred web browser, such as Chrome or Firefox, on the same machine or a device connected to the same network and navigate to “https://IP-ADDRESS:9443” (where IP-ADDRESS represents the IP address of your Linux instance running Portainer).
When accessing Portainer for the first time, you may encounter an insecure SSL warning. Just follow the instructions displayed in the image below.
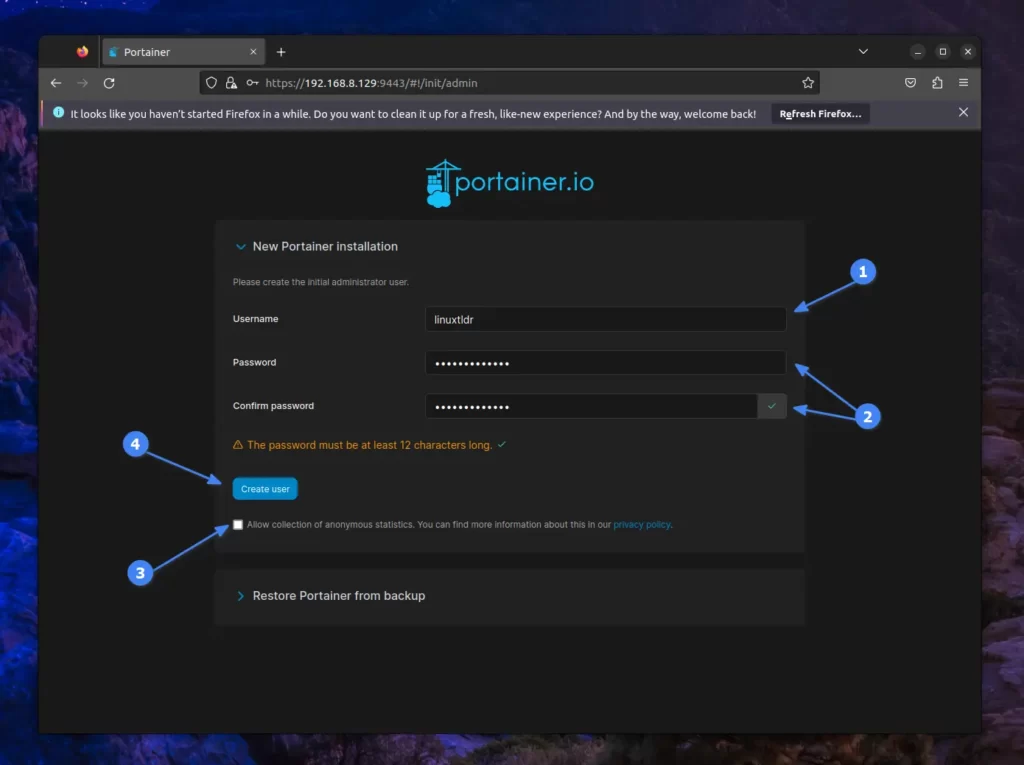
Next, a user configuration screen will appear. From here, you have to type an admin username and then add and verify a password for the new user.
Lastly, you can uncheck the telemetry data and continue by clicking the “Create User” button, which will take you to the Portainer UI.
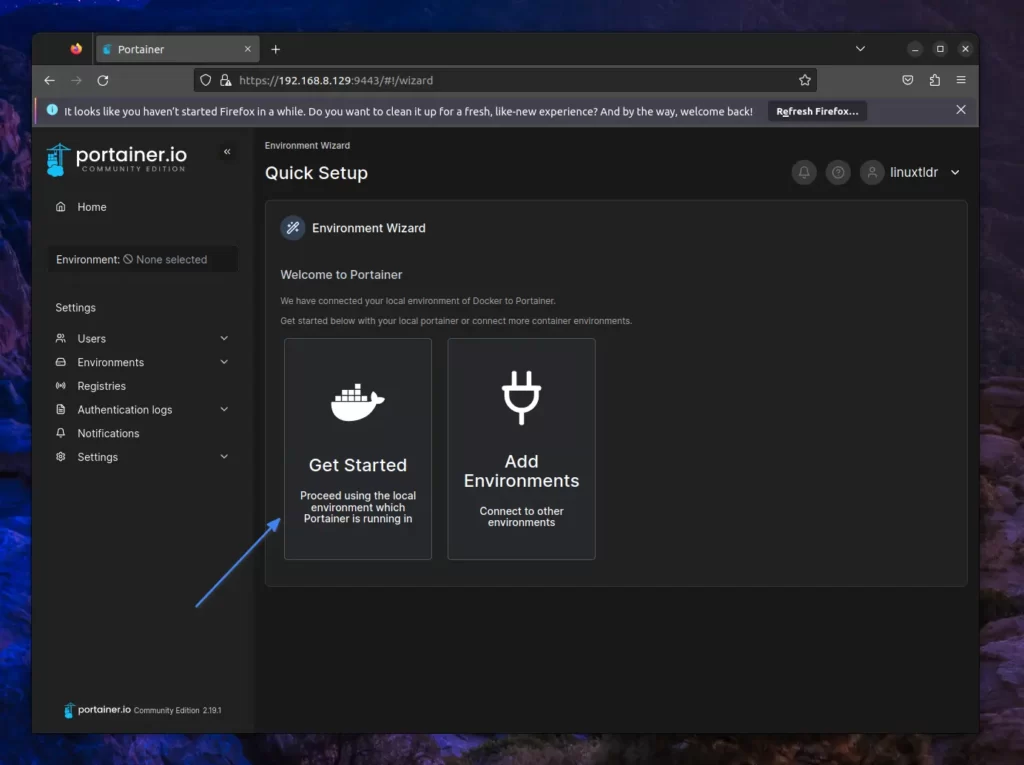
Here, you can add new environments or immediately begin by clicking “Get Started“.
After clicking “Get Started“, you’ll see the local environment listed in the Portainer UI.
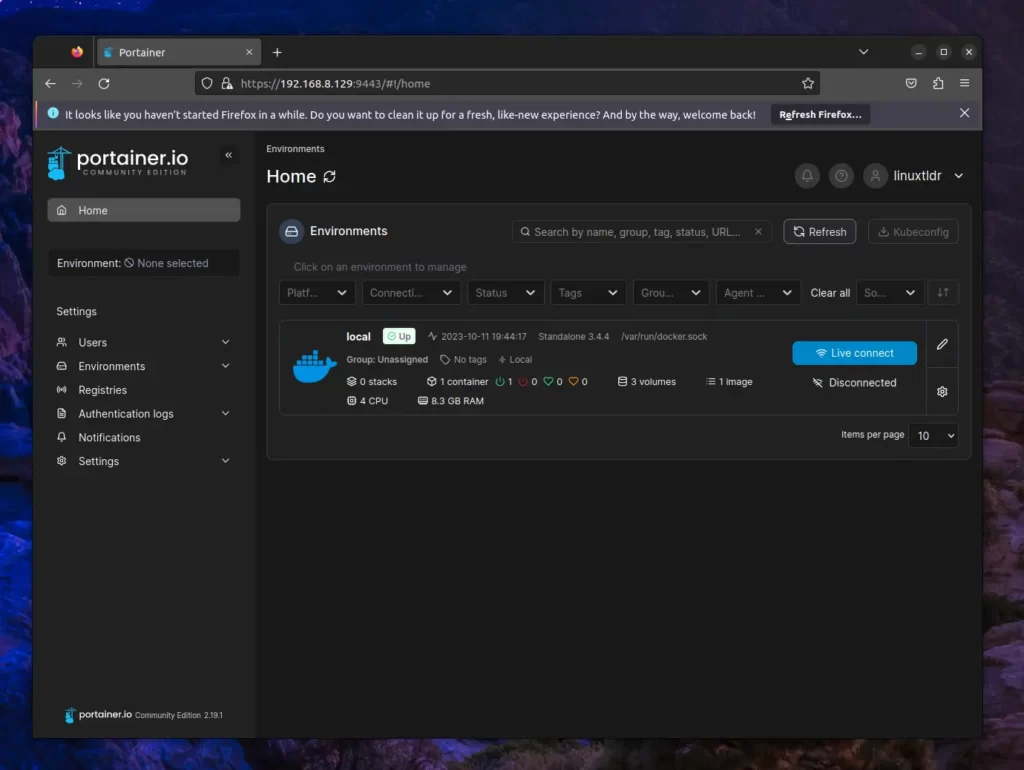
That’s it; now you can easily manage Podman using the Portainer UI.
Final Word
I hope you’ll find this article valuable. If there are additional tools in your Podman setup exclusively available for Docker, please share them in the comments.
Till then, peace!


