
VirtualBox is a popular virtualization software and side hustle for Oracle, which likes to keep its fingers warm in various pies. It’s free, open-source, and cross-platform, allowing you to get the same experience on Linux, Windows, and macOS.
Of course, you have more powerful and advanced closed-source proprietary virtualization software like VMware by Broadcom. However, if you prefer open-source software, then VirtualBox is the perfect fit for you.
In this article, I’ll show you how to install VirtualBox and the Extension Pack on Ubuntu 24.04 using two methods.
Install VirtualBox on Ubuntu 24.04 (using 2 Methods)
There are two ways to install VirtualBox on Ubuntu 24.04: one is from the official APT repository, and the other is by downloading the distribution package. Both are straightforward and can be chosen based on your preferences. So, let’s start with…
Method 1: Install VirtualBox on Ubuntu from APT Repository
This method involves adding a GPG key, an APT repository, updating the package database, and installing VirtualBox. To avoid any issues, ensure you follow the instructions below step by step.
Step 1: Import VirtualBox GPG Key
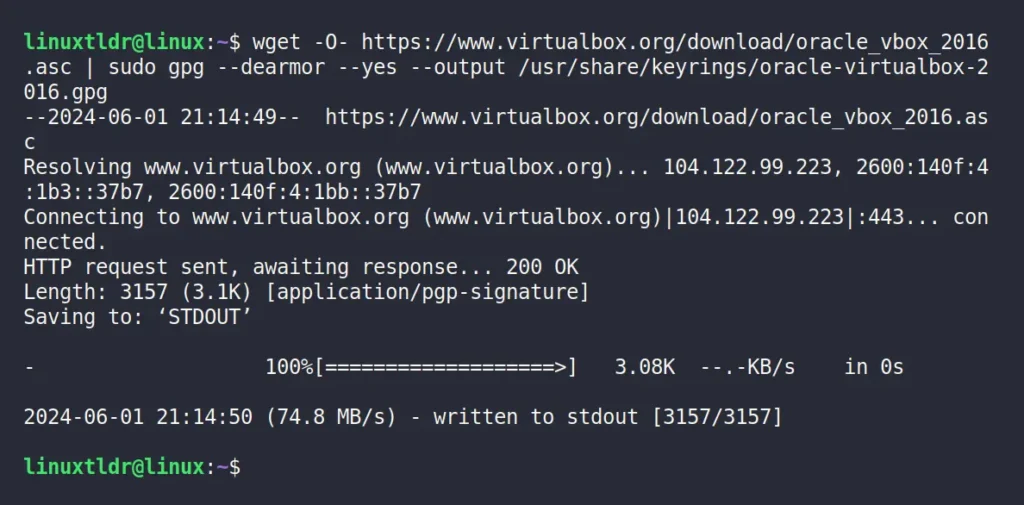
First, we’ll import the GPG key for the VirtualBox repository to establish trust with our Ubuntu system for the new repository, allowing us to easily install VirtualBox applications from the added repository.
$ wget -O- https://www.virtualbox.org/download/oracle_vbox_2016.asc | sudo gpg --dearmor --yes --output /usr/share/keyrings/oracle-virtualbox-2016.gpgOutput:
Step 2: Add VirtualBox APT Repository
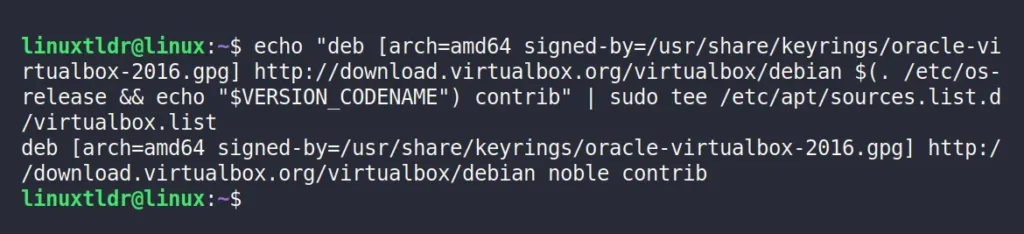
Next, we’ll add the VirtualBox repository, from which our Ubuntu system will download and install the VirtualBox application.
$ echo "deb [arch=amd64 signed-by=/usr/share/keyrings/oracle-virtualbox-2016.gpg] http://download.virtualbox.org/virtualbox/debian $(. /etc/os-release && echo "$VERSION_CODENAME") contrib" | sudo tee /etc/apt/sources.list.d/virtualbox.listOutput:
Step 3: Update Package Database
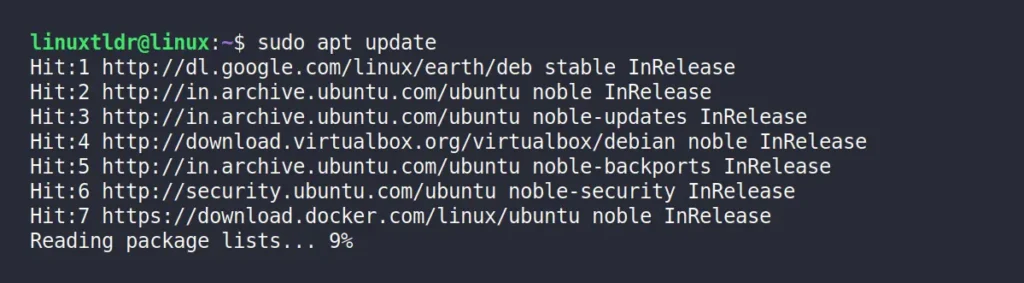
After adding the VirtualBox APT repository, update the package database to reflect the new package information.
$ sudo apt updateOutput:
Step 4: Install VirtualBox
Now that we’re all set, let’s install the VirtualBox application on Ubuntu 24.04 using the command below:
$ sudo apt install virtualboxOutput:

Wait a few minutes for installation to complete. Once done, you’ll have the latest VirtualBox 7 installed on your Ubuntu 24.04 system.
Method 2: Install VirtualBox on Ubuntu Using Distribution Package
This method is straightforward: just download the VirtualBox DEB package from their official site and follow a few commands to install it.
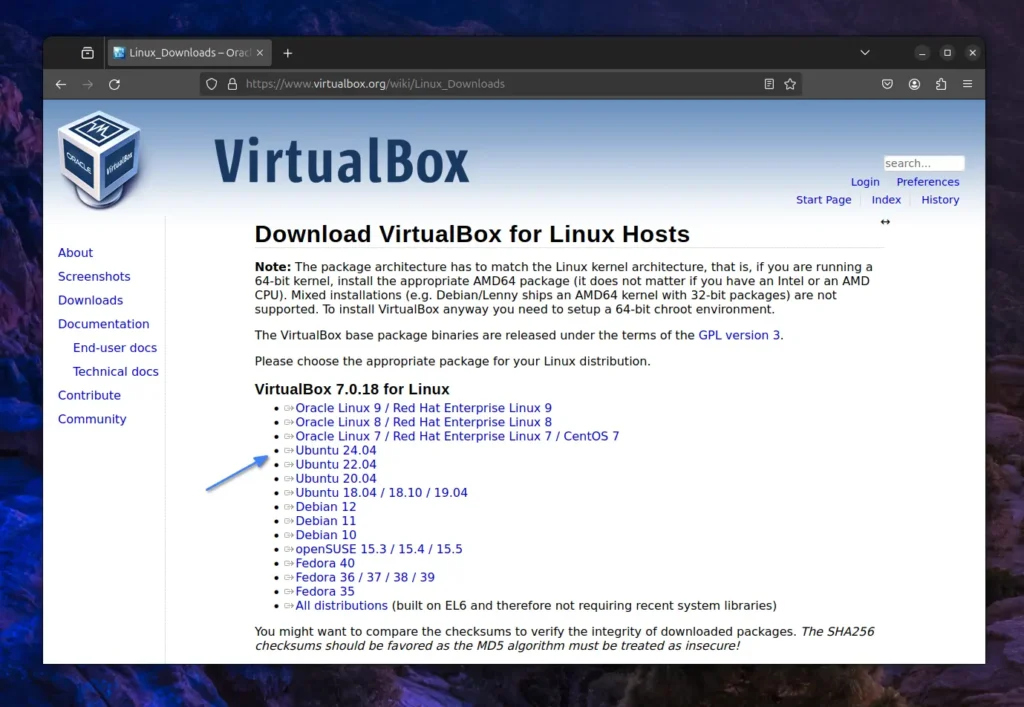
Begin by visiting the official VirtualBox download page to download the DEB package for Ubuntu 24.04.
Once the download is complete, open your terminal, navigate to the downloads directory, and use the APT command to install VirtualBox from the DEB package.
$ cd ~/Downloads/
$ sudo dpkg -i ./virtualbox-*_amd64.deb
Output:
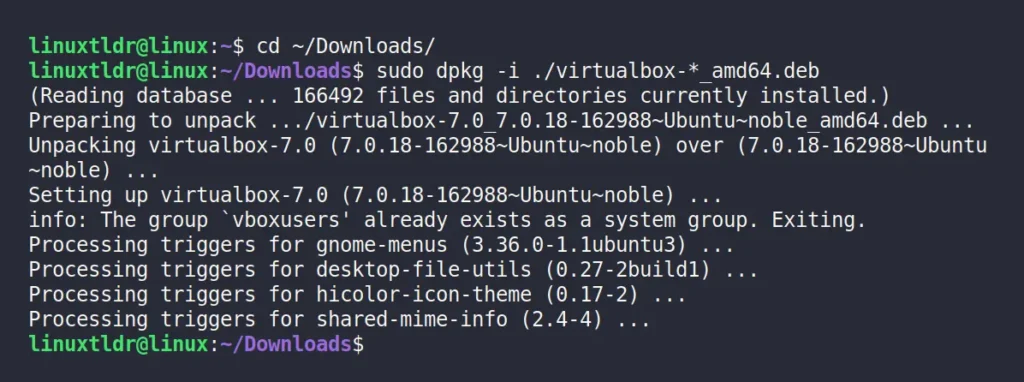
If the installation failed and you received a dependency error message, execute the following command to fix all those errors, then re-execute the previous installation command.
$ sudo apt --fix-broken installInstall VirtualBox Extension Pack on Ubuntu 24.04
This is an optional step, but installing the VirtualBox Extension Pack increases VirtualBox’s capabilities and overall improves your experience while using it. To give you a glimpse, here is a list of features you get from installing the VirtualBox Extension Pack.
- USB 2.0 and USB 3.0 Device Support.
- Host Webcam Pass-Through.
- VirtualBox Remote Desktop Protocol (VRDP).
- Disk Image Encryption with AES-256.
- Intel PXE Boot ROM.
- Support for NVMe SSDs.
- Improved 3D Graphics Support.
- Virtual Disk Image Support like QED, QCow, VMDK. etc
To install the Extension Pack on Ubuntu, identify the specific VirtualBox version installed on your system. Use the following command to check the VirtualBox version on your system.
$ vboxmanage -v | cut -dr -f1Output:

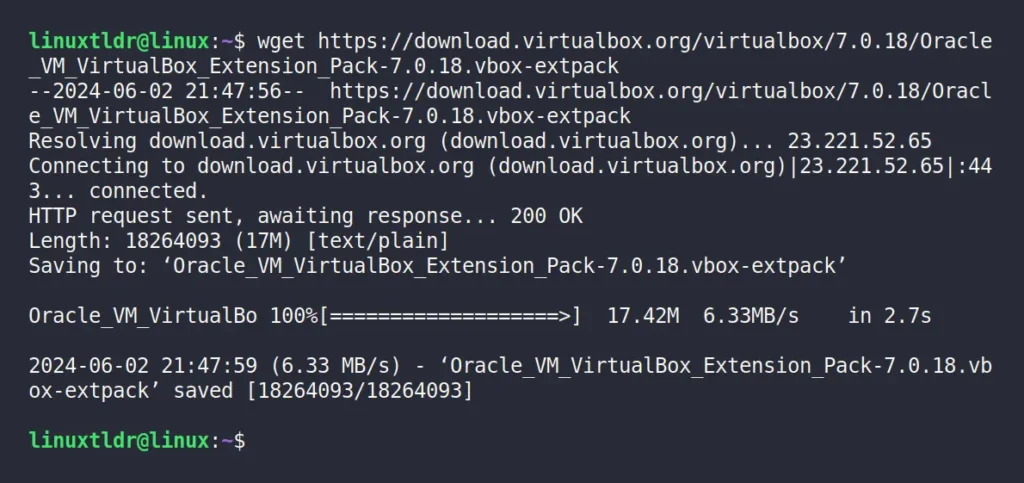
It’s version “7.0.18” for me, but if yours differs, make a note of your version and look for the Extension Pack with the corresponding version on the virtualbox download page. Alternatively, you can use the following wget command from your terminal to directly download the Extension Pack (ensure to replace all places containing “7.0.18“).
$ wget https://download.virtualbox.org/virtualbox/7.0.18/Oracle_VM_VirtualBox_Extension_Pack-7.0.18.vbox-extpackOutput:
To install the VirtualBox Extension Pack, you can use the “vboxmanage” command as follows:
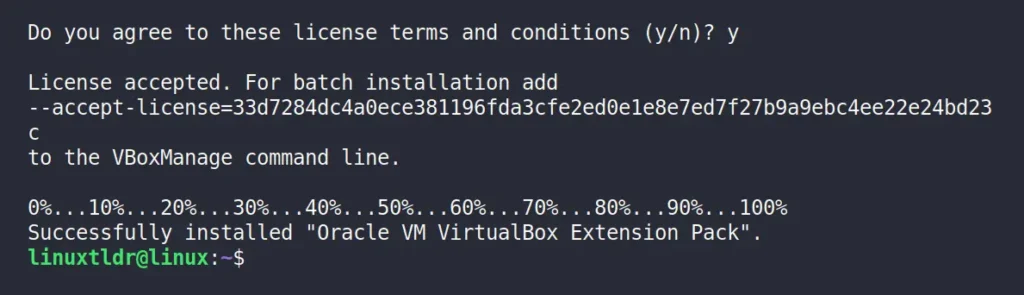
$ sudo vboxmanage extpack install Oracle_VM_VirtualBox_Extension_Pack-*.vbox-extpackDuring installation, you’ll be prompted to agree the license terms and conditions; press “Y” to accept.
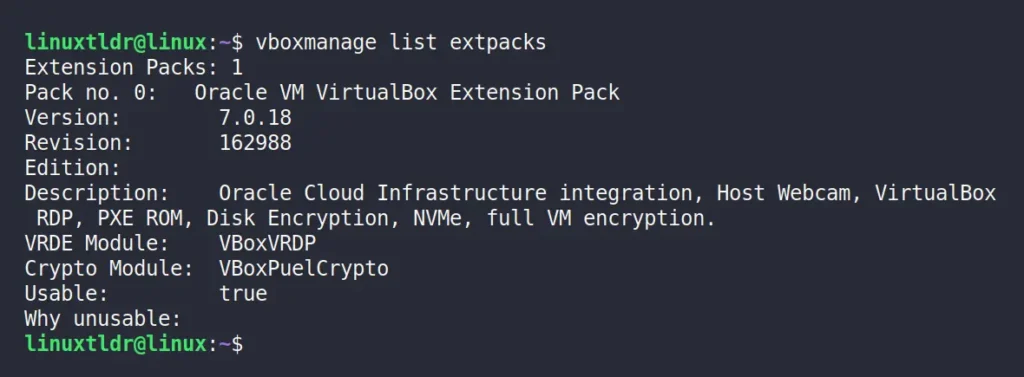
Lastly, you can verify the installed VirtualBox extension pack version by running:
$ vboxmanage list extpacksOutput:
Launch VirtualBox
Once the VirtualBox installation is complete, you can find and launch it from the application menu.
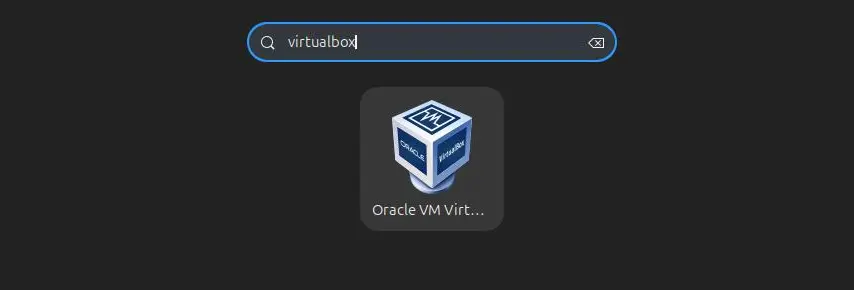
Here is your first interaction with VirtualBox.
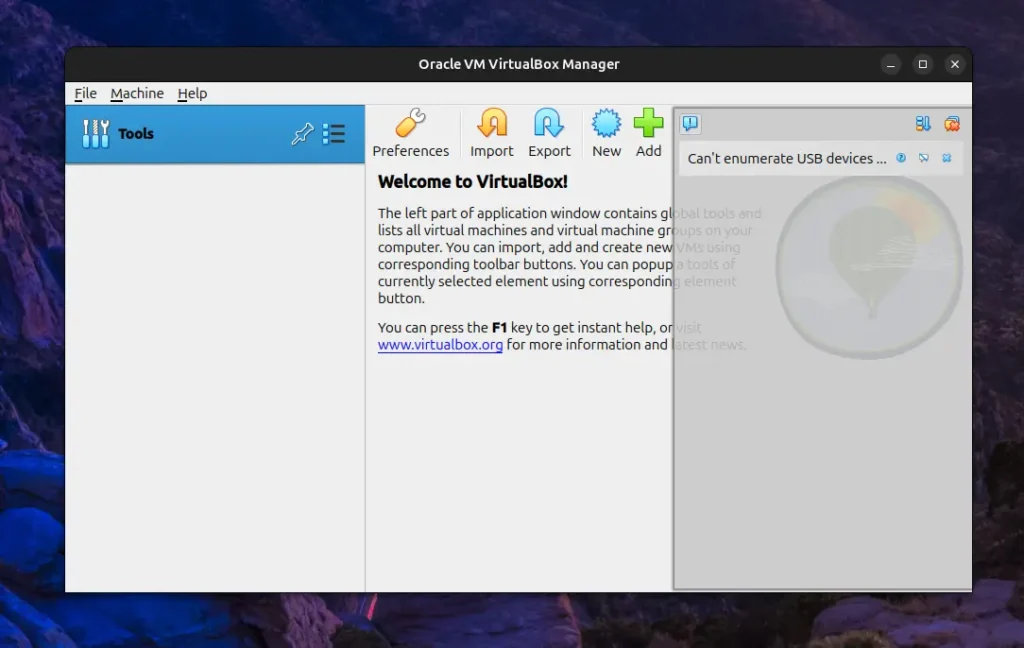
Now you can navigate to “File” -> “Preferences” to customize important settings before creating your first virtual machine. I typically ensure to replace the “Default Machine Folder” and uncheck “Auto Capture Keyboard” here. When you’re ready, simply click the “New” button or use “Ctrl+n” to create your first virtual machine on VirtualBox.
Uninstall VirtualBox from Ubuntu 24.04
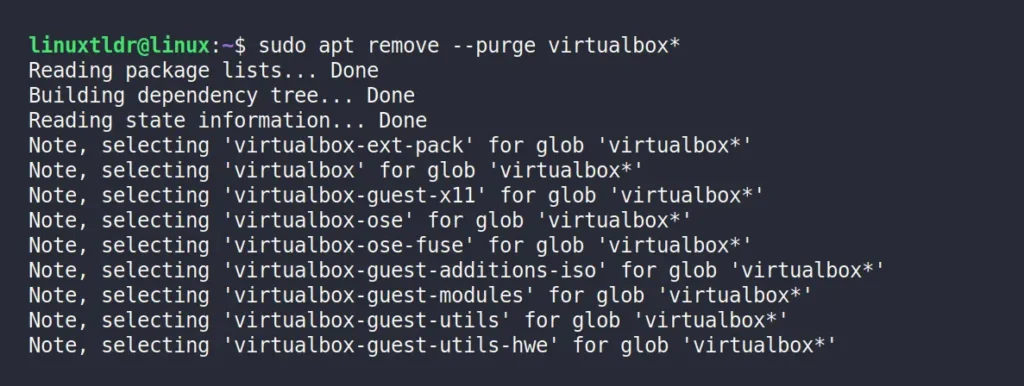
To uninstall VirtualBox from Ubuntu 24.04, just open your terminal and run this command:
$ sudo apt remove --purge virtualbox*Output:
Final Word
I hope you are able to easily install VirtualBox and the Extension Pack on your Ubuntu system. Now, if you have any questions or queries related to the topic, do let me know in the comment section.
Till then, peace!


