
Maxim Dounin, one of the longtime core developer of the NGINX web server, left the company due to a different ideology and announced a separate fork of the project named FreeNginx.
In 2019, when NGINX was acquired by the US networking vendor F5, there was debate about companies trying to commercialize the product, whereas the product core developers, especially Maxim Dounin, wanted it to be more community-driven.
Aside from this, there are more things behind the scenes that have not yet come to the spotlight; you can catch a glimpse of it by reading this article. The intention behind launching FreeNignx is to keep it a more community-driven project.
Currently, there are no major differences between the original NGINX and FreeNginx, but you can try it out by downloading and compiling the source code from the official website, as we’re about to learn in this article.
Tutorial Details
| Description | FreeNginx |
| Difficulty Level | Moderate |
| Root or Sudo Privileges | Yes |
| OS Compatibility | Ubuntu, Manjaro, Fedora, etc. |
| Prerequisites | – |
| Internet Required | Yes (for installation) |
How to Install FreeNginx on Linux
The FreeNginx installation steps may be a bit overwhelming for users who are unfamiliar with the command-line, but you can follow the steps mentioned in this article for assistance.
1. First, open your terminal and update the system repository information.
#On Debian and Ubuntu
$ sudo apt update

#On RedHat and Fedora
$ sudo dnf update

#On Arch and Manjaro
$ sudo pacman -Syyu
2. Install some required packages, such as development tools, dependencies, and libraries, for source code compilation.
In RHEL and Fedora, if the “libgd-devel” package is not found, you need to manually download it from its project release page, compile, and install it by running the following commands:
$ ./configure
$ make
$ sudo make install
#On Debian and Ubuntu
$ sudo apt install -y wget build-essential libpcre3 libpcre3-dev zlib1g zlib1g-dev libssl-dev libgd-dev libxml2 libxml2-dev uuid-dev
#On RedHat and Fedora
$ sudo dnf install -y wget gcc-c++ make pcre pcre-devel zlib zlib-devel openssl-devel libxml2 libgd-devel libxml2-devel uuid-devel
#On Arch and Manjaro
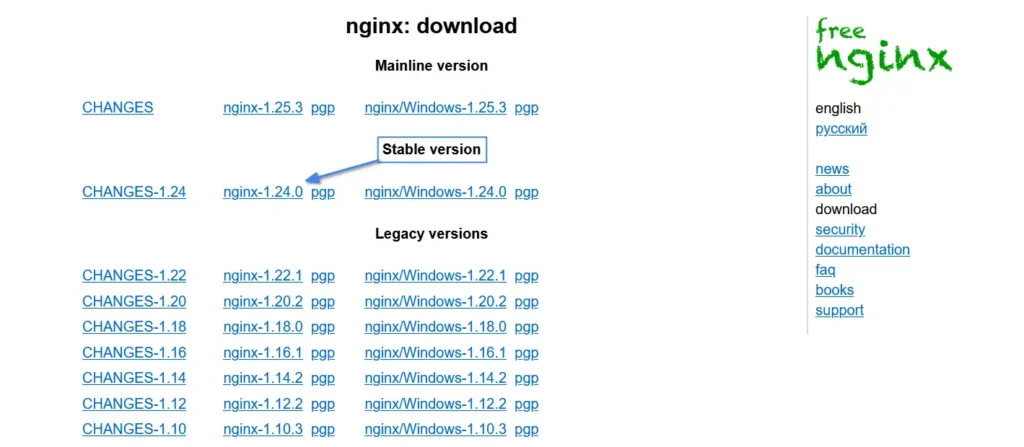
$ sudo pacman -Syu wget base-devel make gcc binutils pcre pcre-devel zlib zlib-devel openssl libgd3. Now, visit the official FreeNginx download page and download the tarball file from the available FreeNginx variants, which are divided into Mainline, Stable (recommended), and Legacy.
4. Once the file is downloaded, navigate to the location (assuming “~/Downloads/“), extract the content of the tarball file, and then move it into the extracted directory.
$ tar -zxvf nginx-*.tar.gz && cd nginx*/Output:

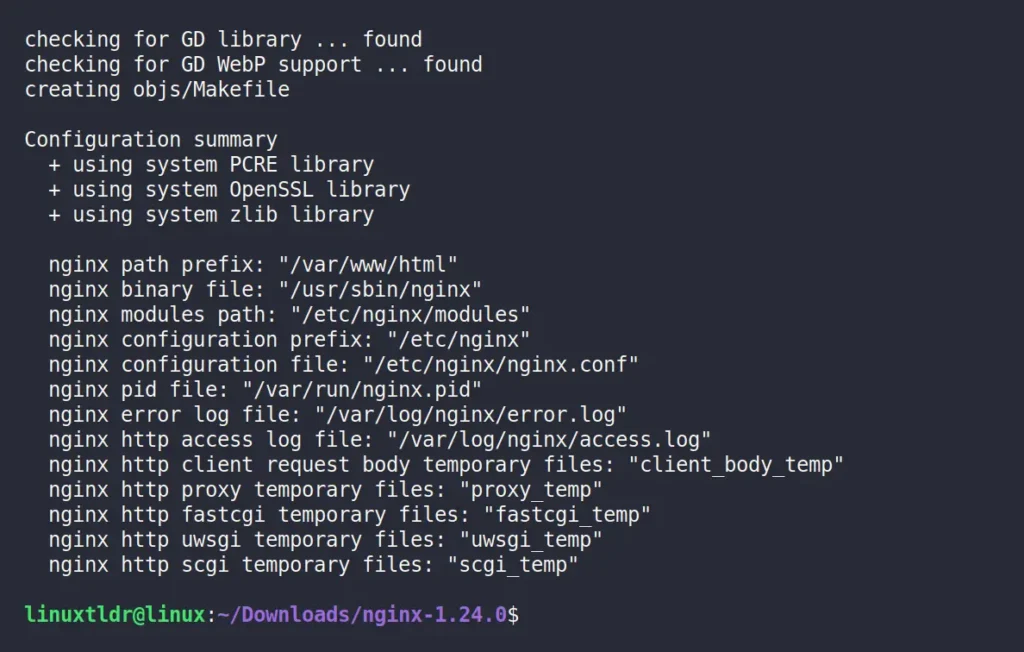
5. Configure the custom path for the FreeNginx configuration file, access, and error log paths with certain NGINX modules using configure flags.
$ ./configure --prefix=/var/www/html --sbin-path=/usr/sbin/nginx --conf-path=/etc/nginx/nginx.conf --http-log-path=/var/log/nginx/access.log --error-log-path=/var/log/nginx/error.log --with-pcre --lock-path=/var/lock/nginx.lock --pid-path=/var/run/nginx.pid --with-http_ssl_module --with-http_image_filter_module=dynamic --modules-path=/etc/nginx/modules --with-http_v2_module --with-stream=dynamic --with-http_addition_module --with-http_mp4_moduleOutput:
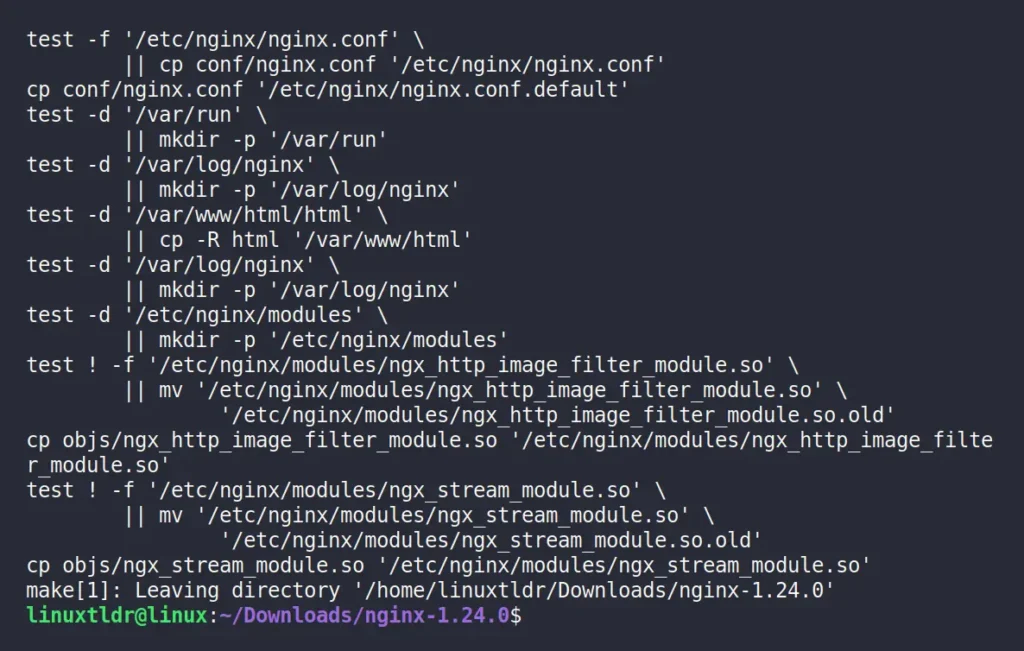
6. Proceed to compile the FreeNginx source code and install it using the following two commands:
$ make
$ sudo make install
Output:
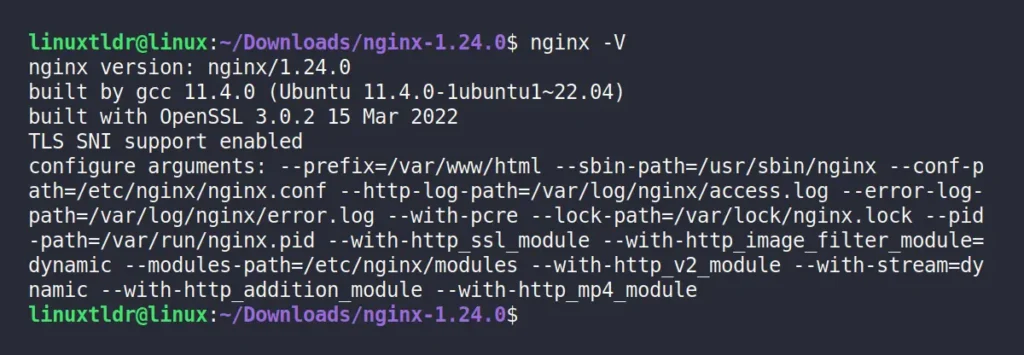
7. FreeNginx is now successfully installed; you can check its version and configuration options.
$ nginx -VOutput:
8. Now, stop FreeNginx if it’s already started, then create a systemd unit file at the “/lib/systemd/system” path for managing Freenginx.
$ nginx -s stop
$ sudo vi /lib/systemd/system/nginx.service
And then paste this script:
[Unit]
Description=The Freenginx HTTP and reverse proxy server
After=syslog.target network-online.target remote-fs.target nss-lookup.target
Wants=network-online.target

[Service]
Type=forking
PIDFile=/var/run/nginx.pid
ExecStartPre=/usr/sbin/nginx -t
ExecStart=/usr/sbin/nginx
ExecReload=/usr/sbin/nginx -s reload
ExecStop=/bin/kill -s QUIT $MAINPID
PrivateTmp=true

[Install]
WantedBy=multi-user.target
Now, save the file by first pressing “Esc” to exit the editing mode, then type “:” followed by writing and executing the “wq!” command.
9. That’s it! You can now manage FreeNginx using the following systemctl commands:
#Check the status of Freenginx.
$ sudo systemctl status nginx

#Autostart the Freenginx at boot.
$ sudo systemctl enable nginx

#Start the Freenginx server.
$ sudo systemctl start nginx

#Stop the Freenginx server.
$ sudo systemctl stop nginx

#Disable autostart for Freenginx at boot.
$ sudo systemctl disable nginx
The default webroot directory for FreeNginx would be “/var/www/html/html/“, where you can save your HTML, CSS, and JavaScript files.
Final World
While using it, you will rarely find any difference, and it also depends upon the time if you’re reading this article a year after publication; there might be an introduction of any new feature. In that case, do let me know in the comment section.
Till then, peace!


