
If you enjoy playing your music locally on your Linux system without internet connectivity using GUI media players like VLC, it’s time to transition to the elegant CLI tool called Spectrum.
Spectrum: A Slick CLI Music Player
Spectrum is a simple and amazing console-based media player written in C++ with an intuitive user interface and lightning-fast performance, designed for tech enthusiasts.
It has a built-in equalizer to help you tune the music to match your mood, a lyrics panel to read your favorite song lyrics while they’re playing, and a media library to locate your favorite music.
Overall, it was the perfect tool I had been searching for a long time, except for one complaint: it required manual compilation and installation without offering any convenient method.
But as you read this article, I’ll guide you on how to install it manually from the source code with a practical example and use it after the installation, so don’t worry.
Tutorial Details
| Description | Spectrum (CLI Music Player) |
| Difficulty Level | Moderate |
| Root or Sudo Privileges | Yes (for installation) |
| OS Compatibility | Ubuntu, Manjaro, etc. |
| Prerequisites | – |
| Internet Required | Yes (for installation) |
Features of Spectrum
The mentioned features of this tool are as follows:
- Plays music in any format, regardless of the file type.
- Basic playback controls, including play, pause, stop, and skip, are available.
- Displays information about the currently playing track, including its title, artist, and album details.
- Audio equalizer and visualizer for the audio spectrum.
- Fetch the lyrics of any song.
Now, let’s learn how to install this tool on your favorite Linux distribution.
How to Install Spectrum on Linux
The installation of Spectrum is a bit trickier at the time of writing this article, as you need to manually download the source code, compile it, and install it on your Linux system.
To perform these steps, you need the necessary dependencies on your Linux system, whether you are using Debian, Ubuntu, Linux Mint, Arch, Manjaro, etc.
So, to start, execute one of the following commands based on your Linux distribution to install the necessary dependencies required to compile and install Spectrum on your Linux system.
#On Debian, Ubuntu, Linux Mint, Pop!_OS, etc.
$ sudo apt update && sudo apt install build-essential libasound2-dev libavcodec-dev libavfilter-dev libavformat-dev libfftw3-dev libswresample-dev libcurl4-openssl-dev libxml++2.6-dev cmake

#On Arch, Manjaro, EndeavourOS, Garuda Linux, etc.
$ sudo pacman -S base-devel alsa-lib fftw curl libxml++ cmake
Next, clone the repository into your current directory, and then move on to the cloned directory.
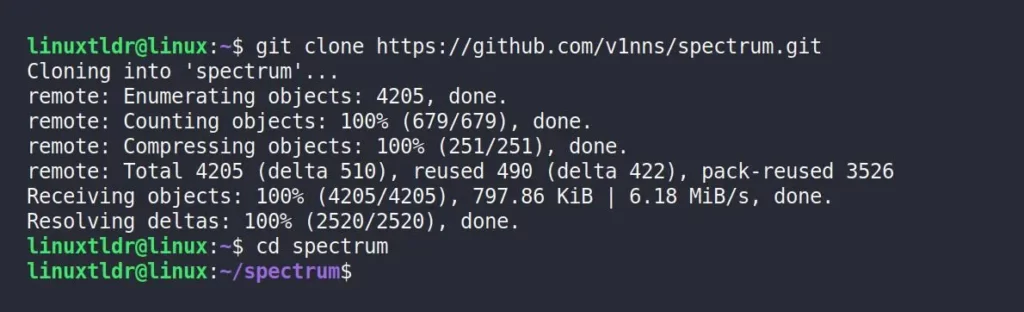
$ git clone https://github.com/v1nns/spectrum.git
$ cd spectrum
Output:
Execute the following command to configure the CMake project in the current directory, generating build files in the “build” subdirectory for compilation.
$ cmake -S . -B buildOutput:

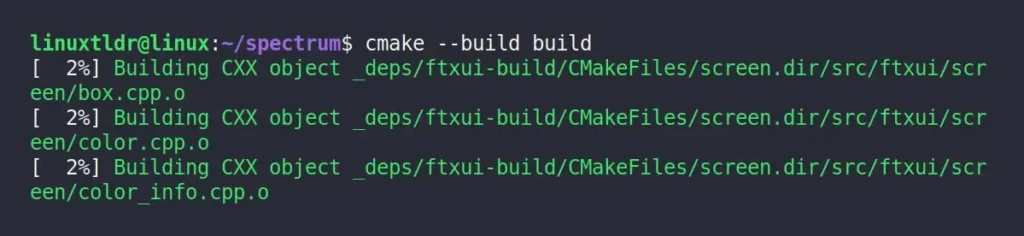
Compile and build the project in the “build” directory using CMake.
$ cmake --build buildOutput:
Finally, install the Spectrum binary file, creating it at “/usr/local/bin“, to make it globally accessible from anywhere.
$ sudo cmake --install buildHere, you are done; now move on to the next section to learn the usage.
Usage of the Spectrum Music Player
Once the installation is complete, you can launch the Spectrum music player from the terminal using the following command:
$ spectrumOutput:
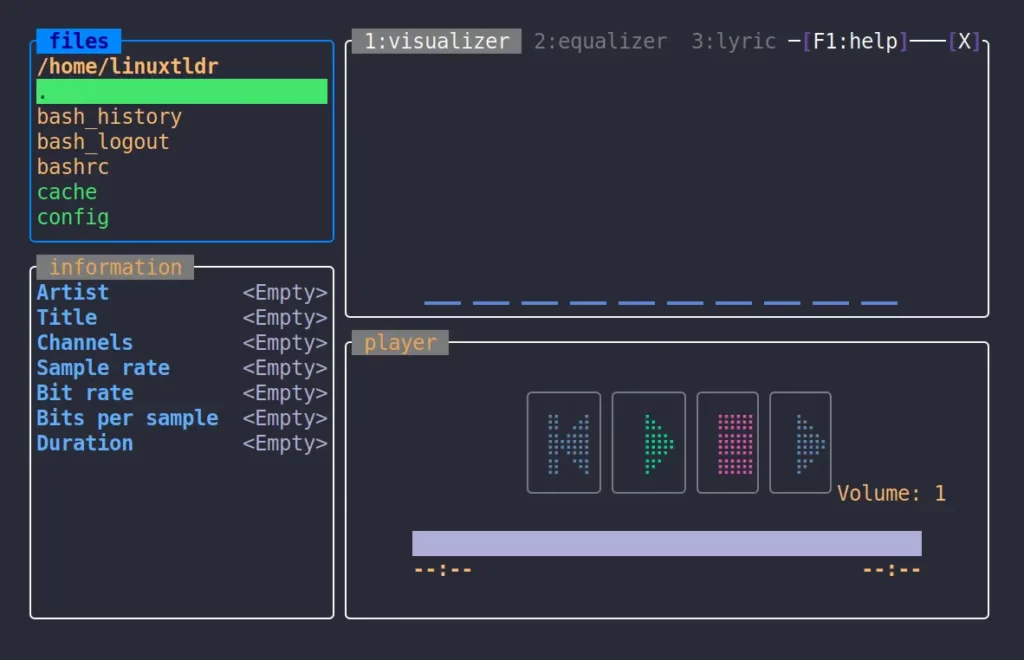
The main screen is divided into four sections.
- Files: It will display the system directory structure, allowing you to choose music to play.
- Information: It will display information such as artist, title, channels, sample rate, bit rate, bits per sample, and duration of the currently playing music.
- Visualizer: It will display the visual representation of the currently playing music based on the equalizer.
- Player: It will offer you media control for the currently playing music, including options to play, pause, stop, and skip.
To understand how this would look in action, watch the following video of me playing music from the “~/Music” directory, showcasing all the panels and settings.
That’s it; now the rest of the thing is easy enough for anyone to understand, so I will leave them be.
Final Word
I hope you find this article interesting. If you know of more such tools or have ideas, please share them with us in the comment section.
Till then, peace!


