
Marker is a free and open-source markdown editor for Linux, built on GTK3. It offers a dual panel for reading and writing basic to extended markdown syntax, along with other additional features.
This feature involves syntax highlighting, support for mermaid diagrams, charter plots, effortless export of markdown documents to HTML files, multiple themes, and numerous others.
In this article, I’ll list all the highlighted features, explain how to install a marker in your preferred Linux distribution using the recommended method, and provide some usage examples.
Tutorial Details
| Description | Marker: A Markdown Editor |
| Difficulty Level | Low |
| Root or Sudo Privileges | Yes (for installation) |
| OS Compatibility | Ubuntu, Manjaro, Fedora, etc. |
| Prerequisites | – |
| Internet Required | Yes (for installation) |
Features of Marker
The following is the list of features offered by this markdown editor:
- Provide dual panels for reading and writing, including a sidebar for listing documents.
- Support YAML headers, document classes, abstract sections, and tables of contents.
- The view mode options offer four modes: editor, preview, dual pane, and dual window.
- Include a “save as” option to save the file as Markdown.
- Offer an export option to save the file as HTML, RTF, ODR, or DOCX.
- Provide a print option to print the file or save it in PDF, Postscript, and SVG formats.
- Customize the editor panel by adding line numbers, wrapping text, adding margin, and enabling spell checking.
- The preview panel can easily render markdown syntax, mermaid diagrams, charter plots, and support KaTeX or MathJax math renderers.
- Offer various custom CSS themes for the Editor and Preview panels, including syntax highlighting.
Overall, it’s been a fantastic Markdown editor so far, as far as I’ve known, so you can give it a try.
How to Install Marker in Linux
Marker doesn’t provide an official installation method via the package manager or sandbox technology; instead, it demonstrates the compiling and building installation steps.
However, many contributors have packaged it in different formats (the beauty of open-source projects), making it easier to install on any Linux system.
So, here are the steps to install Marker on your Linux system, starting with the recommended one.
Installing Marker as a Flatpak Package (recommended)
I’ve tested Marker with all the mentioned installation methods, and the Flatpak package was the most perfect and stable one that I could recommend you try out.
To begin, ensure that your system is installed and configured with Flatpak, then execute the following command to install Marker.
$ flatpak install flathub com.github.fabiocolacio.markerInstalling Marker as a Snap Package
This method is also identical to the previous one, offered as a Snap package that is already installed and configured with popular Linux distributions such as Ubuntu.
If you are using a Linux distribution other than Linux Mint that doesn’t offer Snap out-of-the-box, you can refer to our article for installation and configuration of Snap and then run.
$ sudo snap install marker                                                                     #Stable version of Marker
$ sudo snap install marker --edge                                                       #Beta version of Marker
As of writing this article, specific UI issues exist in the Marker snap package, hindering the visibility of text in the Editor panel due to the default Tango theme. Therefore, ensure you switch to another syntax theme from the settings.
Installing Marker on Ubuntu via Ubuntu Stable or Daily Builds PPA
The Marker offers a PPA for Ubuntu and Ubuntu-based systems, and so far it’s regularly updated. So, you can try it out by executing the following command to add and install the Marker stable version via the provided Ubuntu PPA Stable.
$ sudo add-apt-repository ppa:apandada1/marker
$ sudo apt update
$ sudo apt install marker
If you wish to test the Marker daily build, execute the following command to add and install Marker beta through the provided Ubuntu PPA daily builds.
$ sudo add-apt-repository ppa:apandada1/marker-daily
$ sudo apt update
$ sudo apt install marker
Installing Marker on RHEL-based Distribution via DNF
If you are running an RHEL-based distribution like Fedora or Alma Linux, then you should go for this method, as it involves just one dnf command to easily install it without any hassle.
$ sudo dnf install markerInstalling Marker on Arch-based Distribution via AUR
The Marker is present in the AUR repository and is consistently maintained. However, installation requires you to perform manual AUR package build steps, or alternatively, you can use an AUR helper such as Yay for automation.
$ yay -S marker-gitHow to Launch and Use Marker on Linux
Once the installation is complete, you can easily locate and launch it from the application menu.

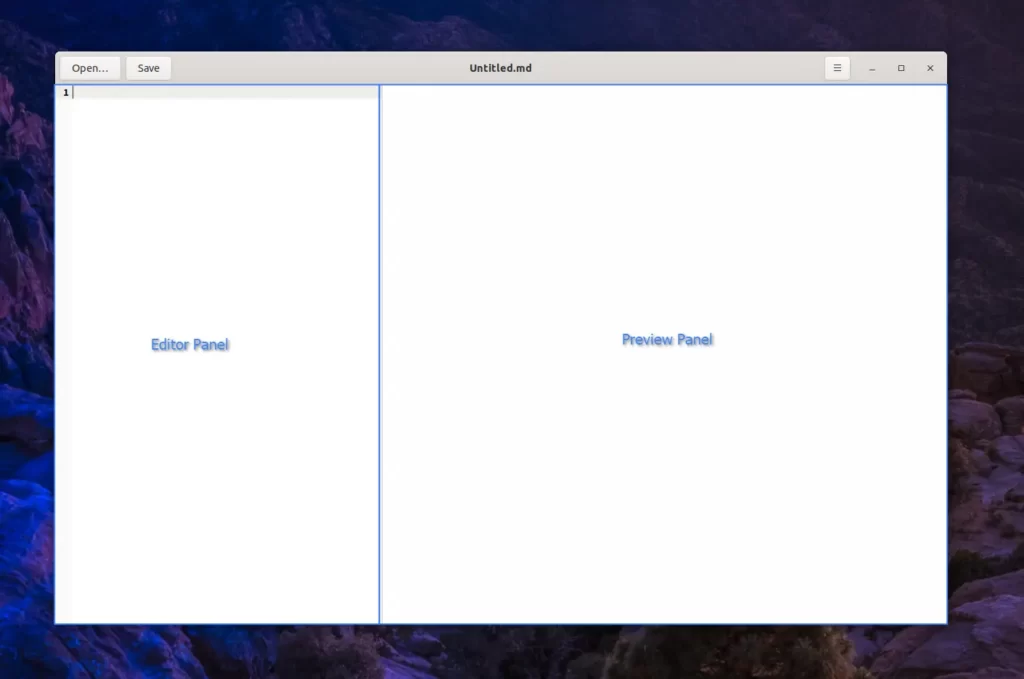
When you launch it for the first time, you will interact with the following Marker window:
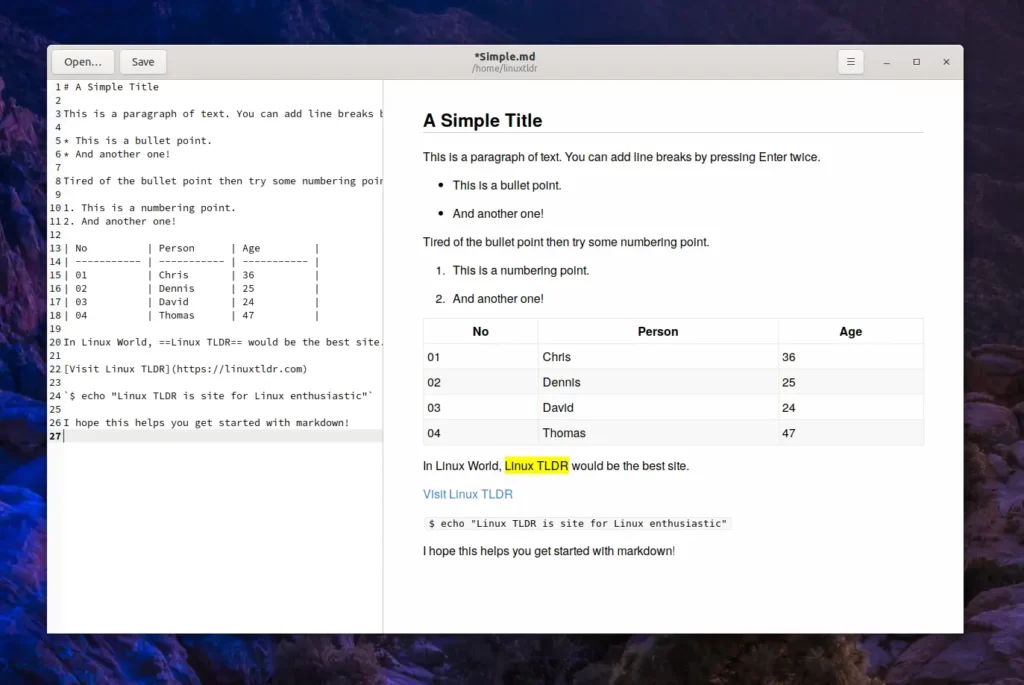
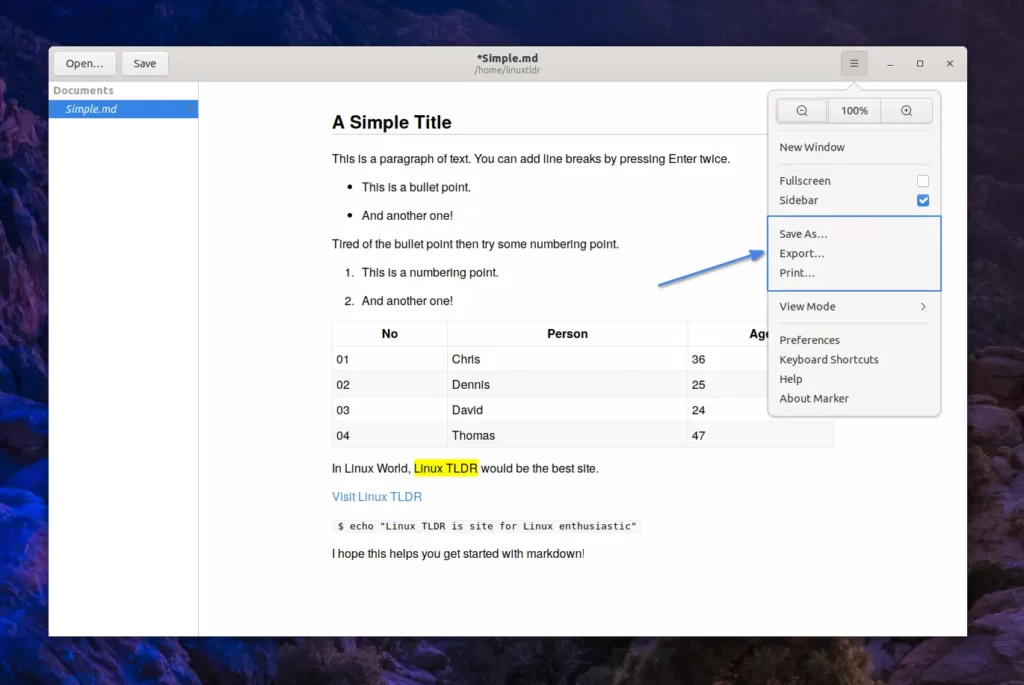
When you open a markdown file (ending with an “.md” extension), the output would look like below:
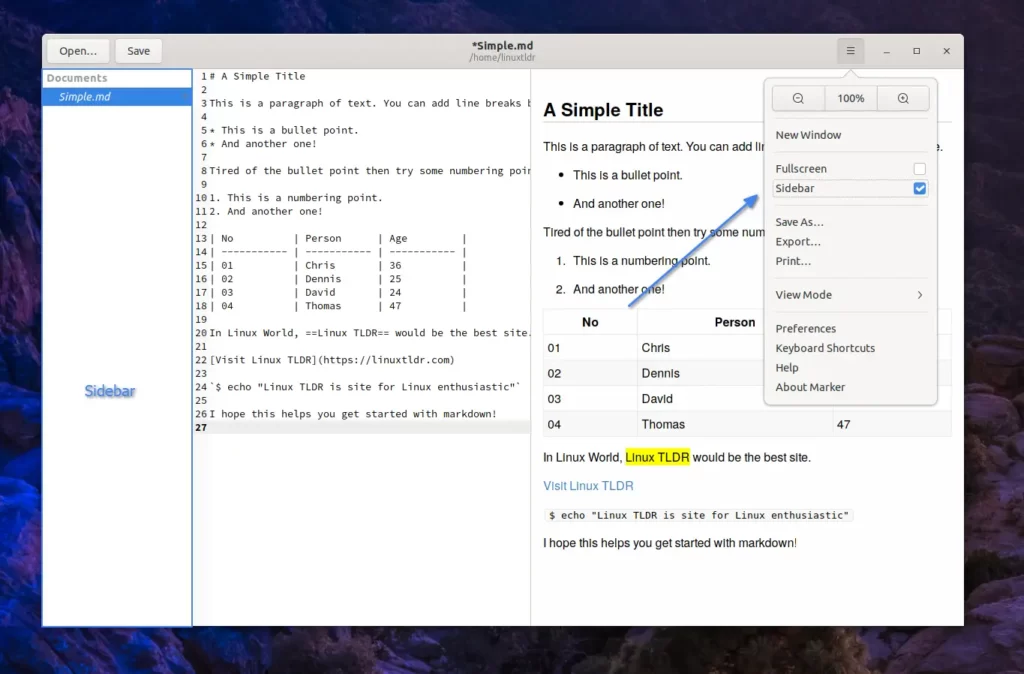
If you are working with multiple markdown files, you can enable the sidebar to list all those files.
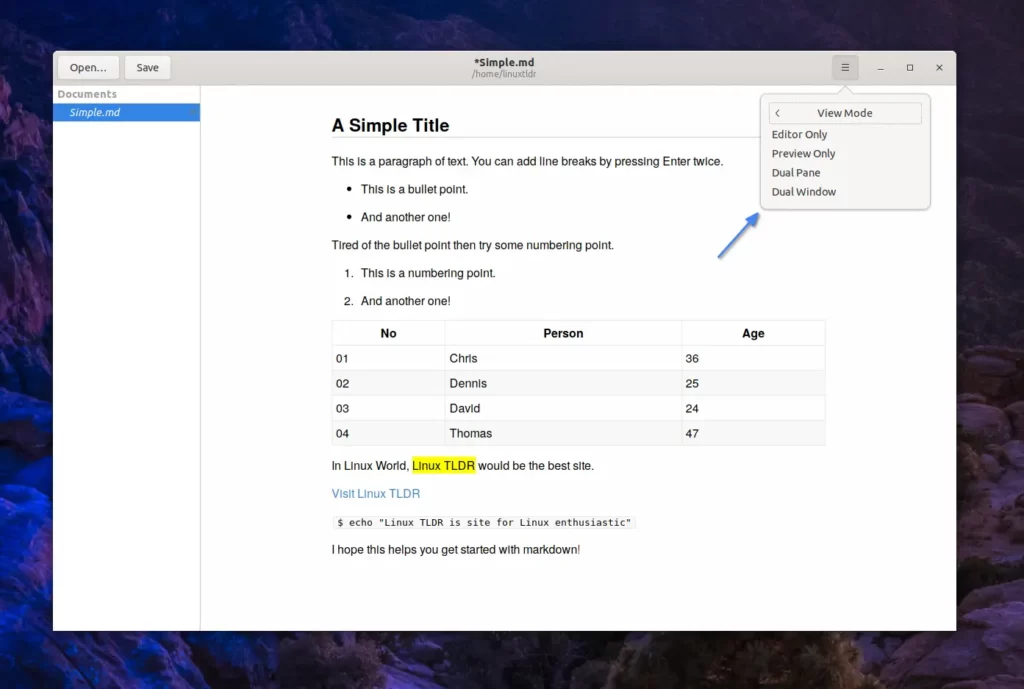
You can switch between four modes (the default is dual pane) from the “menu” -> “View Mode” to have your preferred layout.
Furthermore, customization of the editor and preview panel can be carried out through preferences. Thus, upon accessing Preferences, the default Editor tab will be displayed.
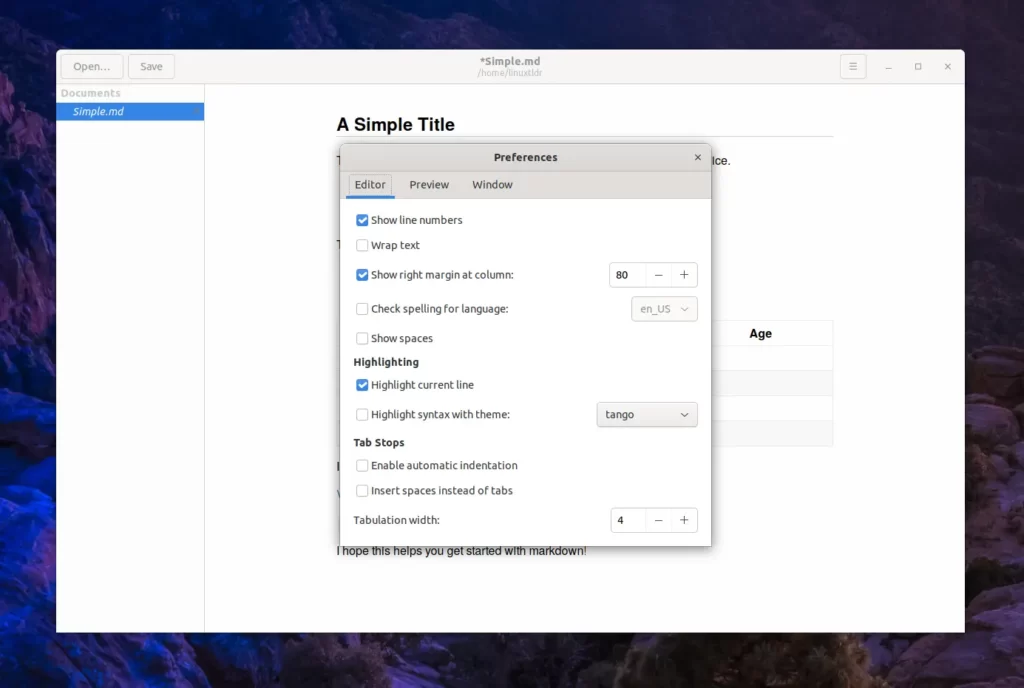
Here, you can decide whether to show line numbers, wrap text, add custom margins, enable the spell checker, and display spaces.
In addition to them, you can configure other editor-related settings here, such as highlighting the current line, themes, automatic indentation, default use of spaces instead of tabs, and the number of spaces to be used for tabbing.
Now, you can switch to the Preview tab to access settings related to the preview panel.
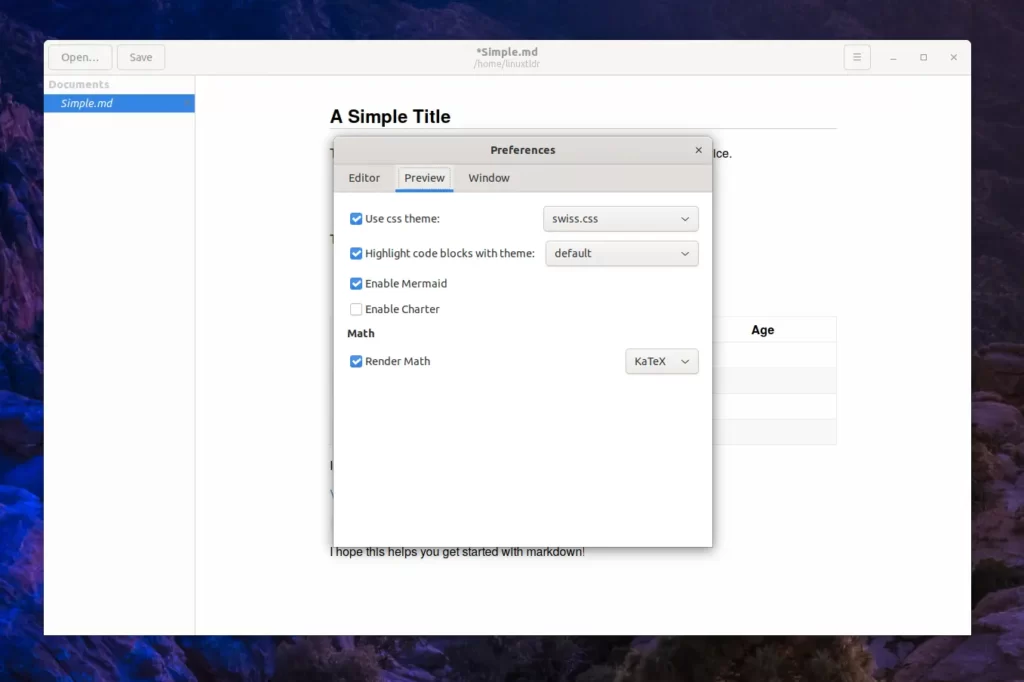
Here, you can customize the default theme for the preview panel, highlight code with a theme, enable Mermaid, Charter, or Math—all of which are quite self-explanatory and require no further explanation.
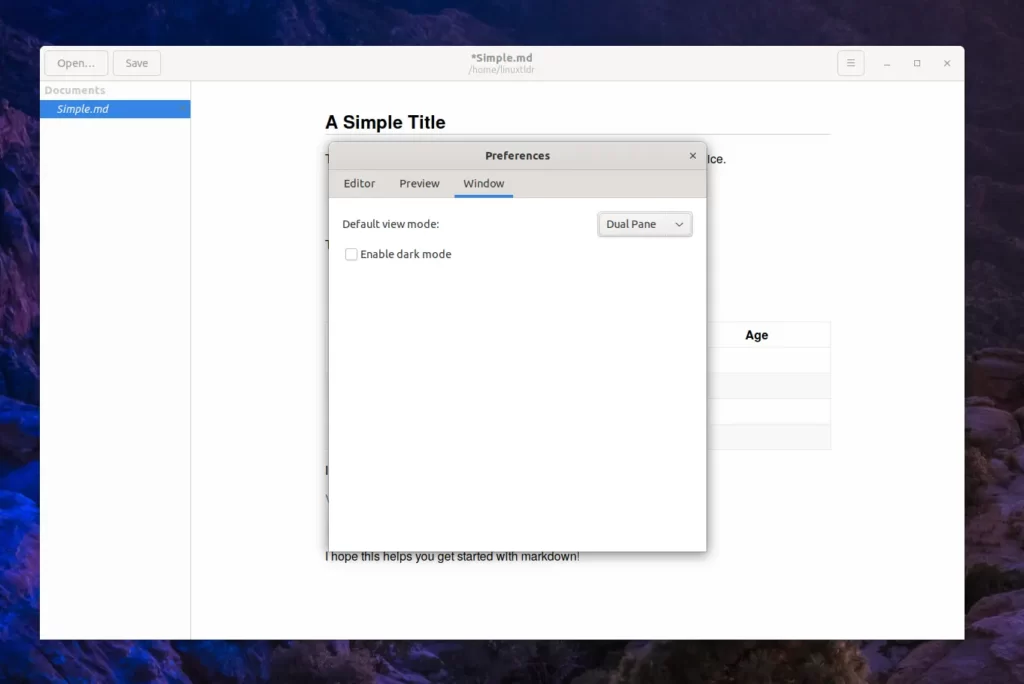
Lastly, in the Window tab, you have the option to switch between view mode and enable dark mode.
After finishing editing your file, use the “Save As” option to save it as Markdown, or use the “Export” option to save it as HTML, RTF, ODR, or DOCX (extension must be manually specified).
If you prefer the output file in PDF, Postscript, or SVG formats, choose the “Print” option.
How to Remove the Marker from Linux
If you wish to remove it from your Linux system, execute one of the following commands based on the method you used for installation.
$ flatpak uninstall com.github.fabiocolacio.marker                             #Remove Flatpak Package
$ sudo snap remove marker                                                                     #Remove Snap Package
$ sudo apt remove marker                                                                       #Remove APT Snap Package
$ sudo dnf remove marker                                                                       #Remove DNF Package
$ yay -R marker-git                                                                                    #Remove AUR Package
Final Word
It’s an amazing Markdown editor, and if you have more recommendations like this, then do let me know in the comment section.
Till then, peace!


