
Angular is a widely used open-source web application framework developed and maintained by Google, serves the purpose of creating dynamic single-page mobile or web applications (SPAs).
It uses Typescript/Javascript and offers a rich set of features like component-based architecture, two-way data binding, dependency injection, directives, modules, routing, and many more.
To give you a glimpse of its power, many web sites, including Google Cloud Platform Console, Gmail, Forbes, Upwork, The Guardian, and many more sites, are built on Angular technology.
In this article, I will guide you through the installation of the Angular CLI tool, which will be used to create, manage, build, and test Angular applications on Linux, accompanied by a few practical examples.
Tutorial Details
| Description | Angular CLI |
| Difficulty Level | Low |
| Root or Sudo Privileges | Yes |
| OS Compatibility | Ubuntu, Manjaro, Fedora, etc. |
| Prerequisites | Node.js and NPM |
| Internet Required | Yes (for installation) |
How to Install Angular CLI on Linux
To install Angular CLI (Command Line Interface) on Linux, you need to install the prerequisites Node.js and Node Package Manager (NPM), which is a package manager for JavaScript.
Here are the complete steps to install Angular CLI on Linux for the most popular Linux distros:
1. Launch your terminal and execute the following command to install the latest version of Node.js and NPM on your Linux system.
#For Debian, Ubuntu, Pop!_OS, or Linux Mint
$ sudo apt update && sudo apt install -y ca-certificates curl gnupg
$ sudo mkdir -p /etc/apt/keyrings
$ curl -fsSL https://deb.nodesource.com/gpgkey/nodesource-repo.gpg.key | sudo gpg --dearmor -o /etc/apt/keyrings/nodesource.gpg
$ NODE_MAJOR=20
echo "deb [signed-by=/etc/apt/keyrings/nodesource.gpg] https://deb.nodesource.com/node_$NODE_MAJOR.x nodistro main" | sudo tee /etc/apt/sources.list.d/nodesource.list
$ sudo apt-get update && sudo apt-get install nodejs -y

#For RHEL, Fedora, CentOS, or Alma Linux
$ sudo yum install https://rpm.nodesource.com/pub_20.x/nodistro/repo/nodesource-release-nodistro-1.noarch.rpm -y
$ sudo yum install nodejs -y --setopt=nodesource-nodejs.module_hotfixes=1

#For Arch, Manjaro, or EndeavourOS
$ sudo pacman -Sy nodejs npm
2. To compile and install native add-ons from NPM, you might need to install development tools on your system.
$ sudo apt install build-essential -y #For Debian, Ubuntu, Pop!_OS, or Linux Mint
$ sudo dnf install gcc-c++ make -y #For RHEL, Fedora, CentOS, or Alma Linux
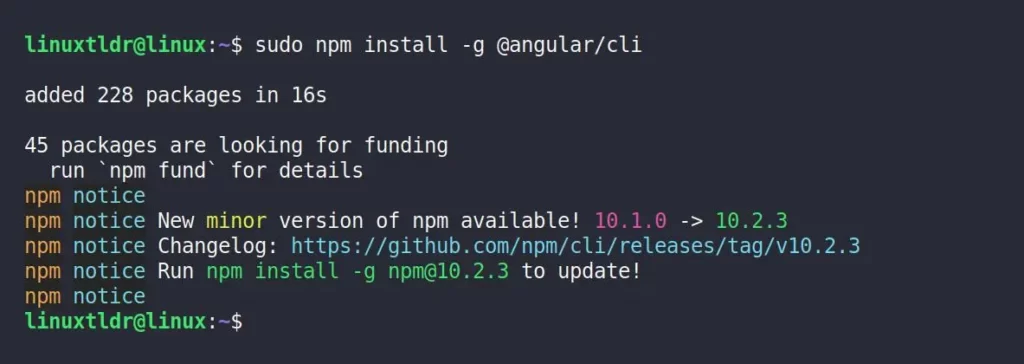
$ sudo pacman -Sy base-devel #For Arch, Manjaro, or EndeavourOS3. Finally, execute the following command with the “-y” flag to globally install Angular CLI on your Linux system.
$ sudo npm install -g @angular/cliOutput:
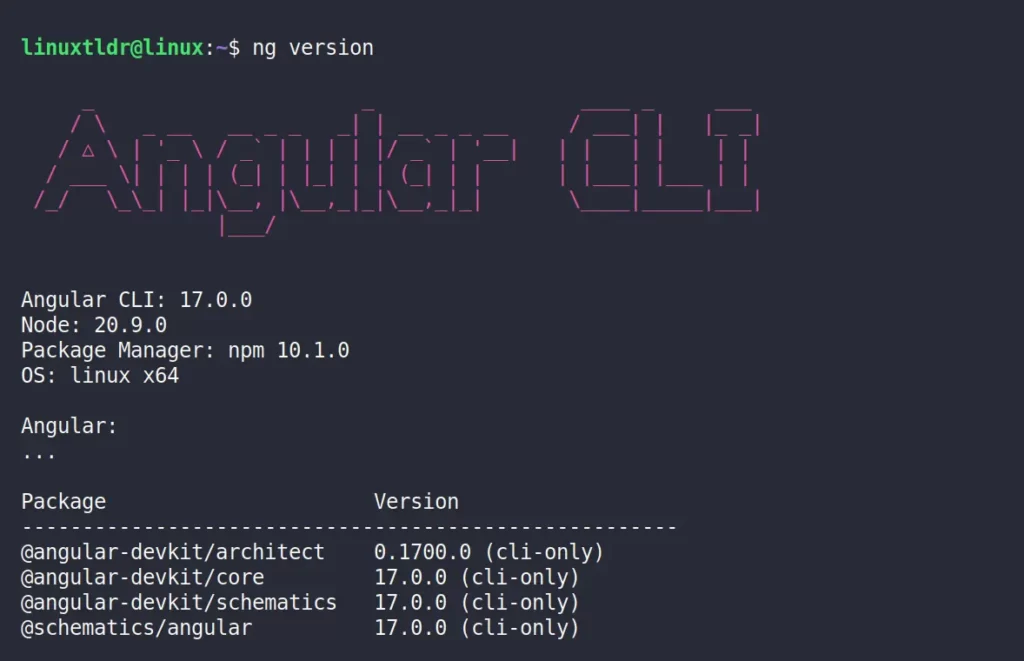
4. After the installation is complete, you can verify if Angular CLI was installed successfully by running the following command:
$ ng versionOutput:
That’s it! You have successfully installed Angular CLI on your Linux system. You can now start building Angular applications using the command-line interface.
Create a New Angular Project using the Angular CLI
Once the Angular CLI is successfully installed, you can use it to create, build, and serve a new Angular project. To begin, first navigate to your webroot directory (assuming it’s “/var/www/html“) and then initialize a new Angular application as follows:
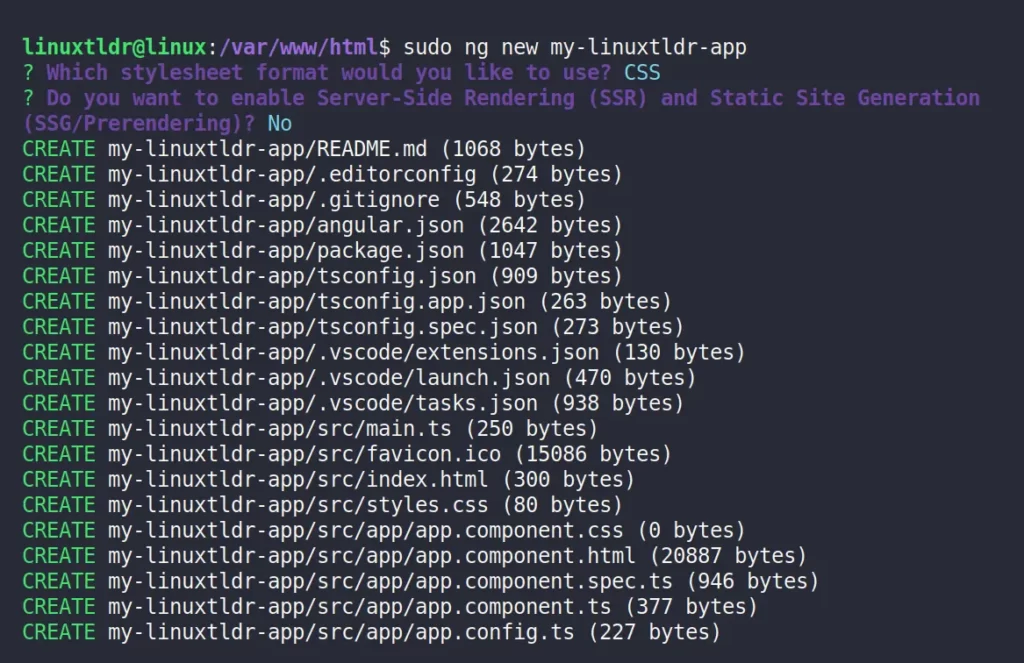
my-linuxtldr-app” with your preferred project name.$ cd /var/www/html/
$ sudo ng new my-linuxtldr-appDuring project initialization, you may be asked to choose a stylesheet format among CSS, SCSS, SASS, and Less; opt for default CSS. Next, it will prompt you to enable Server-Side Rendering and static site generation. For now, choose “No”.
Next, proceed to the newly created Angular project directory, which has just been created, and serve the application while viewing it in your browser using the following commands:
$ cd my-linuxtldr-app/
$ sudo ng serve
Output:
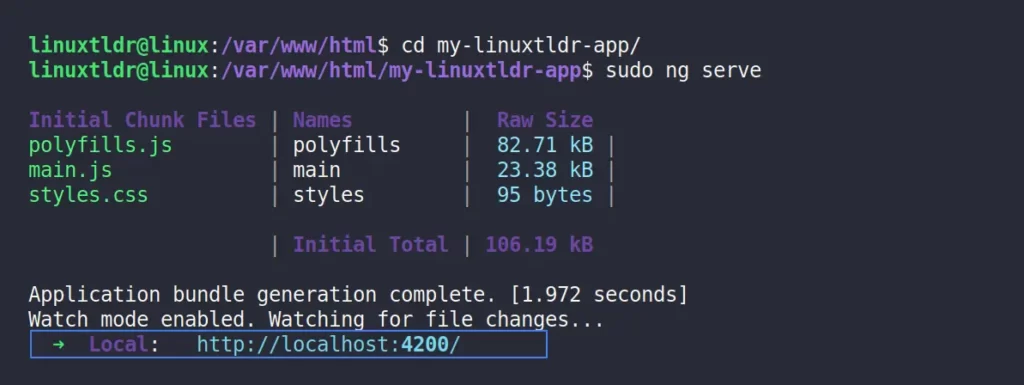
The Angular app will be served at “http://localhost:4200” by default, and you can open your favorite web browser to visit this address and witness the new Angular application in action.

That’s it! You have successfully created, built, and served a basic Angular project. You can now start building your Angular components, services, and modules within this project.
To get more help, execute the “ng help” command, or you can also read the official Angular documentation to begin your Angular journey.
Final Word
That’s it for today’s article. If you’re interested in more topics like this, please let me know in the comment section.
Till then, peace!


