
Hoarder is a fantastic app for keeping your notes, images, and bookmarks in a single place. It’s a free, open-source, and self-hostable application for bookmarking that offers AI-based automatic tagging and full-text search, powered by the one and only ChatGPT.
After giving it a try for five minutes, it immediately became my favorite application. To be honest, previously I used Pocket, which was quite annoying because it didn’t allow us to add notes or images; it was only for bookmarking pages.
Also, I don’t understand why they add the “?utm_source=pocket_saves” slug to every page I bookmark. Don’t they realize that some sites are strict about CSRF? Well, let’s leave them aside, as I’ve already deleted my Pocket account.
Hoarder is a fun tool for quickly creating notes, saving links, and saving images. You can later add tags to your bookmarks and organize them into lists, like one for notes, another for links, or a separate list for images.
Interestingly, it also features a Chrome plugin and a Firefox addon that allow you to quickly bookmark pages, add tags, or add them to a list.
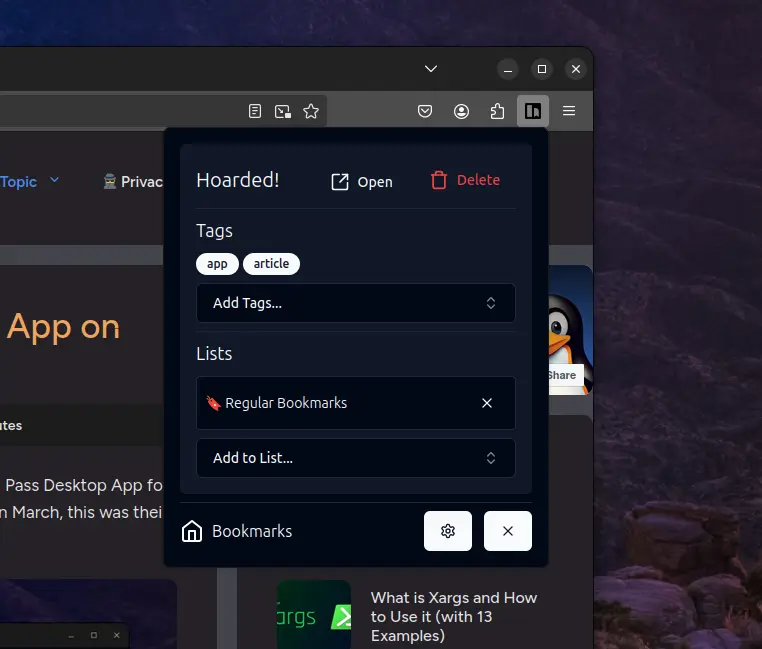
The experience is remarkable, and it also provides an option to delete bookmarks directly from the extension, unlike Pocket, which forces us to remove bookmarks from the dashboard. (Alright, that’s my final rant.)
Features of the Hoarder
The following is a list of features offered by Hoarder:
- Bookmark links, take simple notes, and store images.
- Automatically retrieve link titles, descriptions, and images (excluding Captcha ones).
- Modify bookmark titles, archive, favorite, or delete them.
- Attach manual or AI-generated tags to bookmarks.
- Organize bookmarks into custom lists.
- Perform a full-text search across all stored content.
- Chrome plugin and Firefox addon for quick bookmarking.
- An iOS app and an Android app.
- Enjoy dark mode support (for now, only for the Web).
Install Hoarder Using Docker
Make sure your system has Docker and Docker Compose installed for a smooth Hoarder setup. If not, consider referring to our dedicated installation guide. Once you have them, you can quickly set up Hoarder on Linux, Windows, or macOS, whether locally or on cloud servers.
1. Create a new directory for storing the compose file and environment variables.
$ mkdir ~/hoarder/ && cd ~/hoarder/Output:

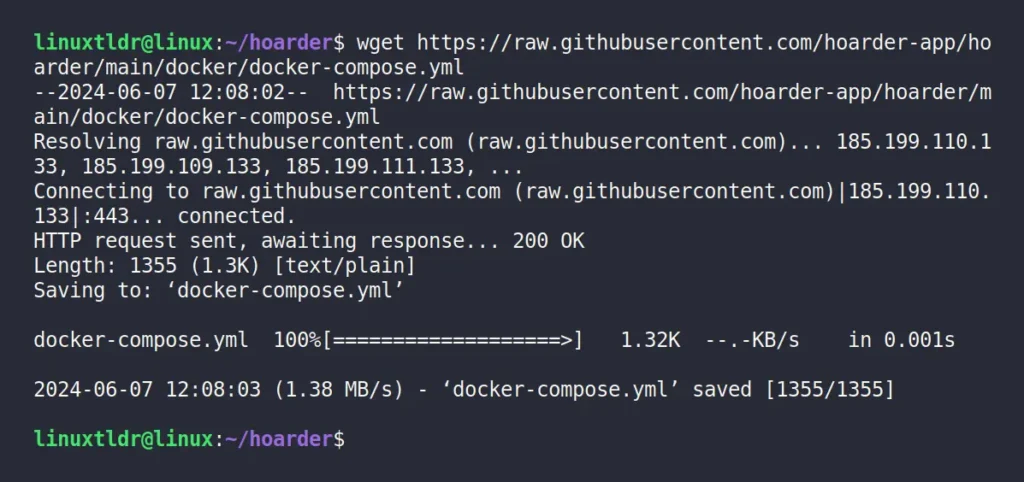
2. Download the docker compose file inside the created directory by running this command:
$ wget https://raw.githubusercontent.com/hoarder-app/hoarder/main/docker/docker-compose.ymlOutput:
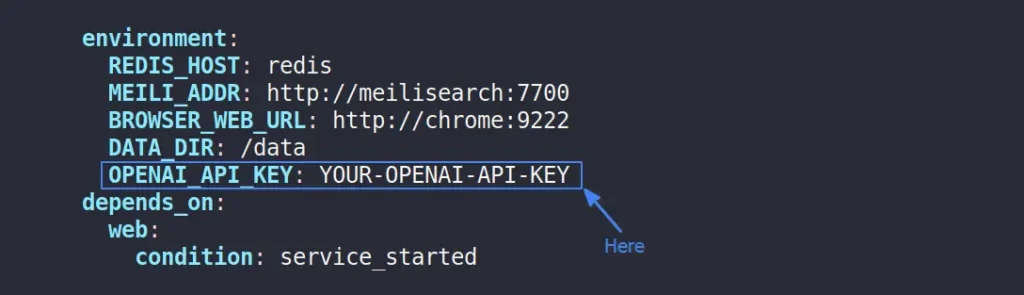
3. (Optional) To change the volume location, you can edit the docker compose file with your choice of text editor. To implement OpenAI’s automatic tagging, acquire an OpenAI API key and set it up in the docker compose file environment section.
4. Create a “.env” file in the same directory with the following content:
HOARDER_VERSION=latest
NEXTAUTH_SECRET=2fjLEIJKKl016/nJmlZnp2UpvaFCccwMkVan1ufigxqsuOtD
MEILI_MASTER_KEY=tZcjeGqwy8DEu7GqxbBupvLexsSSEit7FchT4WnAmi0ewxPb
NEXTAUTH_URL=http://localhost:3000
If you want to modify the secret keys, use “openssl rand -base64 36” to generate new random strings for “NEXTAUTH_SECRET” and “MEILI_MASTER_KEY“. And when configuring Hoarder on a cloud server, make sure to update the “NEXTAUTH_URL” variable to match your server address.
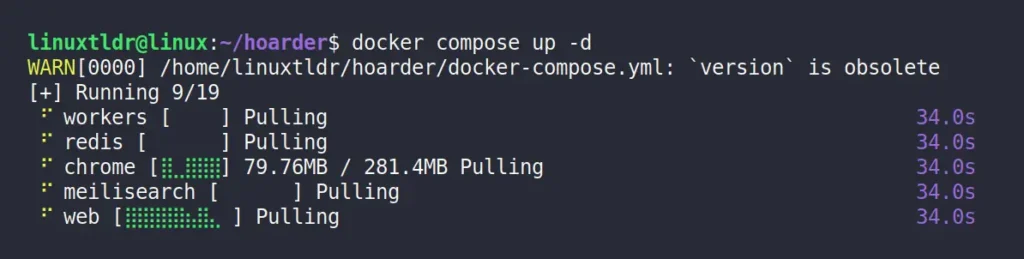
5. Finally, you can start the Hoarder server by running this command:
$ docker compose up -dOutput:
Access the Hoarder Dashboard
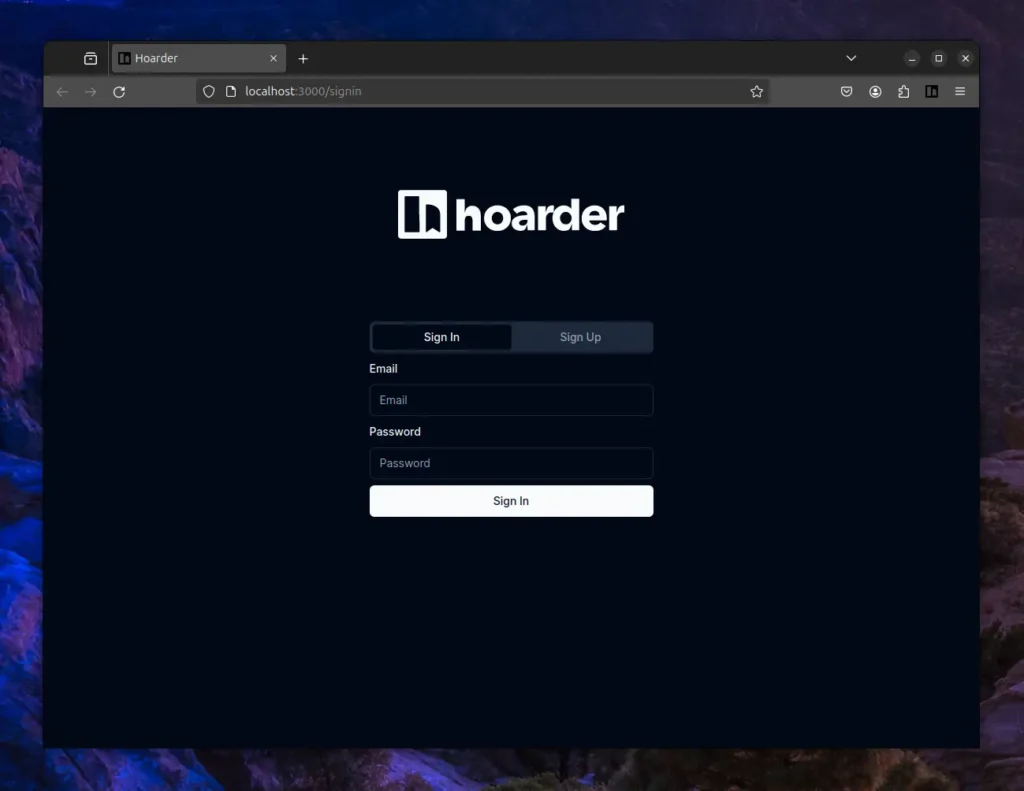
Once the Hoarder is up and running on your system, you can launch your preferred browser (Chrome or Firefox) and navigate to the “http://localhost:3000” URL to access the dashboard.
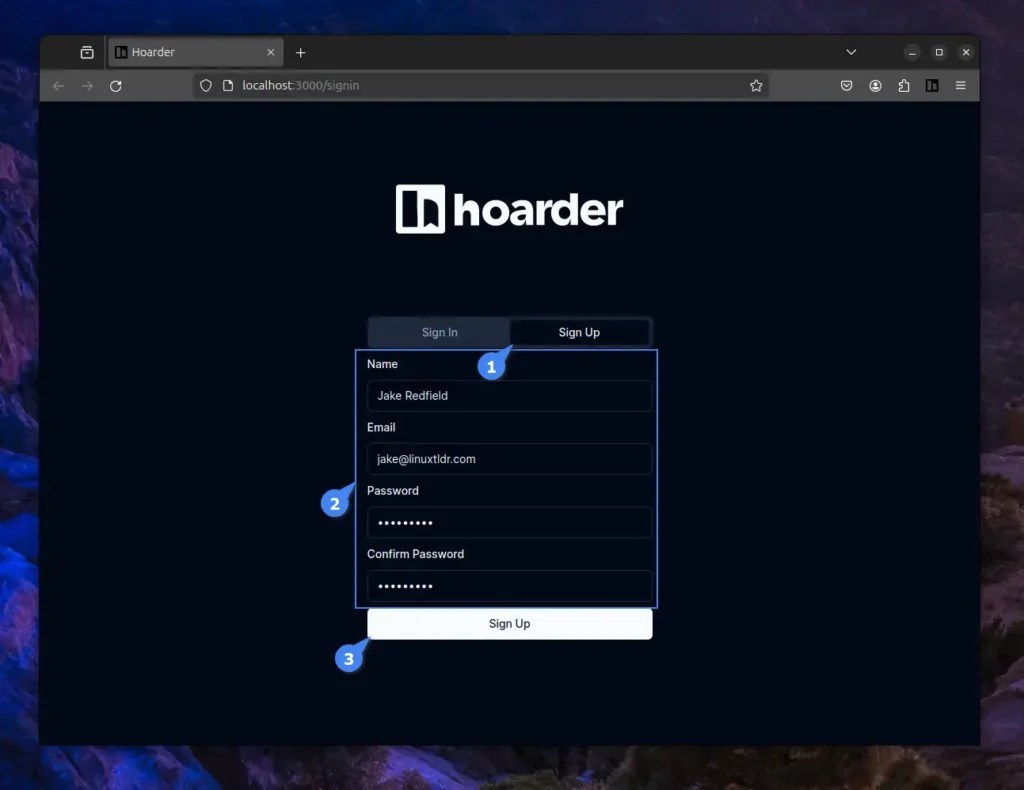
To begin using Hoarder, you need to first register a new account by providing your name, email, password, and confirming the password. The first account will be designated as the administrator of Hoarder.
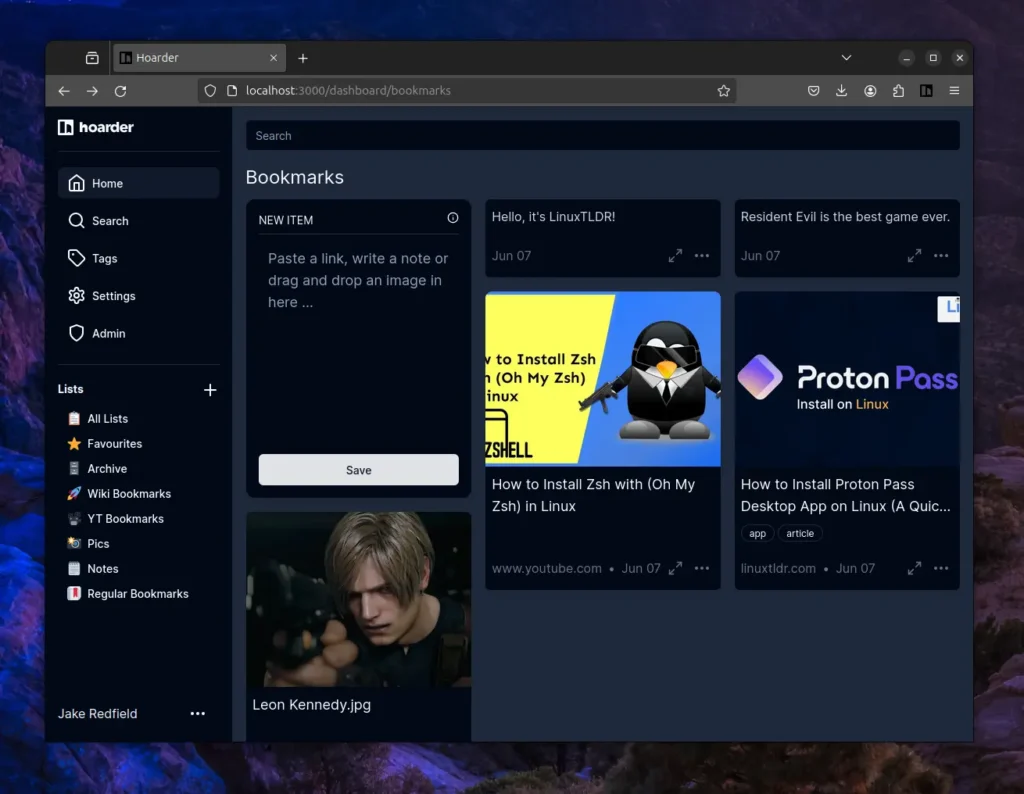
Once you successfully create the account, you will be redirected to the Hoarder dashboard, where you can quickly start adding bookmark links, taking simple notes, or saving images, including attaching them with tags or adding them to lists.
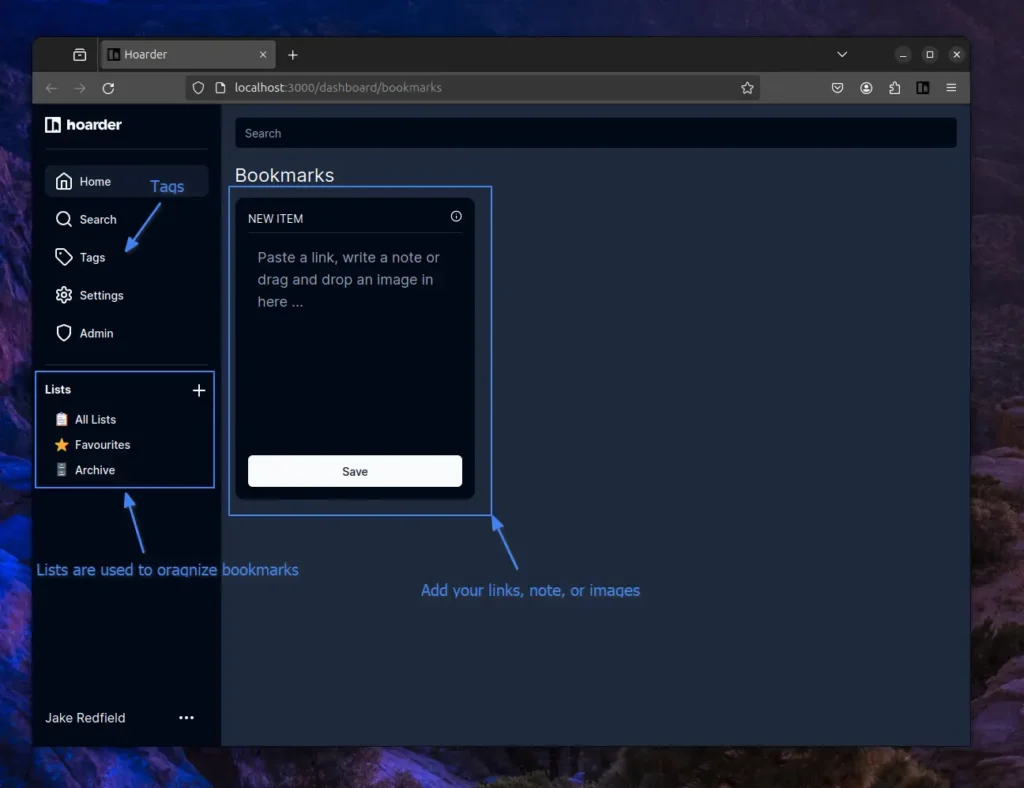
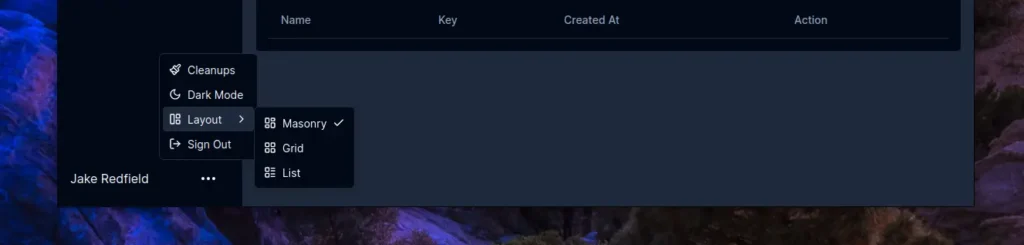
The default layout for the bookmarks is set to masonry, but it can be switched to grid or list view.
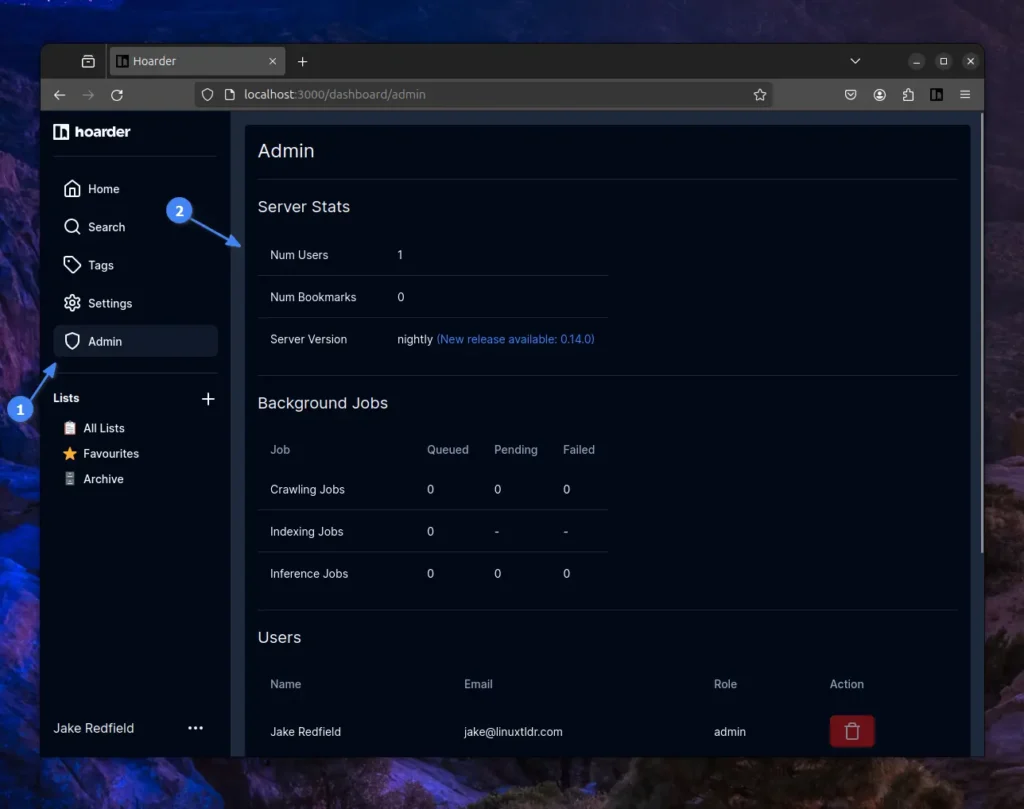
To check the number of users, bookmarks, server version, and background jobs (crawling, indexing, and inference), navigate to the “Admin” page.
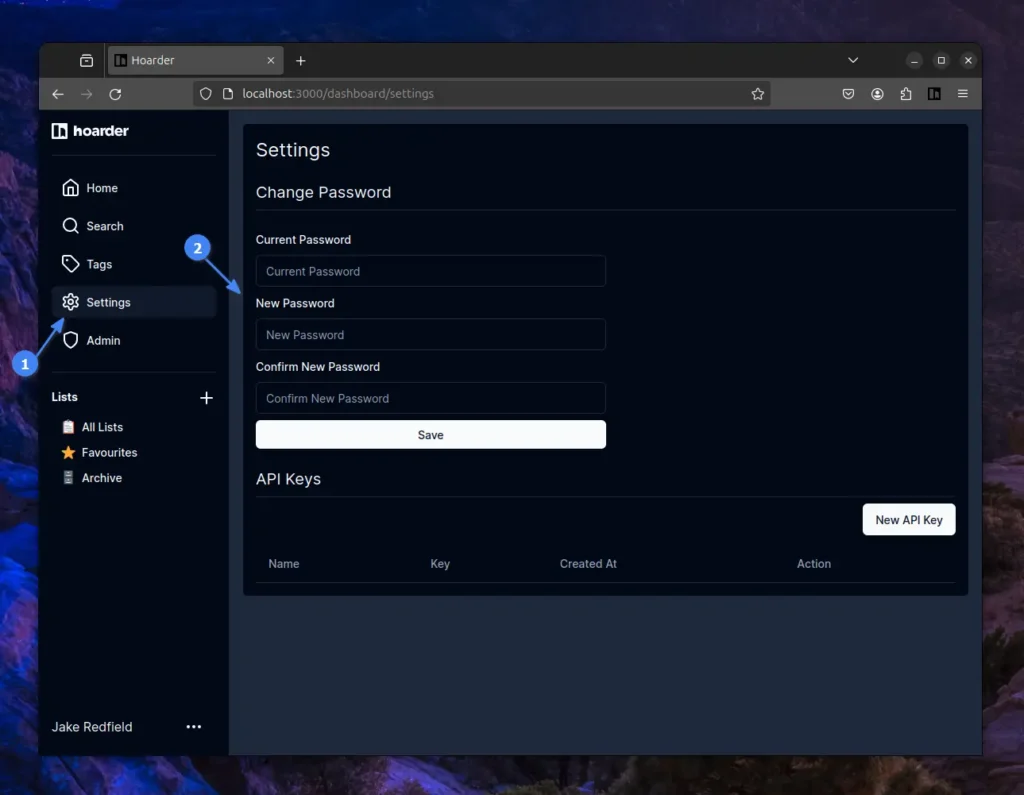
Changing the current password or generating a new API key can be done from the “Settings” page.
You can further explore the Hoarder yourself, as it is very user-friendly. Happy exploring!
Stop Hoarder Using Docker
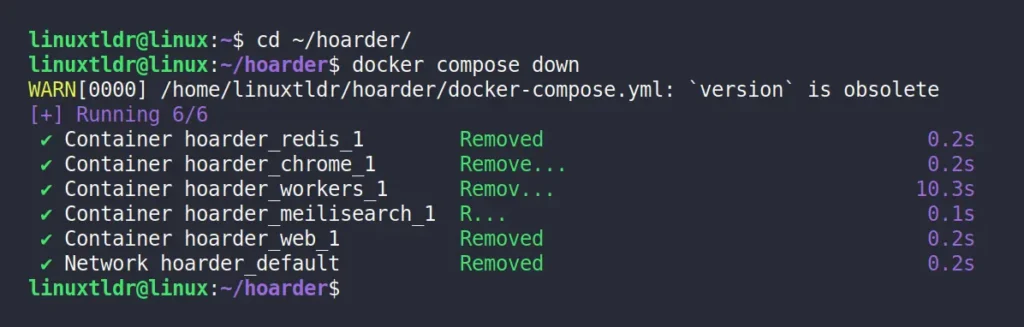
To stop the Hoarder service, navigate to the directory where the Hoarder docker compose file is stored and run the following command:
$ cd ~/hoarder/
$ docker compose down
Output:
Final Word
Hoarder is a fantastic app that I’ve been using for a while on my Homelab, and honestly, my experience with bookmarking has been great. The Hoarder installation method discussed in this article will seamlessly work on Windows, macOS, or Linux (including Ubuntu, Debian, Linux Mint, Fedora, Red Hat, Arch, Manjaro, and others).
If you have any questions regarding the topic, feel free to ask them in the comment section.
Till then, peace!


This is dumb. Didn’t work. Not worth the effort. Sync your bookmarks with Firefox. Way Way less trouble.
Thanks for the fantastic tutorial! I’ve got everything up and running; however, I can’t seem to get the android app connected. Have any sugestions? I keep getting the “network request failed” error.