
In this article, you will learn how to locally access AI LLMs such as Meta Llama 3, Mistral, Gemma, Phi, etc., from your Linux terminal by using an Ollama, and then access the chat interface from your browser using the Open WebUI.
If you are not comfortable with command-line method and prefer a GUI method to access your favorite LLMs, then I suggest checking out this article.
Ollama is a community-driven project (or a command-line tool) that allows users to effortlessly download, run, and access open-source LLMs like Meta Llama 3, Mistral, Gemma, Phi, and others.
It steamlines model weights, configurations, and datasets into one package managed by a Modelfile, so all you need to do is execute a command to download and run your favorite LLMs and access the chat interface via the command-line.
You can also create your own model or customize an existing one, but this requires some expertise, and typically, regular users won’t be involved, so it’s not within the scope of this article.
In today’s article, I’ll show you how to install and use Ollama for accessing the popular LLMs via command-line. Additionally, I’ll show you how to use Open WebUI to get a web interface similar to ChatGPT.
Moreover, the method outlined in this article is compatible with various Linux distributions like Ubuntu, Debian, Fedora, etc., including Raspberry Pi.
Tutorial Details
| Description | Ollama and Open WebUI |
| Difficulty Level | Moderate |
| Root or Sudo Privileges | Yes (for installation) |
| OS Compatibility | Ubuntu, Manjaro, Fedora, Raspberry PI, etc. |
| Prerequisites | – |
| Internet Required | Yes (for installation) |
How to Install Ollama on Linux
The installation of Ollama, followed by downloading and running the LLMs process, is straightforward, but before you jump into your terminal, know that all your interactions with LLMs will occur locally (without internet) powered solely by your system’s CPU or GPU.
So, make sure you have at least 16 GB of RAM and a GPU with 4 GB of Nvidia 1060 or above; if not, then a octa-core CPU greater than Intel i5 or AMD Ryzen 3. With that note, let’s get started…
Step 1: Install Ollama on Linux
The official Ollama project page provides a single-line curl command for installation, ensuring quick and easy installation on your Linux system.
$ curl -fsSL https://ollama.com/install.sh | shOnce the above command is executed, it will initiate the installation process of Ollama, which might take a few seconds.
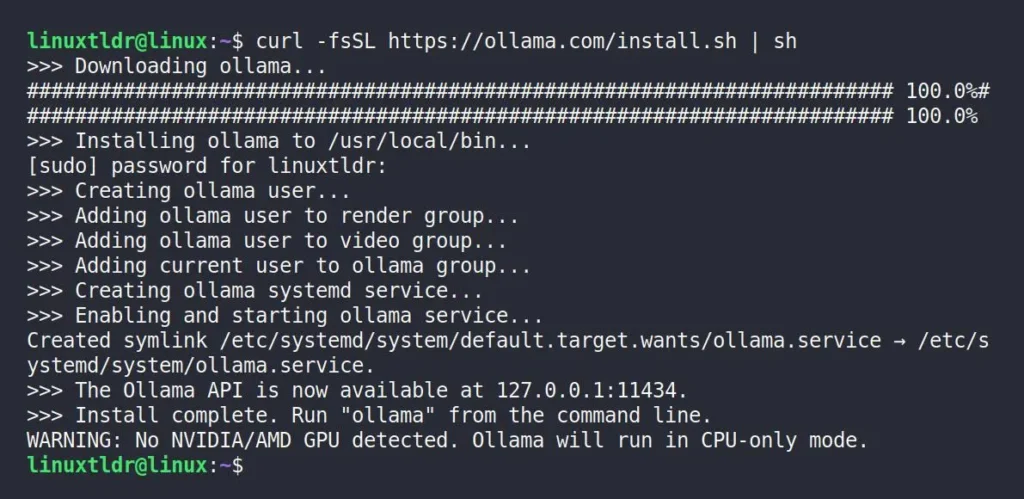
If you focus on the last line, you’ll notice a warning that the running system doesn’t have any GPUs. Indeed, at present, I don’t have an external GPU on my system, so all the heavy lifting will be done by my poor CPU.
Step 2: Check the Status of Ollama
Once the installation process is complete, you can open your preferred browser, either Chrome or Firefox, and access the following URL to verify that Ollama is running.
http://127.0.0.1:11434Output:

You can clearly see it’s up and running on my system, so we can now install our favorite LLMs.
Step 3: Install LLMs Using Ollama
Now that Ollama is installed and running on our Linux system, you can explore the Ollama Library to discover your preferred LLMs, and once found, install it using the following syntax:
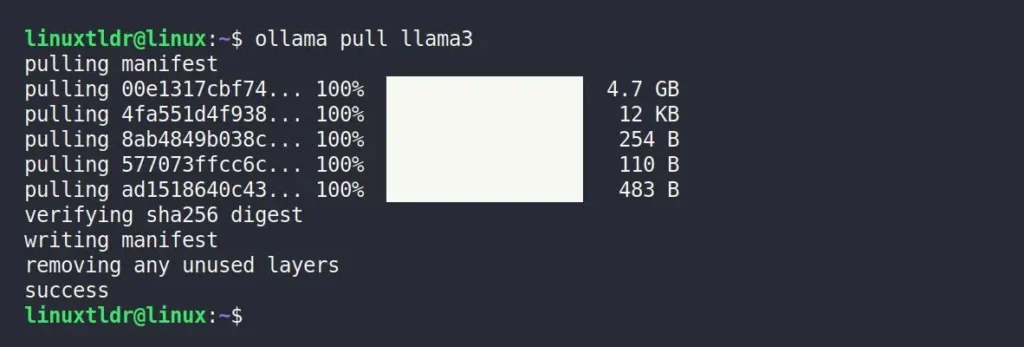
$ ollama pull <LLM_NAME>For example, to install the latest version of the Meta Llama 3 7B (seven billion) model, which is around 4.7 GB in size, you can use the following command:
$ ollama run llama3The download process will take some time, depending on the internet speed.
Just a quick note to remind you that you’re still welcome to try out various LLMs. If you’re feeling a bit lazy, I’ve included direct installation commands for some popular LLMs in the table below.
| Model | Parameters | Size | Download |
|---|---|---|---|
| Llama 3 | 8B | 4.7GB | ollama run llama3 |
| Llama 3 | 70B | 40GB | ollama run llama3:70b |
| Phi-3 | 3.8B | 2.3GB | ollama run phi3 |
| Mistral | 7B | 4.1GB | ollama run mistral |
| Neural Chat | 7B | 4.1GB | ollama run neural-chat |
| Starling | 7B | 4.1GB | ollama run starling-lm |
| Code Llama | 7B | 3.8GB | ollama run codellama |
| Llama 2 Uncensored | 7B | 3.8GB | ollama run llama2-uncensored |
| LLaVA | 7B | 4.5GB | ollama run llava |
| Gemma | 2B | 1.4GB | ollama run gemma:2b |
| Gemma | 7B | 4.8GB | ollama run gemma:7b |
| Solar | 10.7B | 6.1GB | ollama run solar |
Step 4: Access LLMs Using Ollama
Once the desired LLMs are installed, you can use the following syntax to access them:
$ ollama run <LLM_NAME>For example, with Meta Llama 3 installed on my system, to access its chat interface from the command-line, I can execute the following command:
ollama list” command to get a list of all installed LLMs on your system.$ ollama run llama3Upon entering, I didn’t receive the typical greeting message; instead, the “>>>” prompt immediately appeared. So, I began asking a few questions, such as “What is open-source?” You can see its response below.
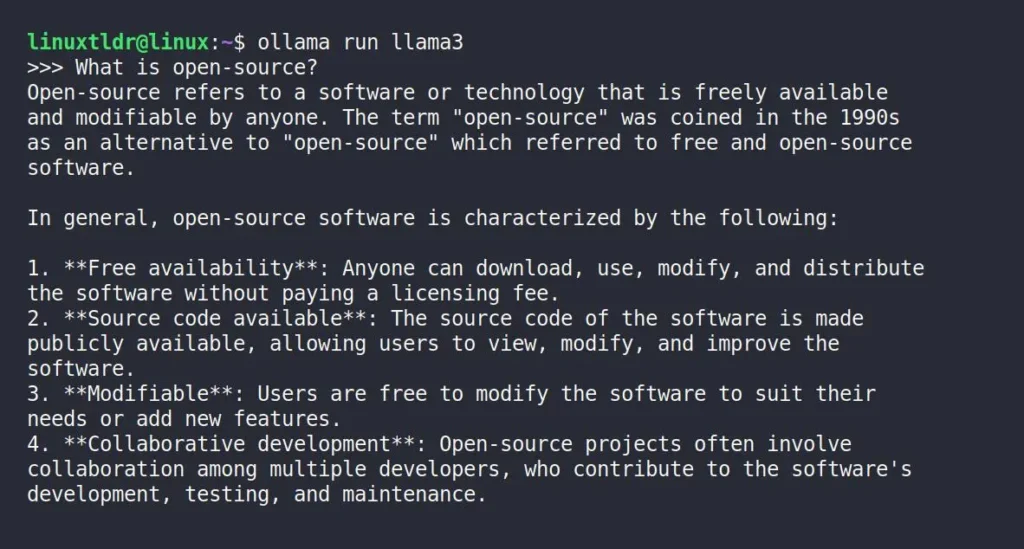
The above static image won’t explain how long it took to generate this much content, but trust me, it consumed a significant amount of time as it was entirely processed by the local system and, in my case, by my CPU.
If you’re curious about the amount of CPU, GPU, or RAM processing involved in the text generation process, simply enter the “top” or “ps -aux” command to see some dancing statistics.
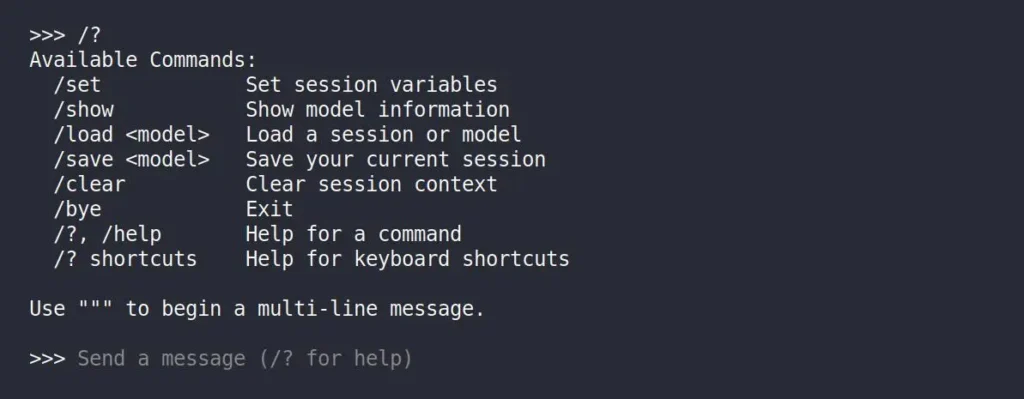
When you are done interacting, you can quit the prompt by using “Ctrl+D“, typing “/bye“, or using “/?” to get some additional information.
Here, you’ve learned to install Ollama, then download, run, and access your favorite LLMs. If your system is located remotely, you can SSH into it or use Open WebUI to access your LLMs from anywhere using browser. So, let’s see the steps for that…
How to Use ChatGPT-like Browser Interface Using Open WebUI
Open WebUI is an open-source project that allows you to use and access your locally installed LLMs from your browser, whether locally or remotely, via a ChatGPT-like interface.
It’s more user-friendly and easy to configure, so if you are interested, then follow the steps mentioned below to install it on your Linux system.
Step 1: Install Docker on Linux
The Open WebUI is available as a Docker image that you can instantly pull and use to start a Docker container quickly, but first, you need to have Docker installed on your system.
For that purpose, I recommend checking out our comprehensive article on installing Docker and Docker Compose on Linux. Once done, follow the next step.
Step 2: Install Open WebUI in Docker
Once Docker is installed on your system, you can execute the following command to pull the Open WebUI image and then start a container using the downloaded image.
$ sudo docker run -d --network=host -e OLLAMA_BASE_URL=http://127.0.0.1:11434 -v open-webui:/app/backend/data --name open-webui --restart always ghcr.io/open-webui/open-webui:mainWhen you execute the above command, the Open WebUI image download process will take some time, depending on your internet speed.
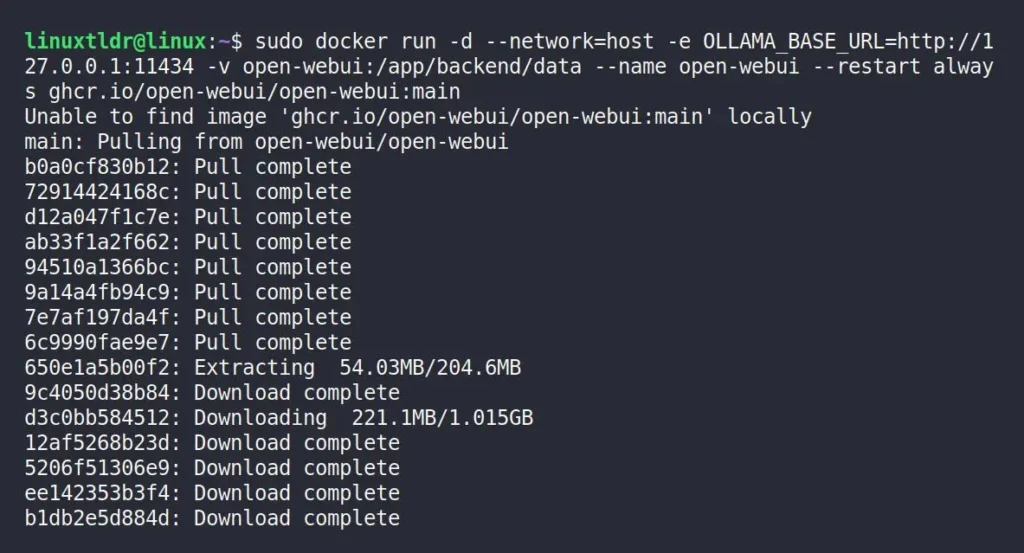
Once done, you’ll regain your bash shell, and to verify if the Docker container for Open WebUI is running, you can run the following command:
$ docker psOutput:

Step 3: Access Open WebUI in Browser
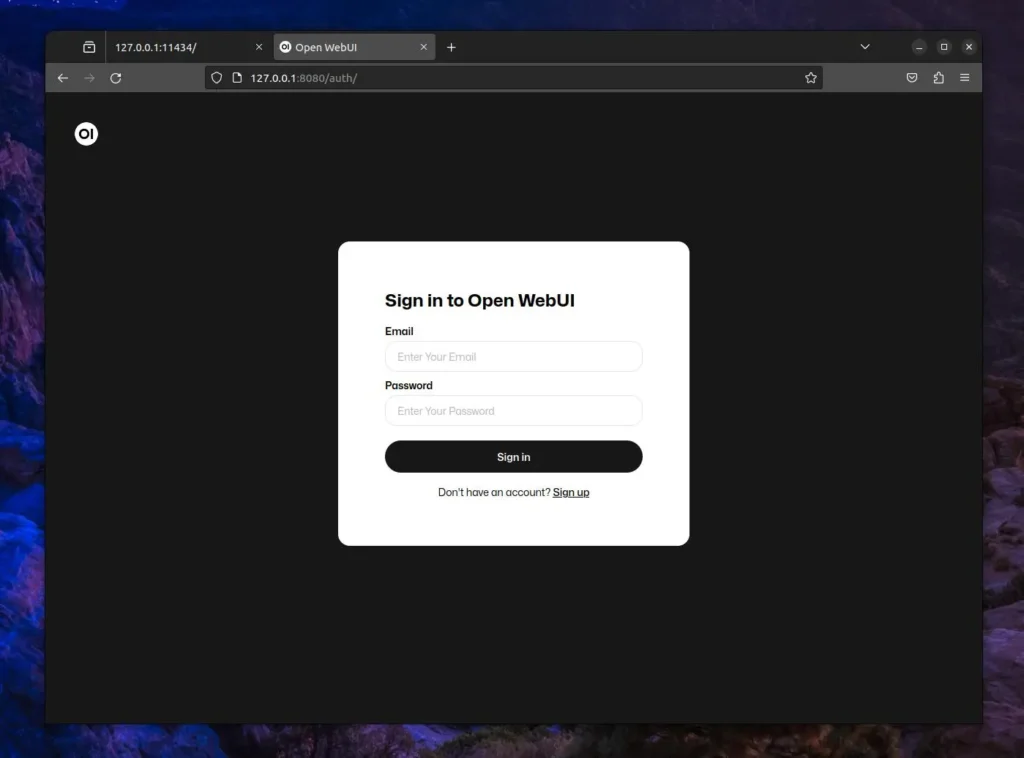
Now that Open WebUI is running, open your browser and access the following URL:
http://127.0.0.1:8080This will open the Open WebUI login page, where you’ll need to first sign up for a new account by entering details like your name, email, and password. Afterward, you can use these credentials to log in, and don’t forget to securely store them in your password manager for later use.
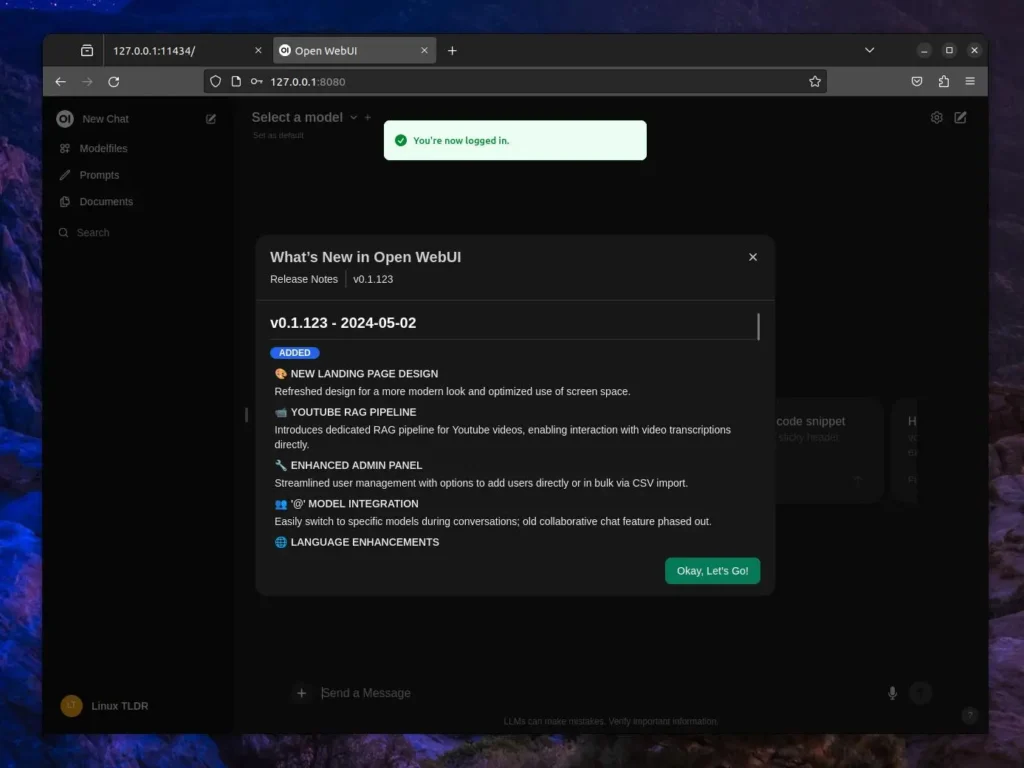
You will now be greeted with features in the latest release of Open WebUI on the dashboard, and to continue, you can click on the “Okay, Let’s Go!” button.
Finally, you’re here! To interact with the locally installed LLMs on your system, start by selecting them from the top left corner. If you’ve been following along with this article, you should already have the “Meta Llama 3 8B model” installed on your system, so you can opt for that model.
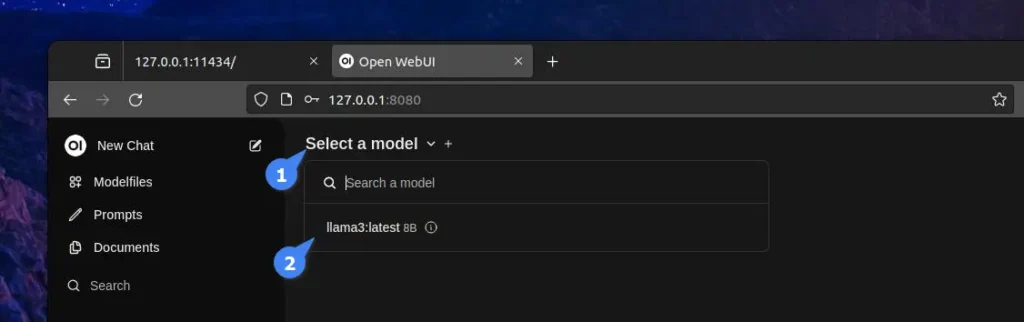
Once done, you can start interacting with it.
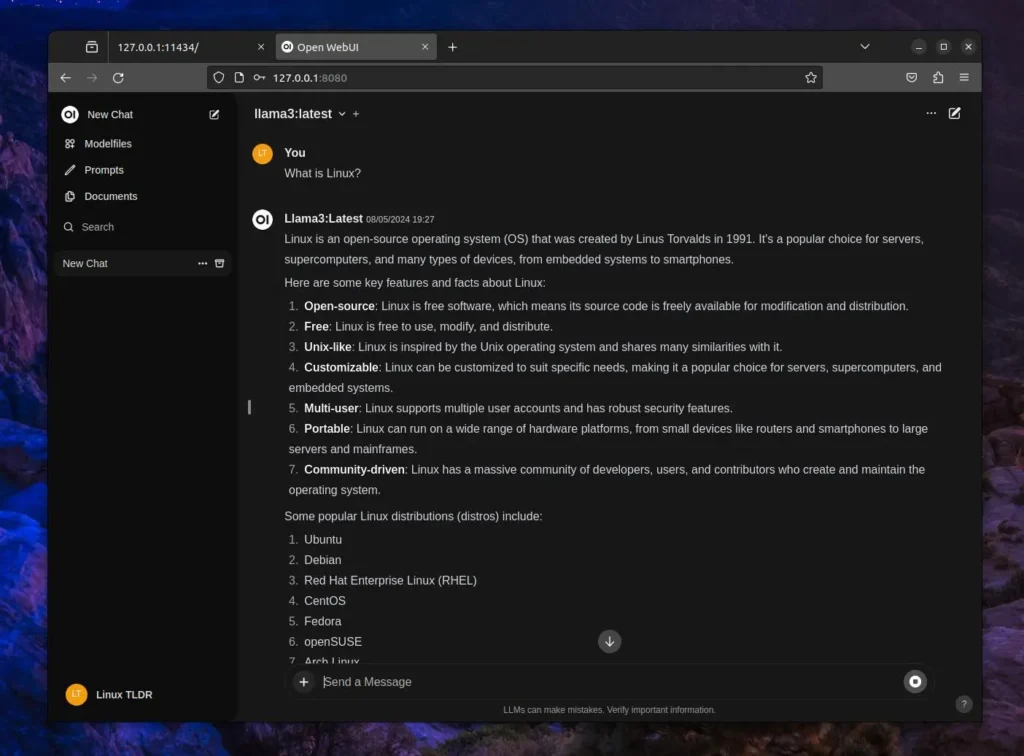
Here, you can create, rename, remove a chat, edit responses, and perform numerous other actions beyond what the ChatGPT interface itself offers.
How to Remove Ollama and Open WebUI from Linux
If you find it unnecessary and wish to uninstall both Ollama and Open WebUI from your system, then open your terminal and execute the following command to stop the Open WebUI container.
$ docker stop open-webui
$ docker remove open-webui
To list all the Docker images, execute:
$ docker imagesFind the Open WebUI image and take note of its “IMAGE ID“, then use it in the following syntax:
$ docker rmi <IMAGE_ID>Then you can remove the “/var/lib/docker/volumes/open-webui” directory containing the Open WebUI information of your account and preference; if you plan to install it in the future, then skip this.
To remove Ollama, first identify the list of all LLMs you have installed using the following command:
$ ollama listThen use their name and specify it in the following syntax to remove each one.
/usr/share/ollama/.ollama/models” directory to remove all installed LLMs at once.$ ollama rm <LLM_NAME>Then remove the Ollama service:
$ sudo systemctl stop ollama
$ sudo systemctl disable ollama
$ sudo rm /etc/systemd/system/ollama.service
Lastly, remove the Ollama binary file from the “/bin” directory, user, group, and other stuff:
$ sudo rm $(which ollama)
$ sudo rm -r /usr/share/ollama
$ sudo userdel ollama
$ sudo groupdel ollama
That’s it,
Final Word
The end of this article is here, and you can see how easy it is to set up and use LLMs these days. While a powerful PC is needed for larger LLMs, smaller models can even run smoothly on a Raspberry Pi.
Are you interested in installing LLMs locally on your system, or do you prefer accessing online services like ChatGPT? Or are you still trusting Google the most? Let me know your thoughts in the comments.
Till then, peace!


Three quick questions:
1) Exactly how long did it take to produce the output shown?
2) What exactly is the CPU you’re using and how would it compare to a Ryzen 9 5950X, which is what I’m running (with 64GB RAM)?
3) What graphics CPU would you recommend costing under $600 to speed this up? (I have only a 2GB AMD GPU as I don’t do any gaming.)
Because it makes no sense to try this if the output shown takes 15-30 minutes! I would be looking at well under a minute for a response, preferably within 10 seconds.
1. It took approximately 2-3 minutes to generate about 500 words of content.
2. The system in which it was tested has a Ryzen 5 (with 32GB RAM), so comparing it with a Ryzen 9 (with 64GB RAM), I assume using the same model would generate the same response in under 1 minute.
3. I wouldn’t recommend any product for now.