
A good font (also referred to as typography) is crucial in UI/UX design. However, individuals interested in desktop customization often enjoy having an amazing font of their choice on their system to make it stand out among others.
While users are provided with a variety of fonts to choose from for their system, if you want to install a new font from the internet, then the steps for Windows are quite easy, whereas for Linux, they are a little different.
In this article, I’ll guide you through various methods to install modern, new fonts on your Linux system for an enhanced desktop experience, including Nerd Fonts for your terminal emulator.
How to Install New Fonts on Linux
The Linux system includes numerous pre-installed fonts, giving users the option to choose from them. However, if your desired font is unavailable, you can typically download it in TrueType (TTF) or OpenType (OTF) file formats. So, let’s begin with…
Downloading Fonts from the Internet
There are multiple sources from which you can download your favorite font for free; the most recommended ones are listed below.
- Google Fonts (free, no login required)
- Font Squirrel (free, no login required)
- Adobe Fonts (freemium, login required)
- Dafont (community-driven, no login required)
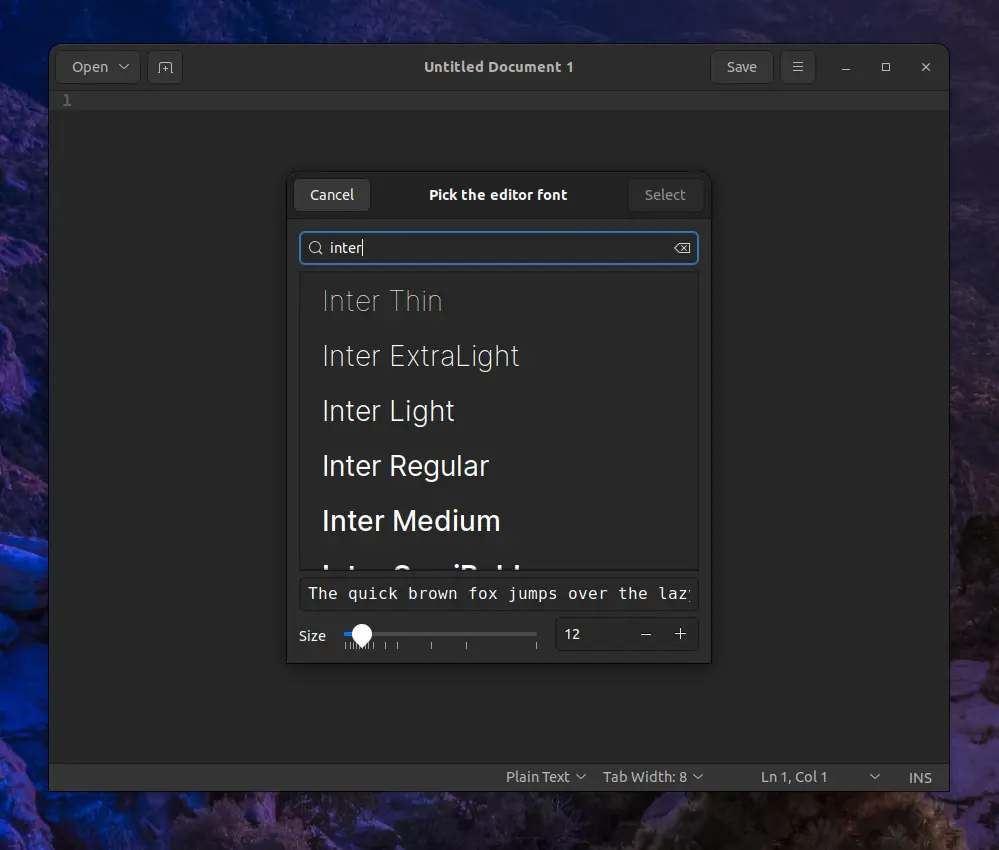
For instance, I’ll download my favorite “Inter” font from Google Fonts, as shown.

Installing Single Fonts at a Time
The downloaded font file will typically be compressed in zip format, so navigate to the downloaded directory and extract the fonts (for me, it’s “Inter.zip“) from your file manager.
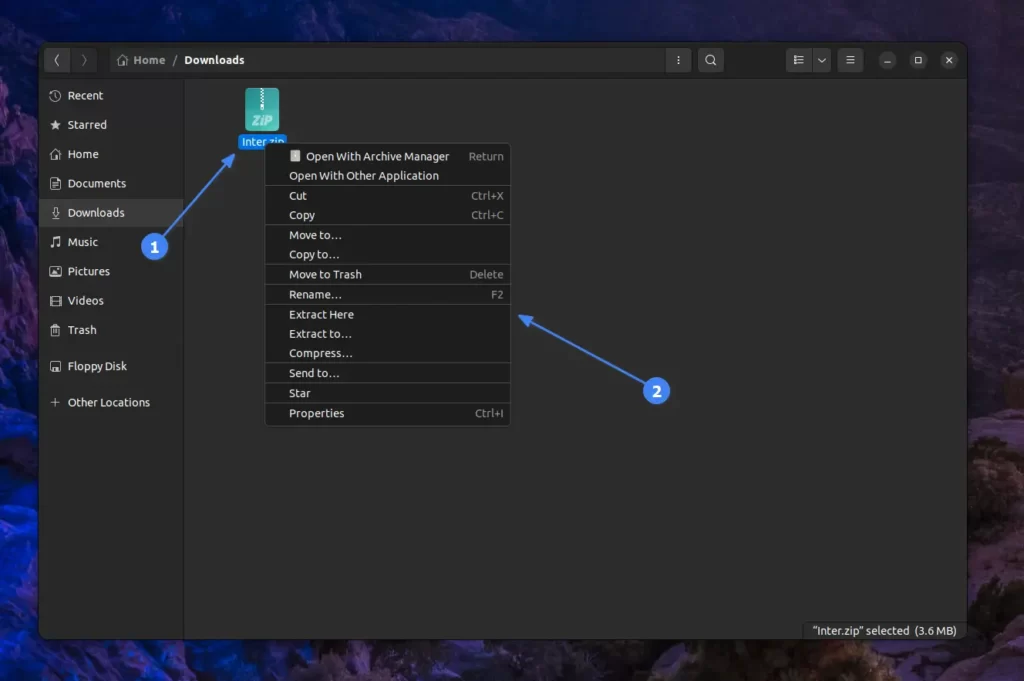
Alternatively, you can also run the following unzip command to extract the font file:
$ unzip Inter.zipNow, proceed to the extracted directory, where you will discover multiple files. Look for .ttf (TrueType Fonts) or .otf (OpenType Fonts) files.
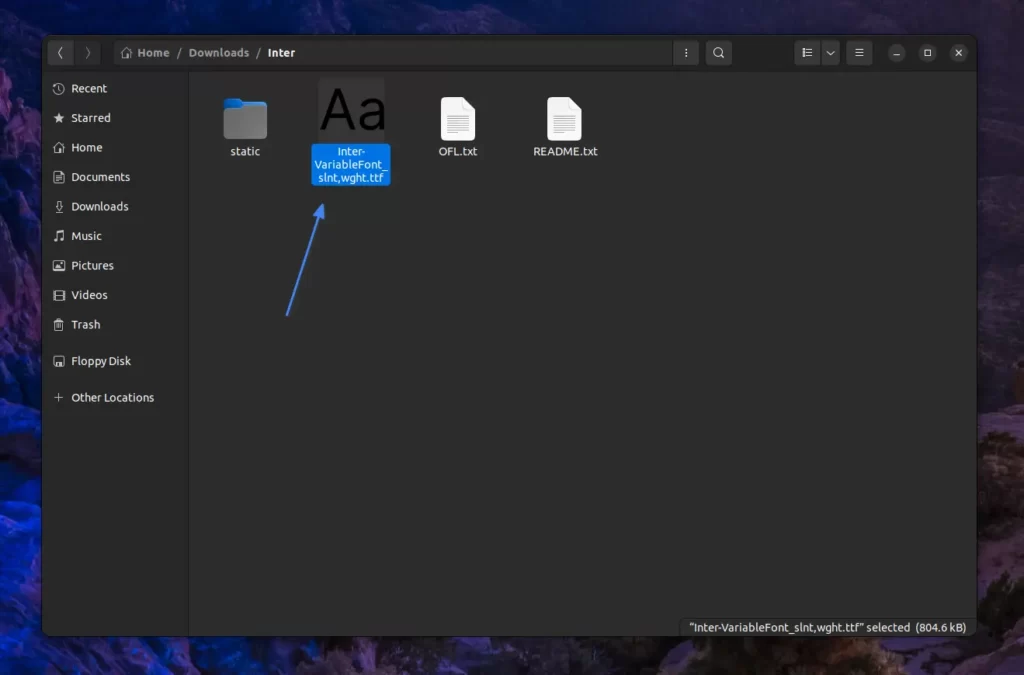
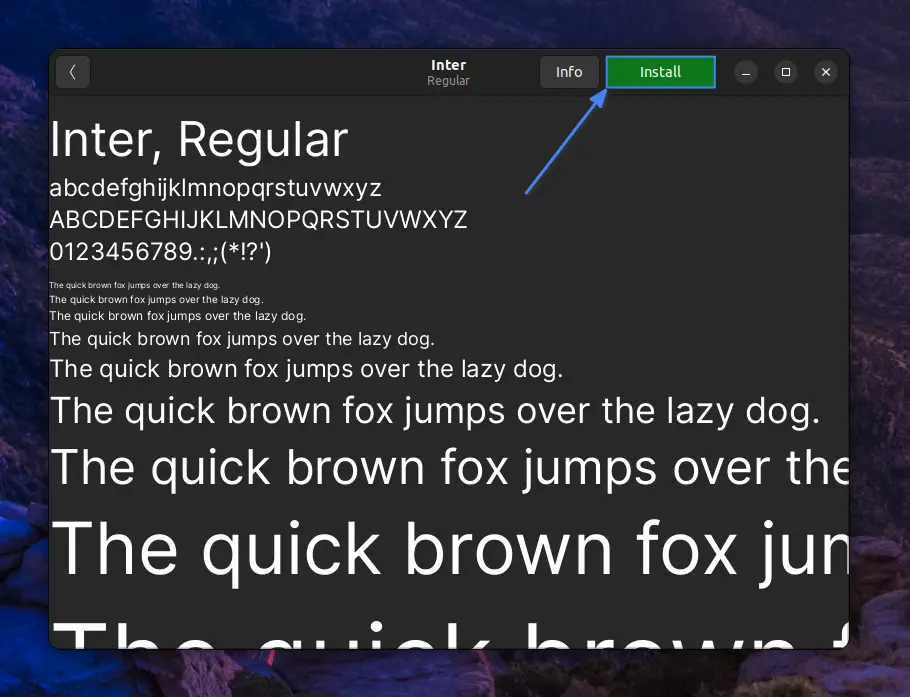
Upon finding either of them, open the file; this action will launch the font manager, where you need to click on the “install” button located in the top-right corner.
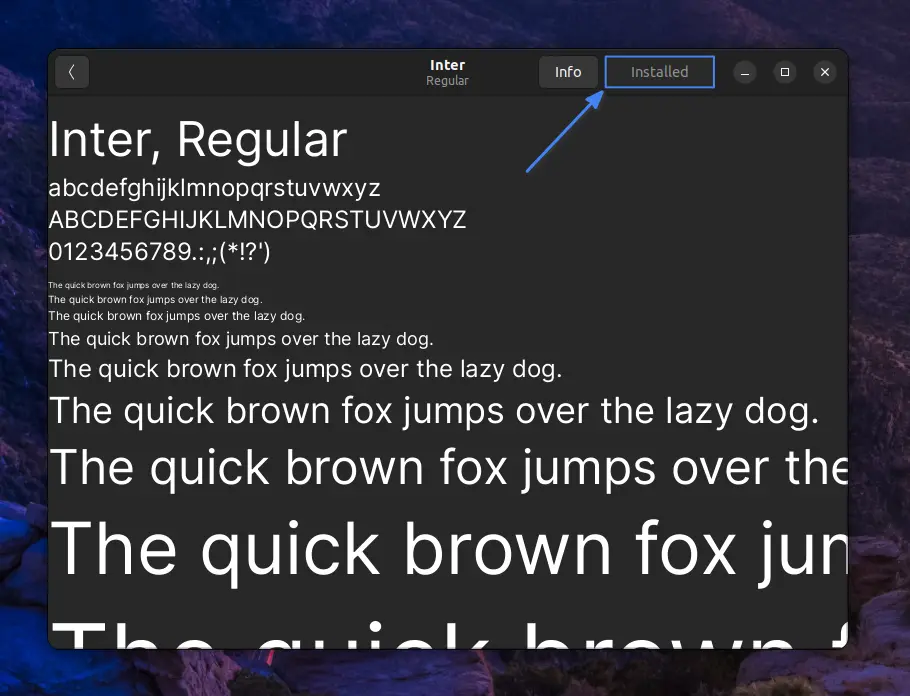
Wait for a moment until the green “Install” button turns into a gray “Installed” button.
Alternatively, you can also install your new font from the command line in Linux by moving the .ttf or .otf files to the “~/.local/share/fonts/” directory.
$ sudo cp *.ttf ~/.local/share/fonts/Output:

Once installed, you can choose your newly installed font in your favorite applications that offer font selection options, such as Gedit, GIMP, Pinta, etc.
Installing Multiple Fonts at Once
Imagine having 50+ fonts to install. With a graphical method, it can become quite tedious, so in this case, you can use the command-line method to install all your desired fonts at once.
To demonstrate, here are a few fonts I’ve already downloaded from Google Fonts and extracted using the method previously demonstrated in this article.
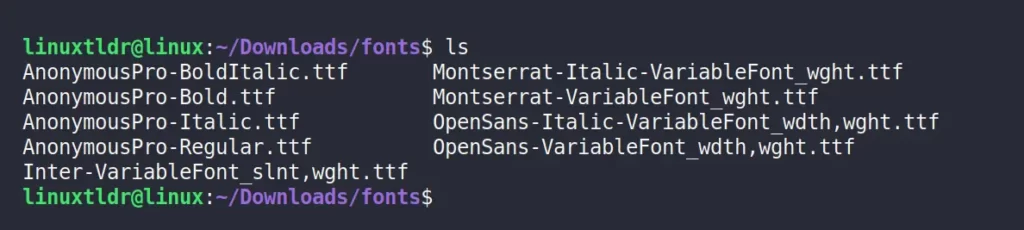
In the image above, you can observe that I’ve removed all unnecessary files except .ttf (retain .otf if it exists) and moved them to a single location.
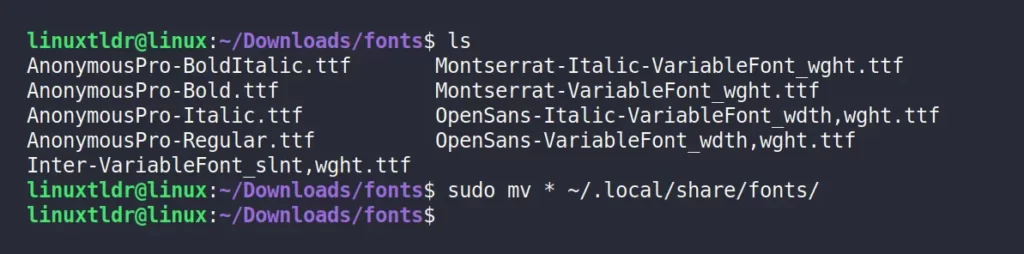
To install all of them at once, you can either move all of these files to the “~/.local/share/fonts/” directory from your file manager or use the following command:
$ sudo mv * ~/.local/share/fonts/Output:
Installing New Fonts using Font Manager (GUI)
All the above-mentioned methods require multiple steps to install your favorite fonts on Linux; however, this tedious process can be simplified with a tool called a font manager.
The Font Manager is a popular open-source GUI application for managing fonts on your Linux system, allowing you to easily install single or multiple fonts at once or delete your existing ones.
To start, execute any one of the following commands to install the font manager on Linux:
#For Debian, Ubuntu, Linux Mint, etc.
$ sudo apt install font-manager

#For RHEL, Fedora, Alma Linux, etc.
$ sudo dnf copr enable jerrycasiano/FontManager
$ sudo dnf install font-manager

#For Arch, Manjaro, EndeavourOS, etc.
$ sudo pacman -S font-manager
Once the installation is complete, you can find it in your application menu and launch it from there.

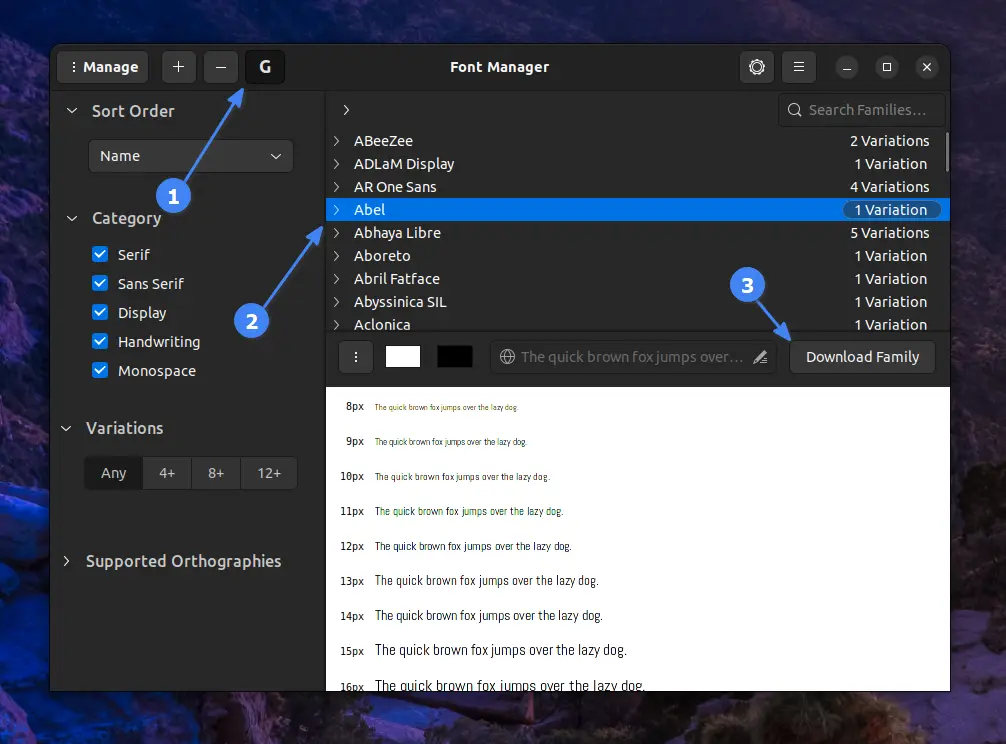
When you launch it for the first time, the home window interface will resemble the one below.
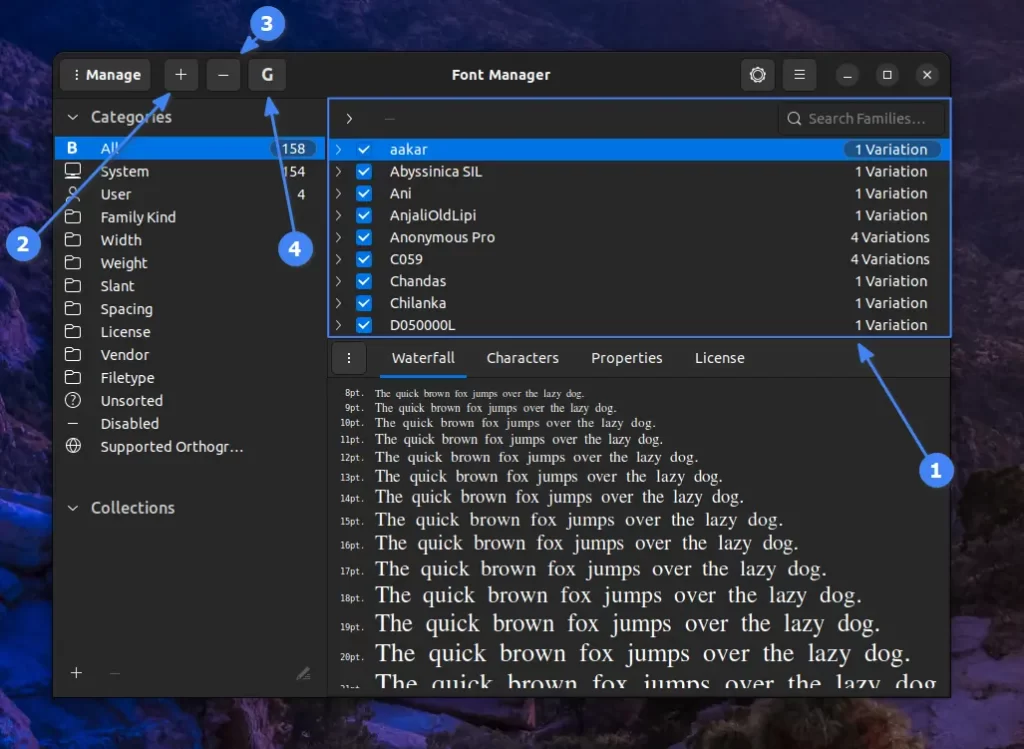
The application is quite self-explanatory, but I’ve highlighted the important options, so here is an explanation of each of them.
- List all installed fonts on your Linux system.
- Add and install local fonts.
- Remove selected fonts.
- List all Google Fonts from which you discover and install new fonts.
For instance, to install a new font from Google Fonts, simply click the highlighted “G” with “4“, locate your favorite font, and click on the “Download family” button to install.
If you wish to remove this tool from your system, simply execute one of the following commands based on your Linux system:
$ sudo apt remove font-manager                                                #For Debian, Ubuntu, Linux Mint, etc.
$ sudo dnf remove font-manager                                                #For RHEL, Fedora, Alma Linux, etc.
$ sudo pacman -R font-manager                                                 #For Arch, Manjaro, EndeavourOS, etc.
What are Nerd Fonts for Linux?
Nerd Fonts is a collection of patched fonts that includes a bunch of patched (glyphs) icons to make it compatible with a variety of command-line tools, programming, and scripting languages.
The glyphs (or icons) are chosen from popular fonts such as Font Awesome, Devicons, Font Logos, Material Design Icons, Powerline Symbols, Octicons, Weather Icons, and many others.
As of writing this article, there are currently 50+ nerd fonts, with popular ones like “Hack“, “Fira Code“, “DejaVu“, and “DroidSans” being considered the best and most ready-to-use fonts.
So, let’s see how you can install new Nerd Fonts on your Linux system with multiple methods.
Installing Nerd Fonts on Linux
To do so, locate and download a new nerd font from the patched fonts directory, or use the following command to download my favorite “DejaVu” nerd font using the wget command.
$ wget https://github.com/ryanoasis/nerd-fonts/releases/download/v3.0.2/DejaVuSansMono.zipTo perform a user-specific installation, ensure that the “~/.local/share/fonts/” directory exists. Next, unzip the compressed nerd font content into the fonts directory, and finally, refresh the font cache by executing the “fc-cache -f -v” command.
$ mkdir -p ~/.local/share/fonts/
$ unzip DejaVuSansMono.zip -d ~/.local/share/fonts/DejaVuSansMono
$ fc-cache -f -v
To perform a system-level installation, just decompress the Nerd Font content into the “/usr/share/fonts/” directory, then refresh your font cache by executing the “sudo fc-cache -f -v” command.
$ sudo unzip DejaVuSansMono.zip -d /usr/share/fonts/DejaVuSansMono
$ sudo fc-cache -f -v
Once completed, use your new Nerd Font in your preferred application (for instance, gnome-terminal) by navigating to settings and selecting “DejaVu Sans Mono” as your new font.

Installing Nerd Fonts using getNF
The previous method involved multiple steps that can be eliminated with the getNF command-line tool, an amazing tool that simplifies the process of installing new Nerd fonts.
To install, simply execute the following command on your Linux system:
$ curl -fsSL https://raw.githubusercontent.com/getnf/getnf/main/install.sh | bashMake sure that “~/.local/bin” is included in your $PATH environment variable, or insert the following line into your default login shell profile, such as ~/.bashrc or ~/.bash_profile for Bash, to persist the changes.
export PATH="$HOME/.local/bin:$PATH"Finally, execute the following command to launch the getNF command-line interface:
$ getnfOutput:

To install your desired Nerd Font (assuming “Hack“), simply enter the specific number (in this case, “26“) in front of your desired Nerd Font.

This allows you to effortlessly install your preferred Nerd font without the need to manually visit, download, unzip, install, and refresh the font cache each time you want to install a new Nerd font.
Final Word
I hope you find this article useful. If you have any questions or queries related to the article, feel free to ask them in the comment section.
Till then, peace!


getNF is so cool. I often find installing nerd fonts a complex and challenging task, and it makes it totally easy. Thanks for the article, Linux TLDR!
Hey, getnf author here, glad you find it useful and thank you for mentioning it here.
I just wanted to let you know that getNF has moved to its own organization now, it is at https://github.com/getnf/getnf.git.
and now you can install it with a single command with:
curl -fsSL https://raw.githubusercontent.com/getnf/getnf/main/install.sh | bash -s — –silent
Thank you for mentioning that the article has been updated with the latest information.
Hello
getNF has a graphical app now (not using getnf under the hood but does the same job).
It is called Embellish and can be downloaded from flathub.