
Flutter is an open-source UI software development kit (not a programming language) that leverages the Dart programming language for application development.
Google developed this tool to empower developers to build natively compiled applications for mobile, web, and desktop from a single codebase.
It’s the foundation for Alibaba, Google’s Fuchsia OS, Google STADIA (now discontinued), and numerous other software and mobile apps.
Flutter focuses on creating a visually appealing, high-performance, and consistent user interface across different platforms.
In this article, we’ll cover setting up Flutter on Linux and quickly running a Flutter app to confirm the setup.
Tutorial Details
| Description | Flutter + Android Studio |
| Difficulty Level | Moderate |
| Root or Sudo Privileges | Yes |
| OS Compatibility | Ubuntu, Manjaro, Fedora, etc. |
| Prerequisites | – |
| Internet Required | Yes |
A Note for Readers
The Flutter installation can be done in two ways: the recommended method involves a one-line snap command execution, and another involves manually downloading the source code, configuring the environment variables, and blah blah blah.
To simplify the installation process, I will guide you through the Flutter installation via Snap, along with practical examples of configuring it within Android Studio.
How to Install and Use Flutter on Linux
The easiest method to install Flutter on Linux is through Snap, especially if you’re using popular distributions like Ubuntu, as Snap is likely already pre-installed.
For other Linux distributions, please refer to this article to install Snap on your preferred Linux distribution.
1. Installing Flutter on Linux
Open your terminal and execute the following command to install Flutter:
$ sudo snap install flutter --classicOutput:

2. Verify Flutter Dependencies
Once the installation is finished, run the following command to perform various checks and assess the status of your Flutter installation and its dependencies, ensuring that your development environment is set up correctly.
$ flutter doctorOutput:
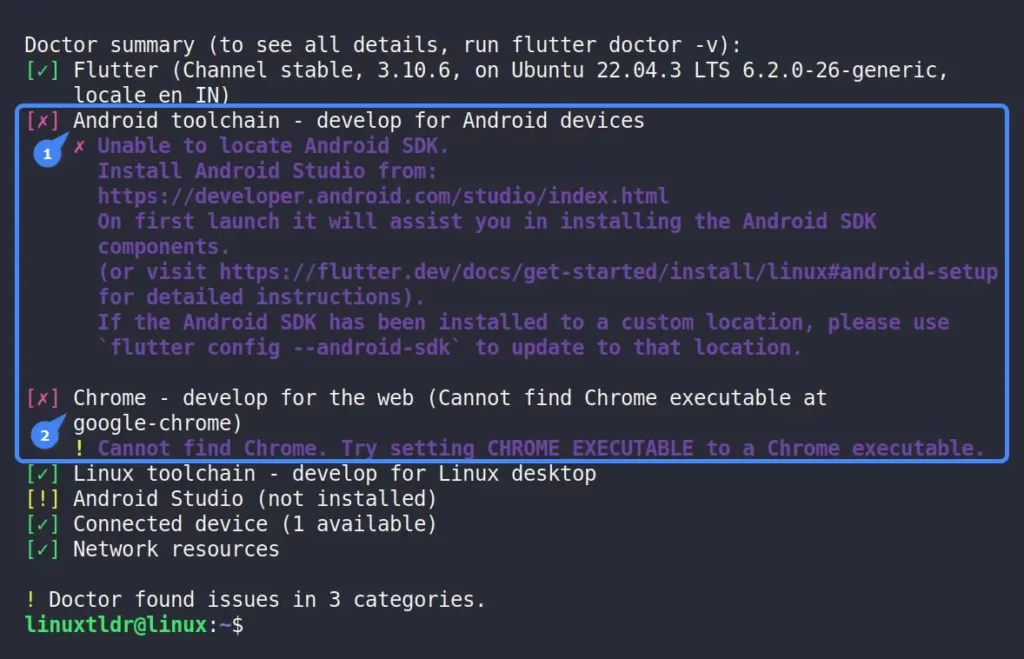
After completing the process, if you encounter a prompt indicating that Android Studio and Google Chrome are missing, proceed with the following steps to install them:
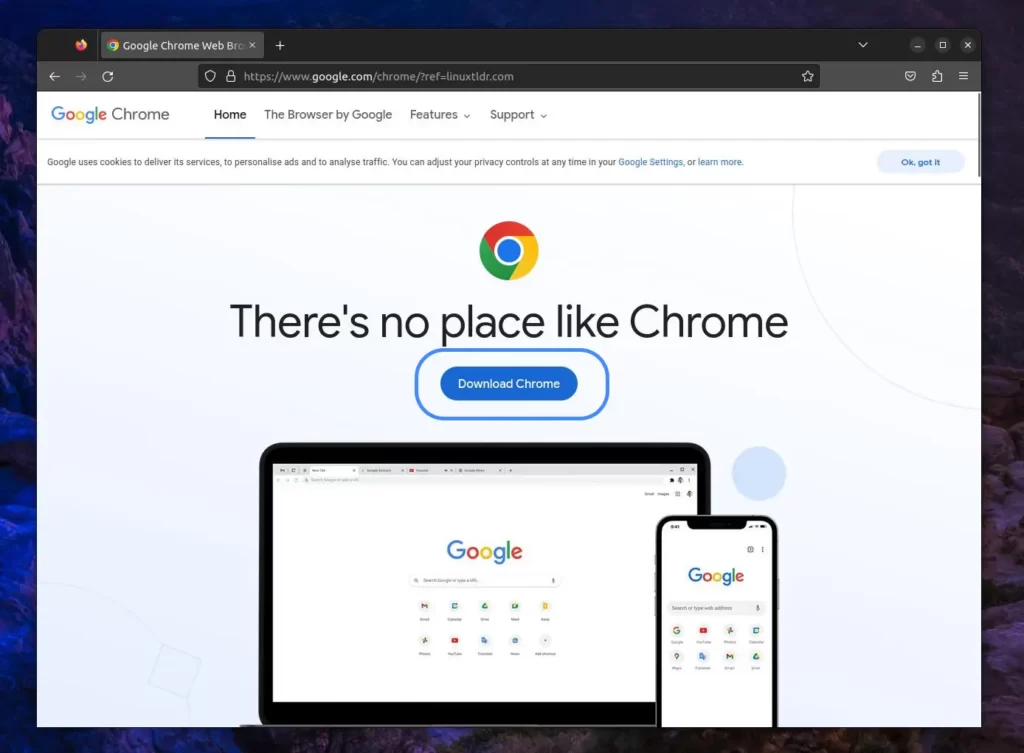
3. Installing Google Chrome on Linux
To begin, let’s install Google Chrome. Visit the official Google Chrome website and click the “Download Chrome” button.
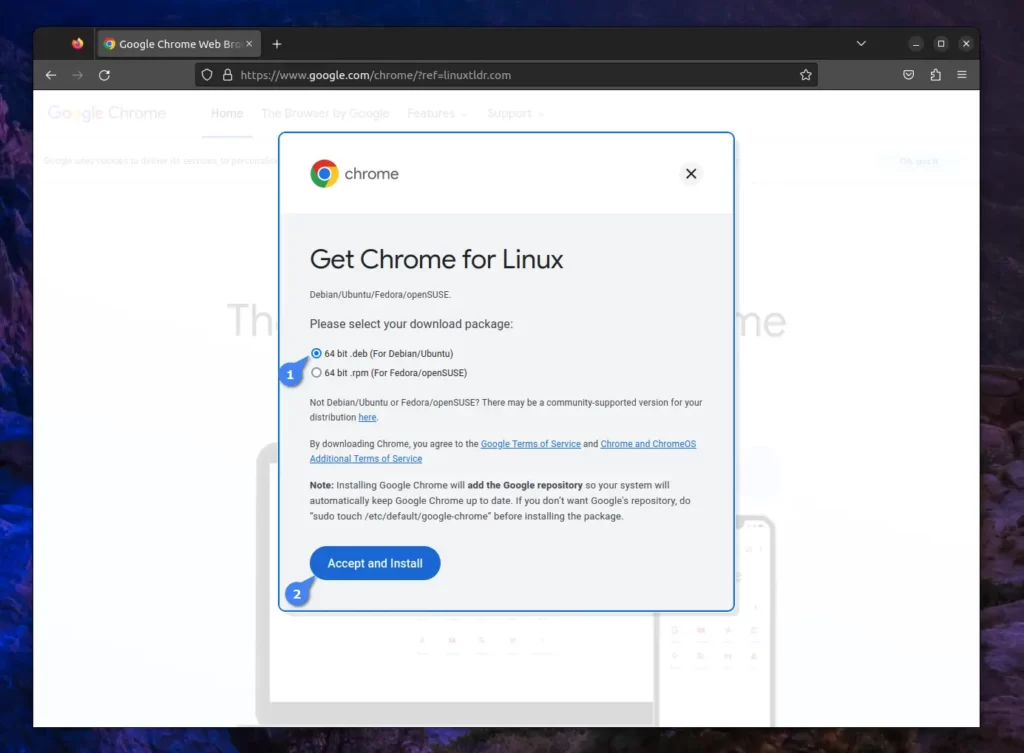
Google Chrome automatically detects your operating system or, alternatively, selects the suitable package according to your distribution.
For instance, if you’re utilizing a Debian or Ubuntu-based system, opt for the “64-bit .deb package“, then initiate the download process by simply clicking the “Accept and Install” button.
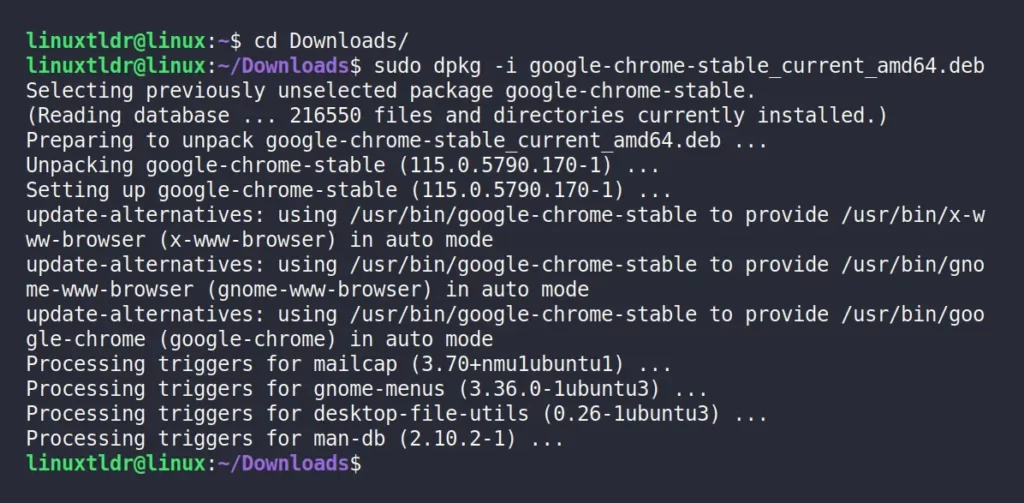
After downloading the file, open your terminal, navigate to the downloaded directory, and execute the following command to install Google Chrome on your Linux system:
$ sudo dpkg -i google-chrome-stable_current_amd64.debOutput:
If you’re utilizing a Red Hat or Fedora-based system and downloaded the Google Chrome RPM file, proceed to install Google Chrome by executing the following command:
$ sudo rpm -i google-chrome-stable_current_x86_64.rpm4. Installing and Configuring Android Studio on Linux
Android Studio can be installed in different ways that have been covered in our separate article on how to install Android Studio on Linux.
For a quick one-step process, just execute the following command in your terminal to effortlessly install Android Studio using Snap.
$ sudo snap install android-studio --classicOutput:

Once the installation is complete, launch Android Studio either by executing the following command or searching for it within your operating system’s menu.
$ android-studioOr

After you launch the Android Studio, it’s time to seamlessly configure it with Flutter, starting by engaging with the following screen.
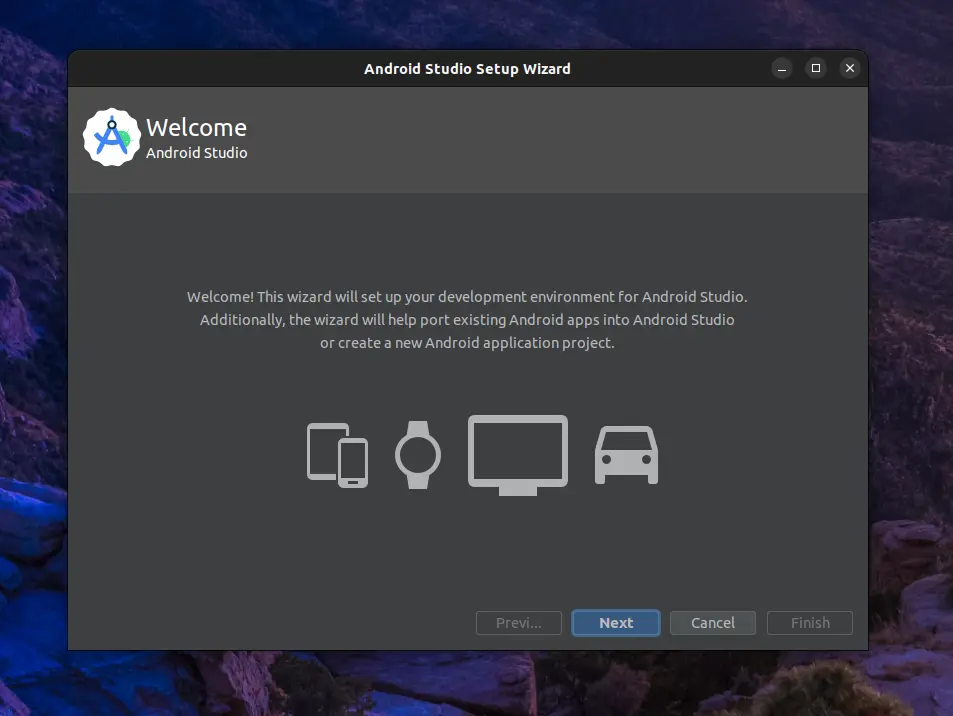
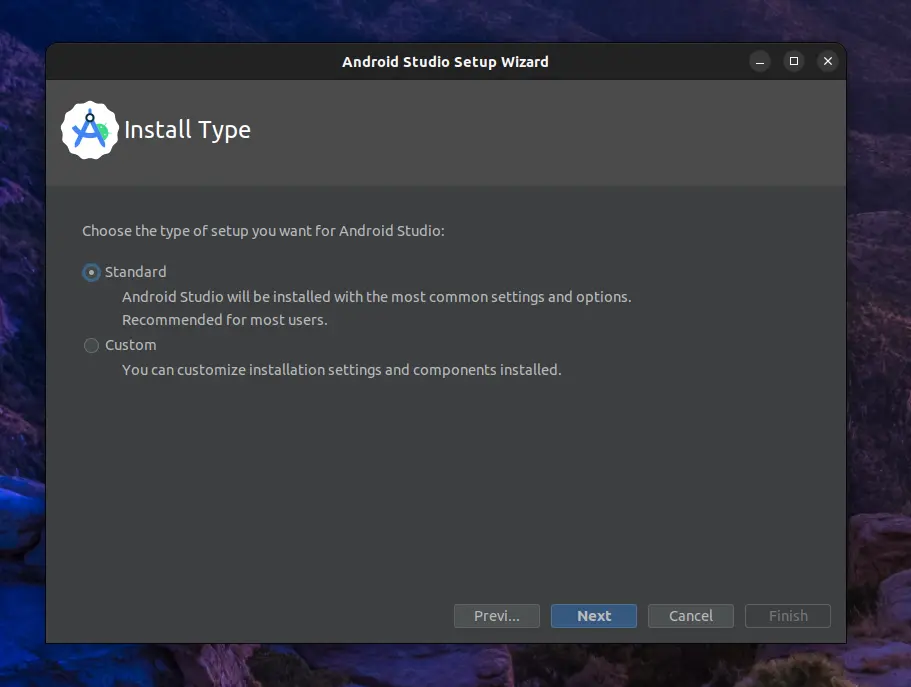
Click the “Next” button, then in the new window (depicted below), select the “Standard” option. Continue by clicking “Next” once more.
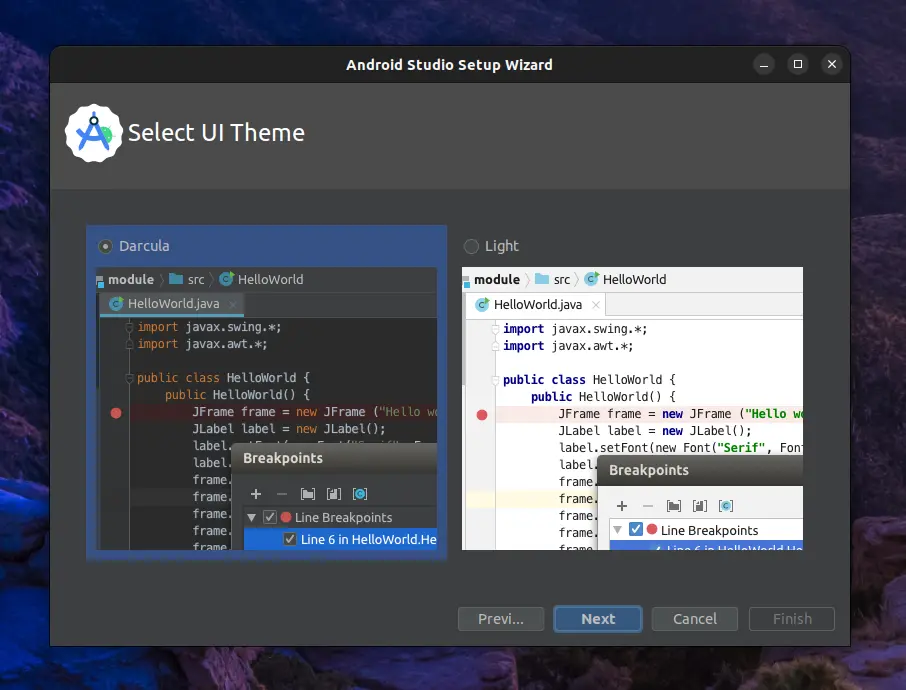
Select your preferred theme (for me, it’s “Dark“) and proceed by clicking the “Next” button.
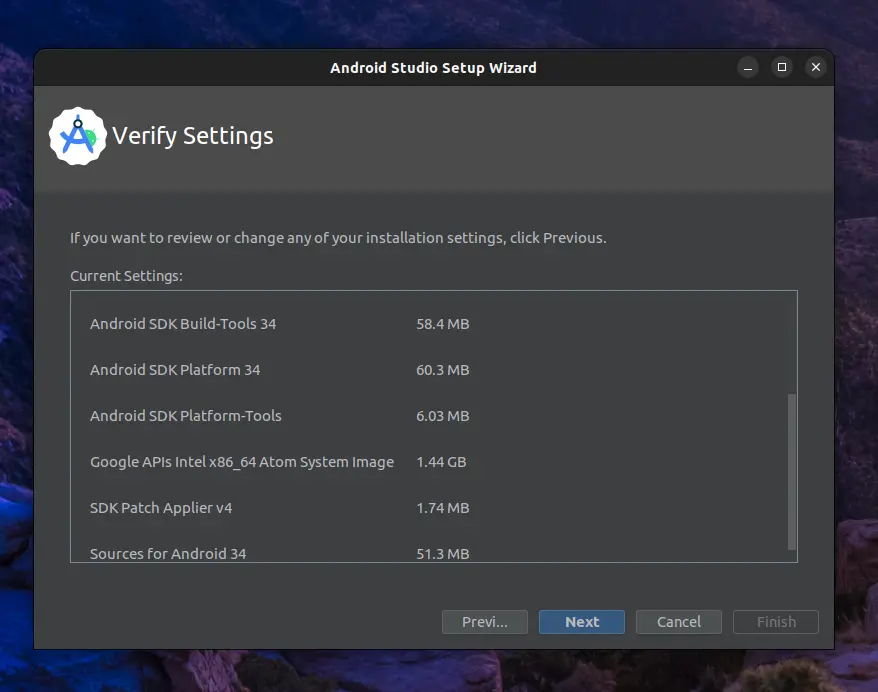
Your current selections will be displayed. To proceed, click the “Next” button.
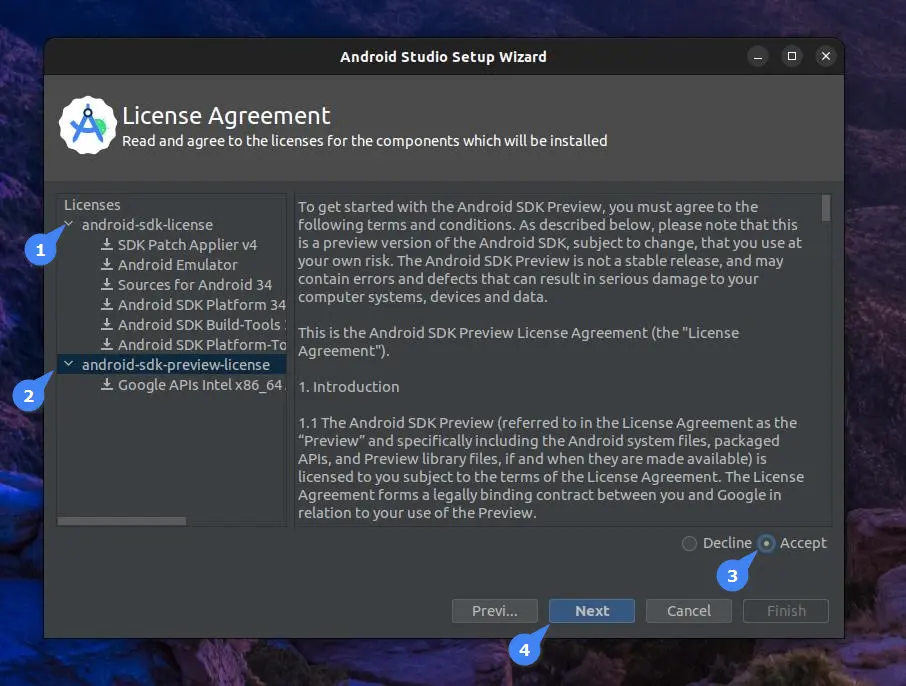
Now, you’ll be prompted to agree to the “android-sdk-license” and “android-sdk-preview-license“. Please ensure you select both licenses individually and click on the “Accept” button followed by the “Next” button to continue.
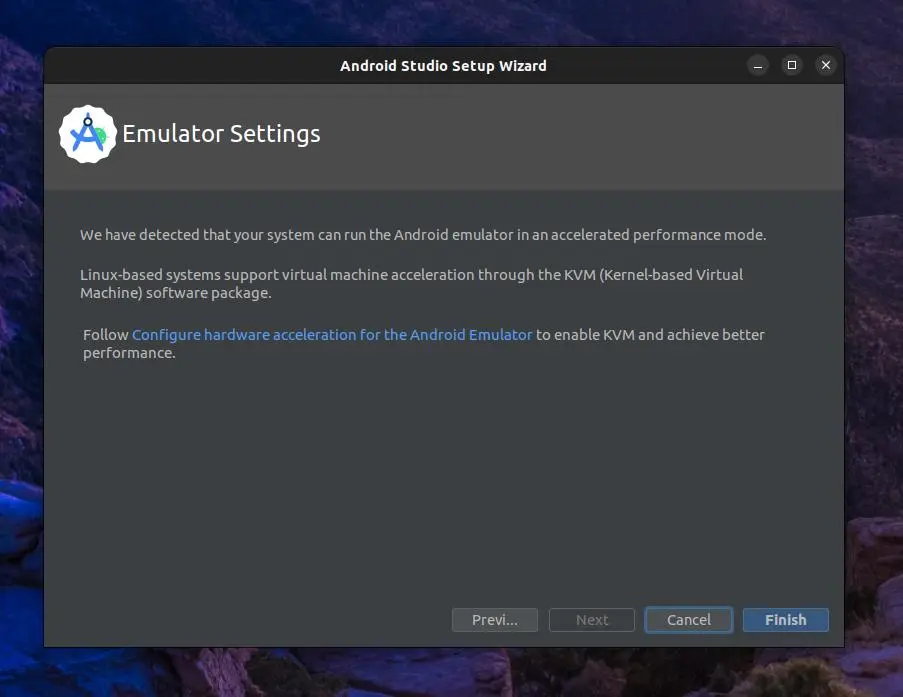
Proceed by clicking the “Finish” button.
And now wait until the download is finished.
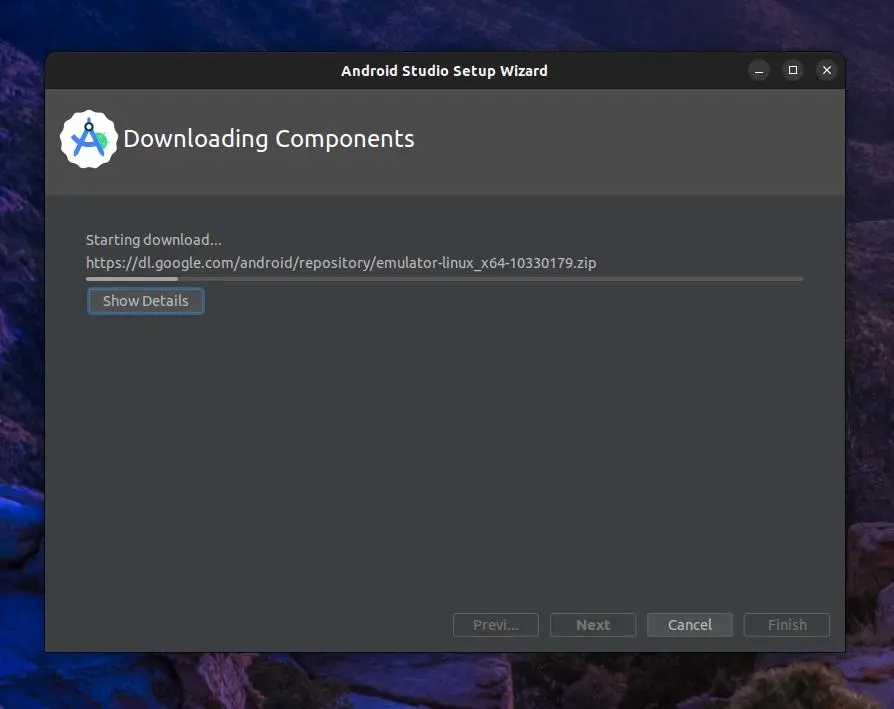
After the download is complete, simply click the “Finish” button to finalize the Android Studio configuration.

4. Creating a Sample Hello World Flutter App
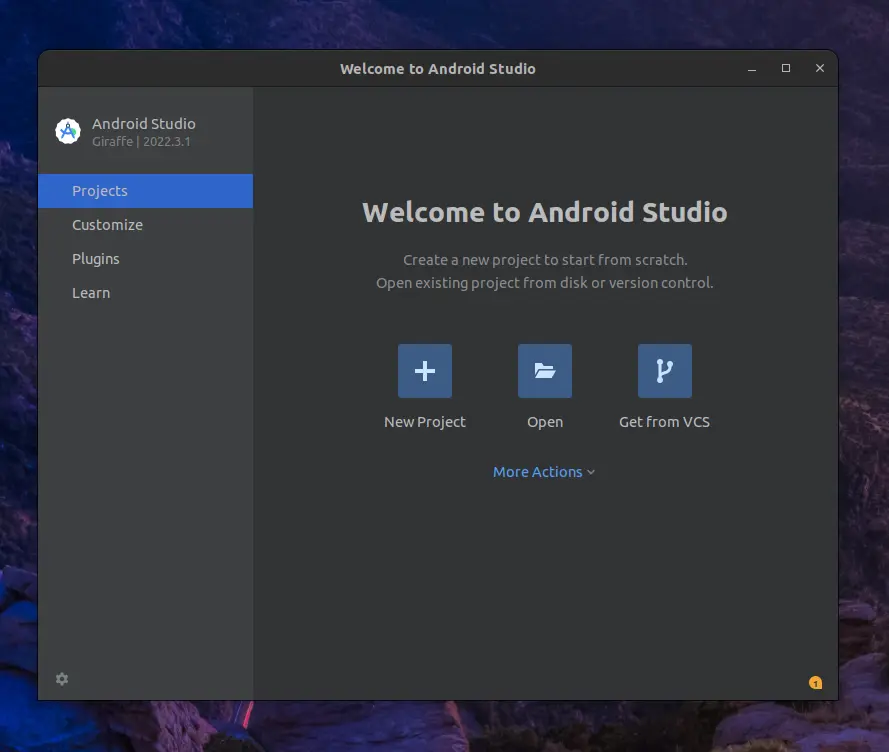
Once Android Studio is launched, you will be greeted with the Welcome screen.
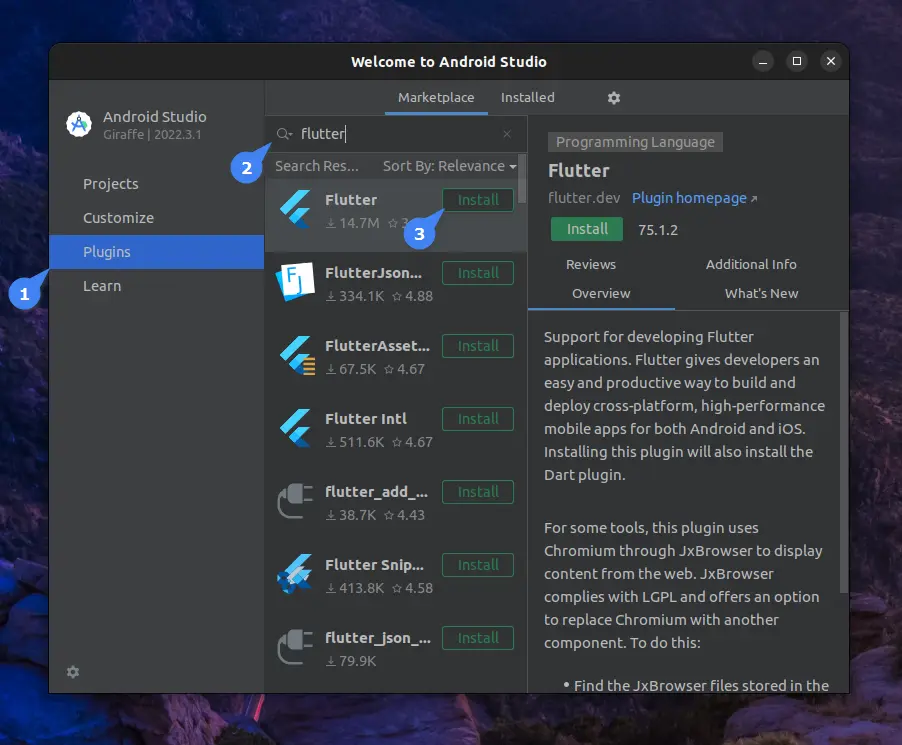
Before you begin, make sure you’ve downloaded the Flutter plugin. To do this, navigate to the Plugins section, search for “Flutter“, and then click the “Install” button.
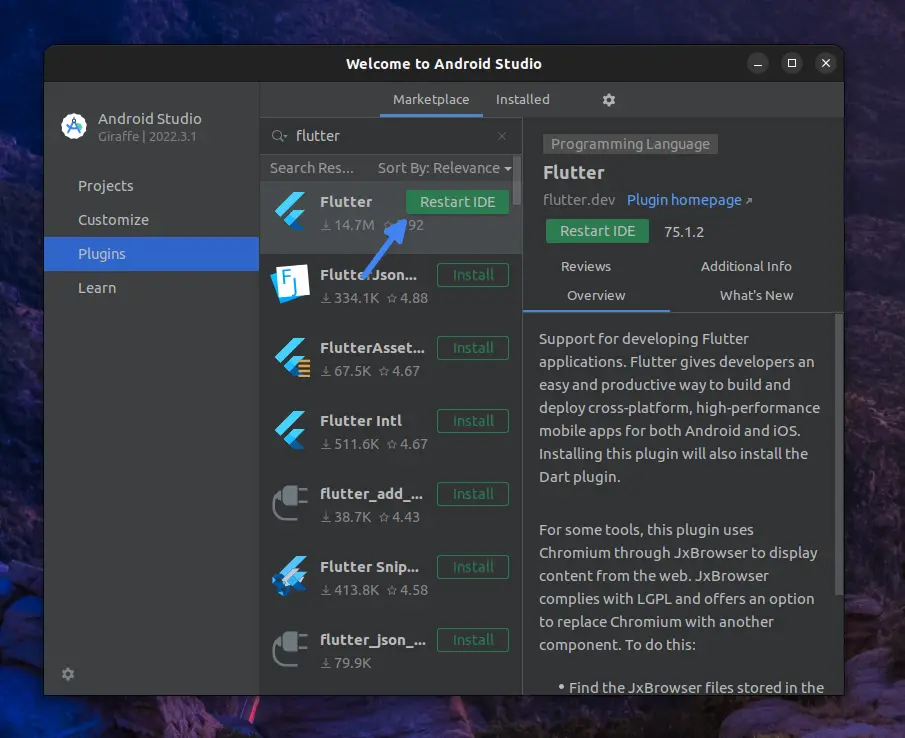
Once the installation is finished, simply click the “Restart IDE” button.
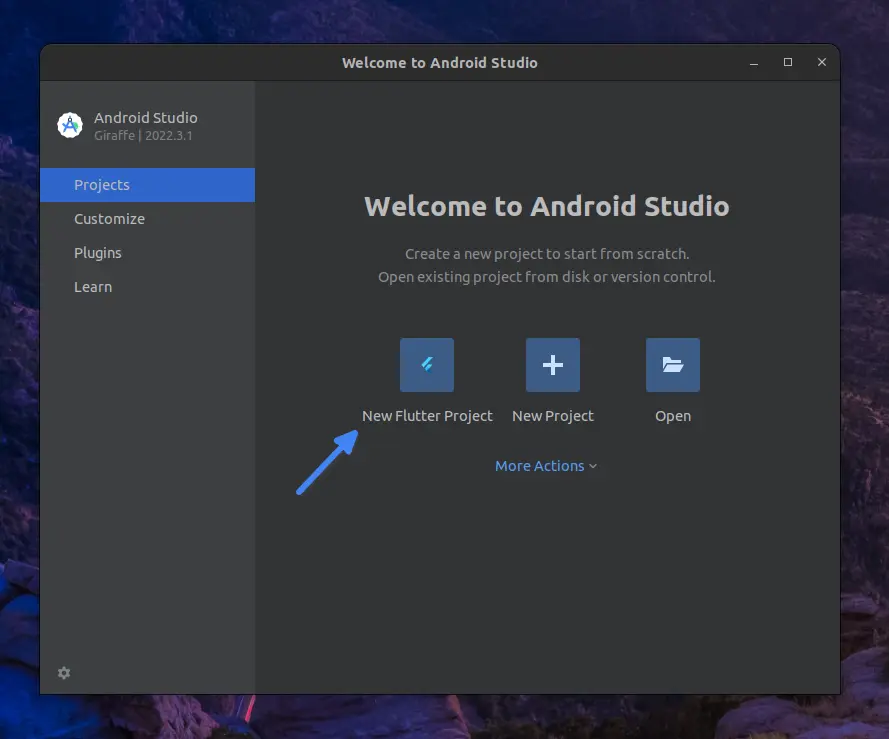
You’ll now spot the “New Flutter Project” right on your Android Studio Home screen. Simply click on it to create your first Flutter project.
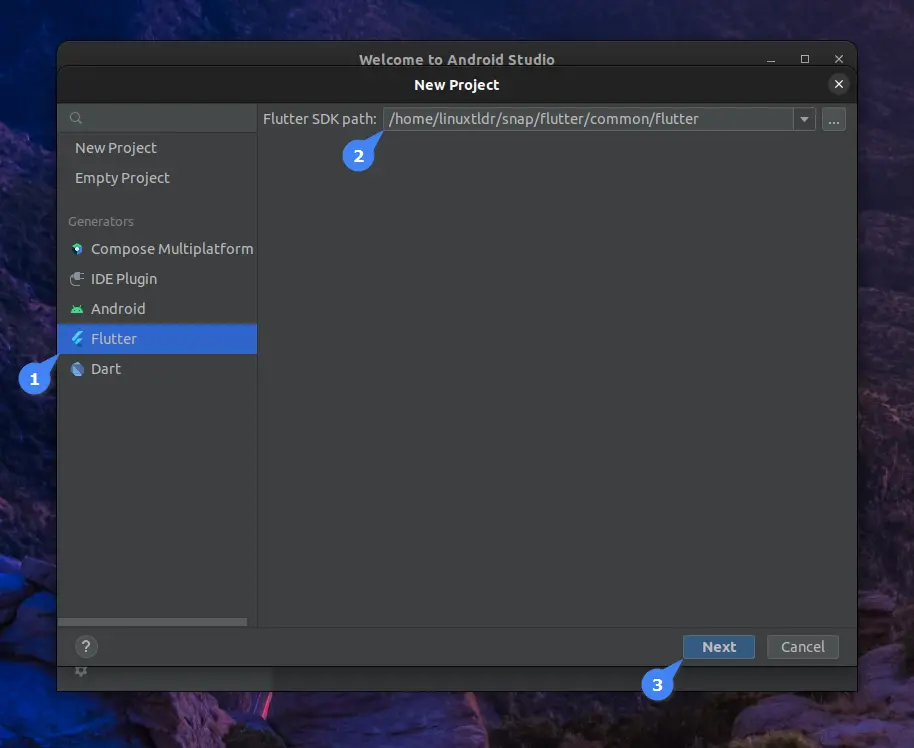
Upon clicking, a New Project window will swiftly appear. Navigate to the “Flutter” option within the “Generators” section. Confirm the “Flutter SDK Path“, and proceed by clicking the “Next” button.
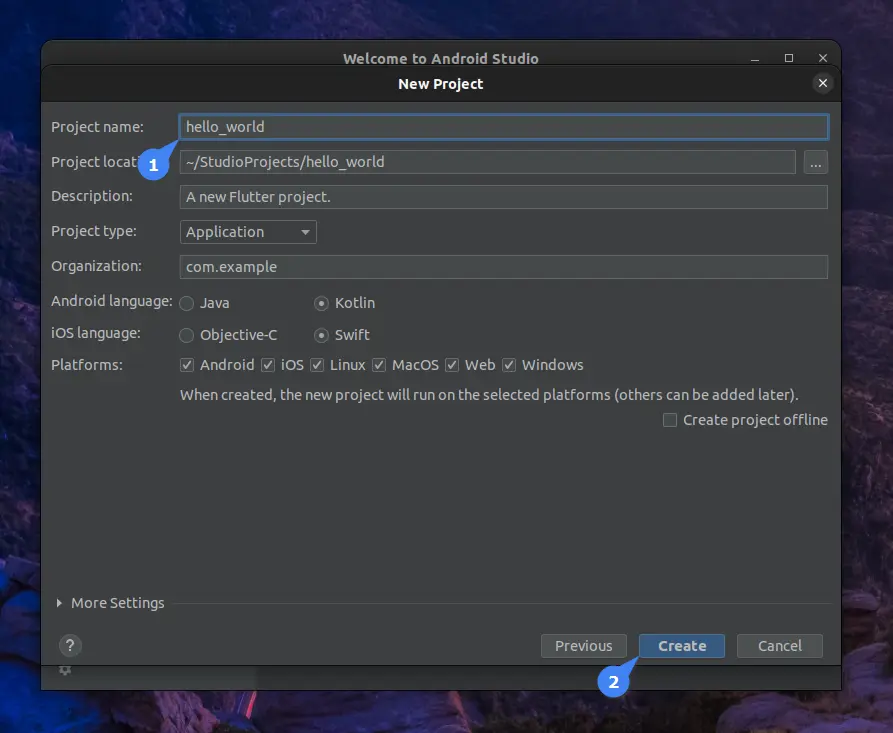
Give a name to your Flutter Project and click on the “Create” button.
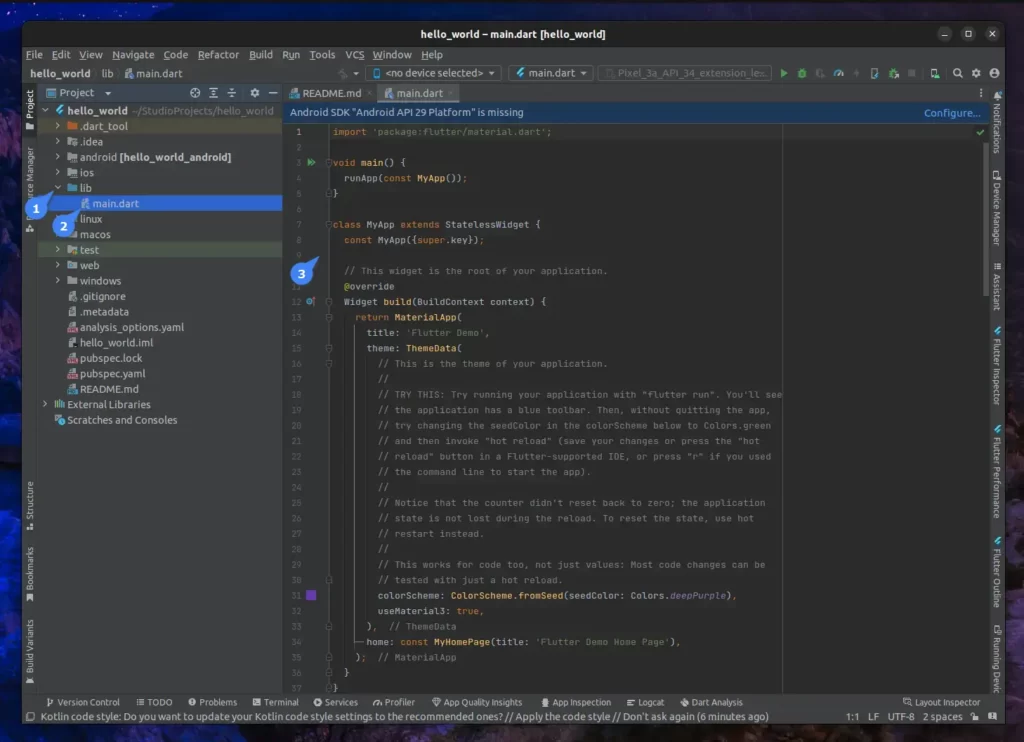
The IDE is ready to launch. From here, just open the file located in “lib/main.dart“.
Replace all existing code with the following sample “hello world” code.
// Copyright 2023 The Flutter team. All rights reserved.
// Use of this source code is governed by a BSD-style license that can be
// found in the LICENSE file.

import 'package:flutter/material.dart';

void main() => runApp(MyApp());

class MyApp extends StatelessWidget {
  @override
  Widget build(BuildContext context) {
    return MaterialApp(
      title: 'Welcome to Flutter',
      home: Scaffold(
        appBar: AppBar(
          title: const Text('Welcome to Flutter'),
        ),
        body: const Center(
          child: Text('Hello World, from LinuxTLDR'),
        ),
      ),
    );
  }
}
At last, choose your preferred device (for example, “Chrome Web“) and confidently press the “Run” button to witness the enchantment unfold!
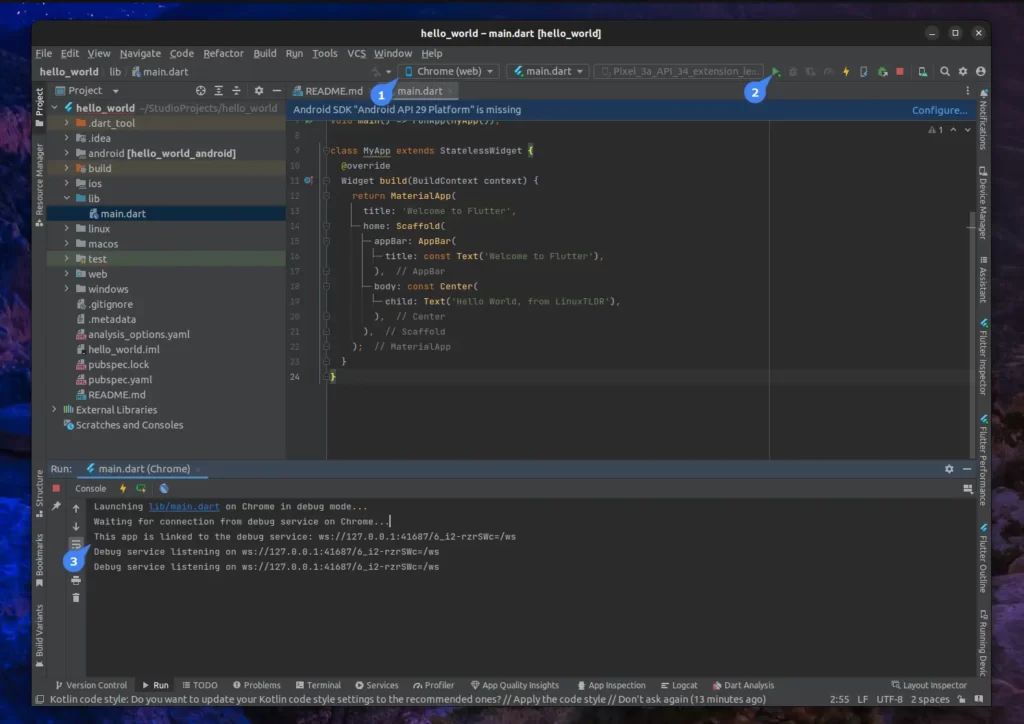
Output:
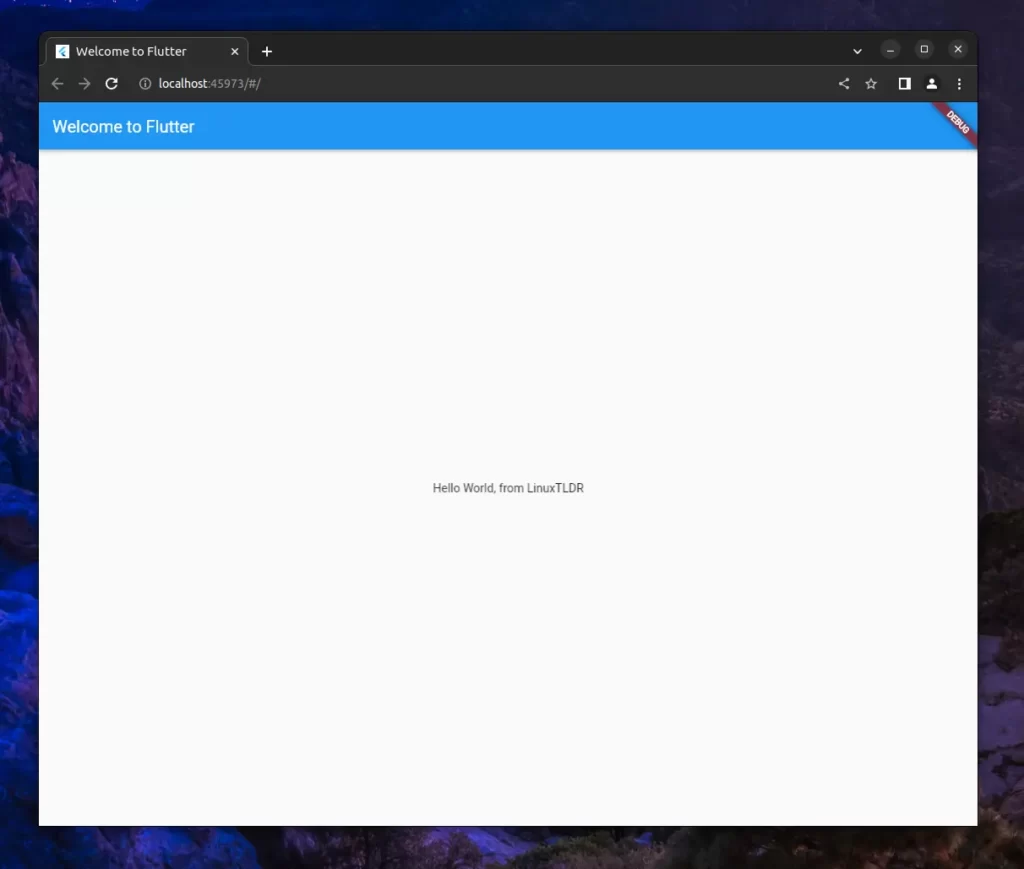
Congratulations on successfully creating your very first Flutter app!
Final Word
Flutter is an amazing tool for creating a single app that will work on multiple platforms. If you are interested in learning Flutter, then check its official documentation or this tutorialspoint blog.
I hope you find this article helpful. If you have any questions or queries related to the topic, feel free to ask them in the comment section.
Till then, peace!


