
Android Studio, the official Google integrated development environment (IDE) for Android app development, is a widely used tool among developers for its robust capabilities in creating, testing, and debugging Android applications.
It can be used in game development, mobile web development, Android instant apps, deep learning and AI, Firebase integration, and much more. You can even develop for other platforms like WearOS (smartwatches), Android TV, and Android Automotive.
In this article, you will learn about its features and different ways to install the latest version of Android Studio IDE on your preferred Linux distribution, along with some tips and tricks.
Tutorial Details
| Description | Android Studio IDE |
| Difficulty Level | Moderate |
| Root or Sudo Privileges | Yes |
| OS Compatibility | Ubuntu, Manjaro, Fedora, etc. |
| Prerequisites | – |
| Internet Required | Yes (for installation) |
Key Features
Android Studio provides a comprehensive set of tools and features that fulfill the entire Android app development ecosystem.
The following are some well-known key features that Android Studio includes:
- Code Editor: It supports code autocompletion, syntax highlighting, error highlighting, code dependencies, refactoring support, and more advanced debugging features.
- Layout Editor: Allows you to create and design the user interface for an Android app visually.
- Gradle-based Build System: It uses the Gradle build system to manage the project, build process, manage dependencies, create build variants, and automate most tasks.
- Android Emulator: This allows you to test your app on various virtual Android devices, such as a TV, phone, Wear OS, tablet, and Automative, with different configurations.
- Debugging and Profiling Tools: Provide advanced debugging and profiling tools to let users easily identify and resolve issues in their apps.
- Instant Run: Allows users to see changes in their code instantly on an emulator or connected device without rebuilding the entire app.
- Support Version Control: It provides integrated support for popular version control technologies such as Git to control different aspects of your project and collaborate with others.
- Link Checking: Perform a static code analysis using Lint to identify performance issues and recommend best practices to improve the quality of the code.
- Support for multiple languages: It provides tight integration for Kotlin and Java, allowing you to choose between them based on your requirements. As a fun fact, you can also write and run other popular languages, such as Python and Flutter, in Android Studio.
Although there are more features to cover, we’ll leave them out to maintain a clean list. Let’s now see how to install the latest version of Android Studio on your preferred Linux distribution.
How to Install the Latest Android Studio on Linux
Before you begin, it’s essential to be aware that Android Studio is a resource-intensive IDE, and your system must meet the minimum requirements:
- 64-bit architecture system
- 8 GB of RAM or more
- 8 GB of available disk space minimum (IDE + Android SDK + Android Emulator)
- 1280 x 800 minimum screen resolution (for better user experience)
Various methods exist to install Android Studio, but I strongly advise opting for one of the following, particularly the first one.
Installing Android Studio via Archive Tarball
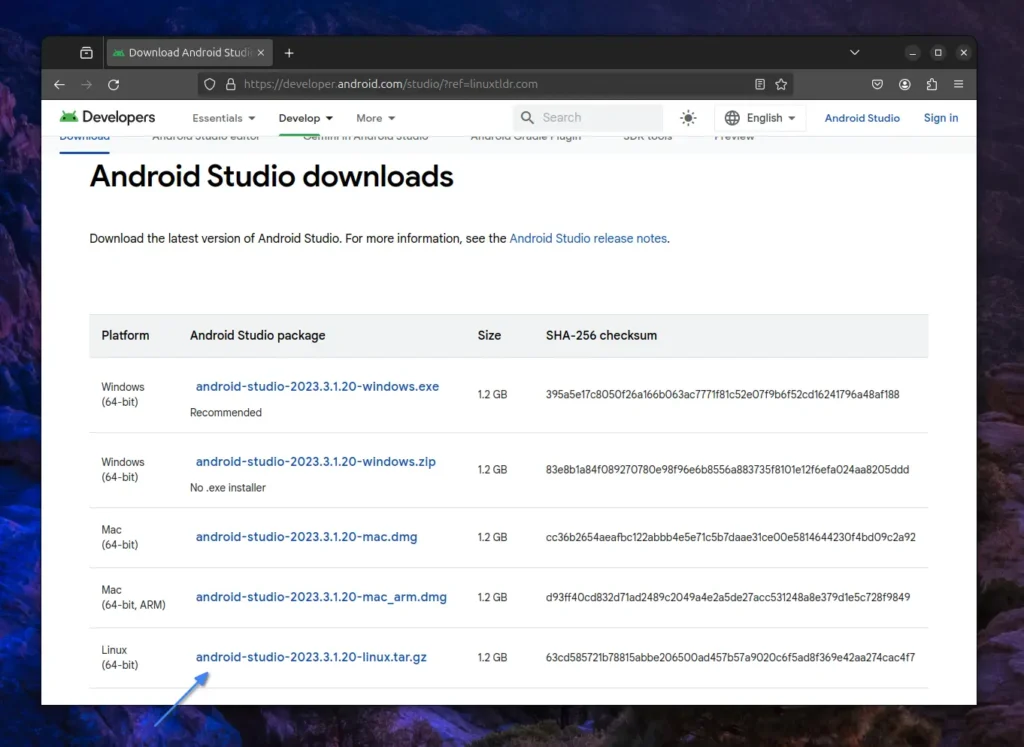
1. Visit the official Android Studio download page (https://developer.android.com/studio). Navigate to the “Android Studio downloads” section and click on the archive tarball link for “Linux (64-bit)“, as shown.
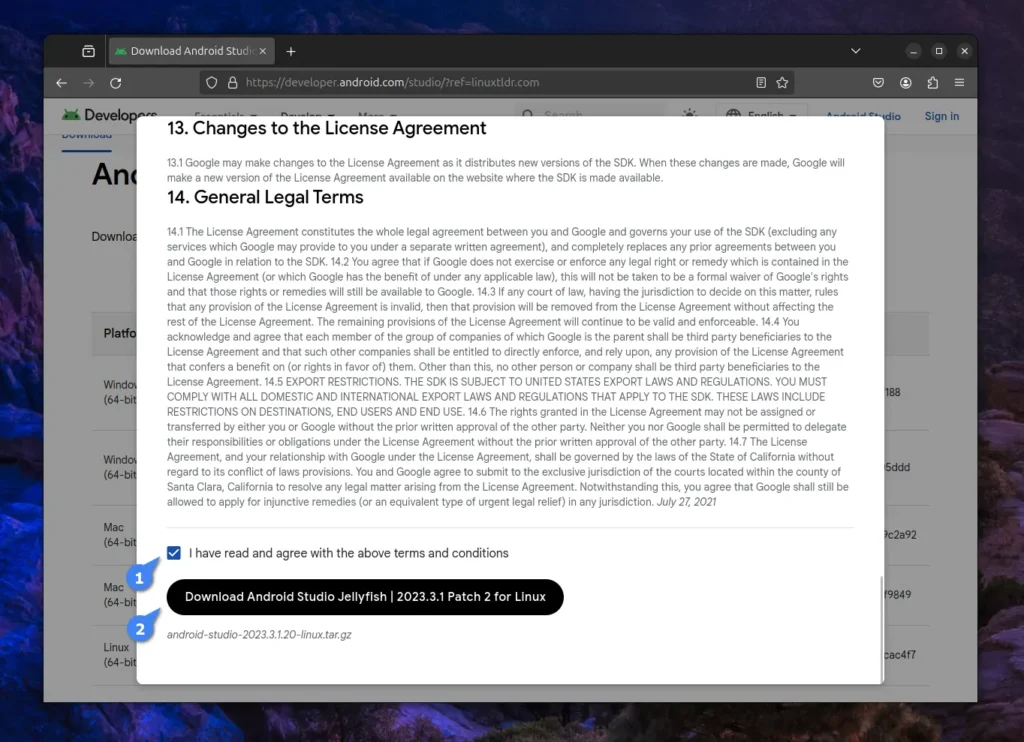
2. When you click the link to download Android Studio (Linux 64-bit), you will be prompted with a license agreement.
Simply click on “I have read …” and proceed by clicking the “Download Android Studio button“, as shown.
It will start the download process, and since Android Studio is approximately 1 GB in size, you can take a coffee break while it completes.
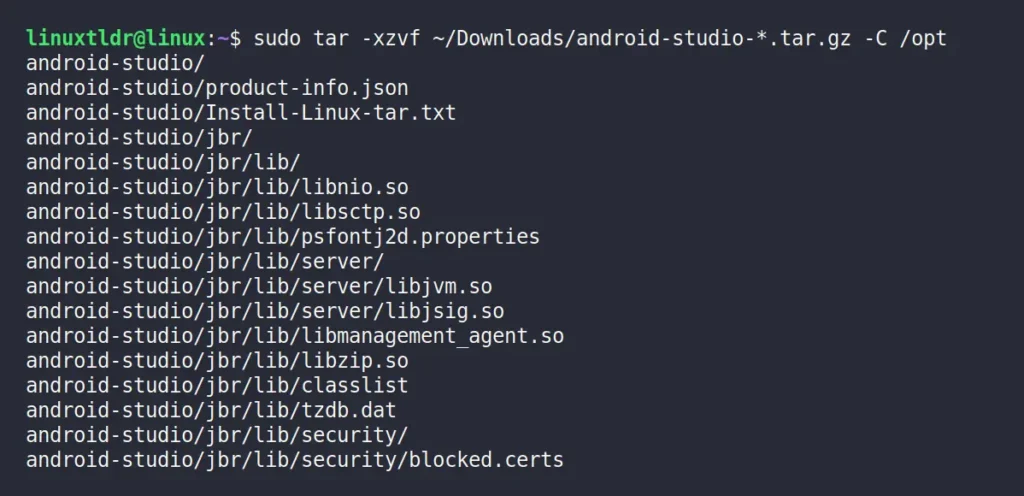
3. Once the download process is finished and Android Studio is in your “~/Downloads” directory, open your terminal and execute the following command to extract the archive tarball to the “/opt” path.
$ sudo tar -xzvf ~/Downloads/android-studio-*.tar.gz -C /optOutput:
4. After extracting the contents of the archive tarball to its destination, create a soft link for the “./studio.sh” script in your local binaries directory.
$ sudo ln -s /opt/android-studio/bin/studio.sh /usr/local/bin/android-studioOutput:

5. Finally, you can execute the following “android-studio” command to launch the Android Studio IDE.
$ android-studioOutput:
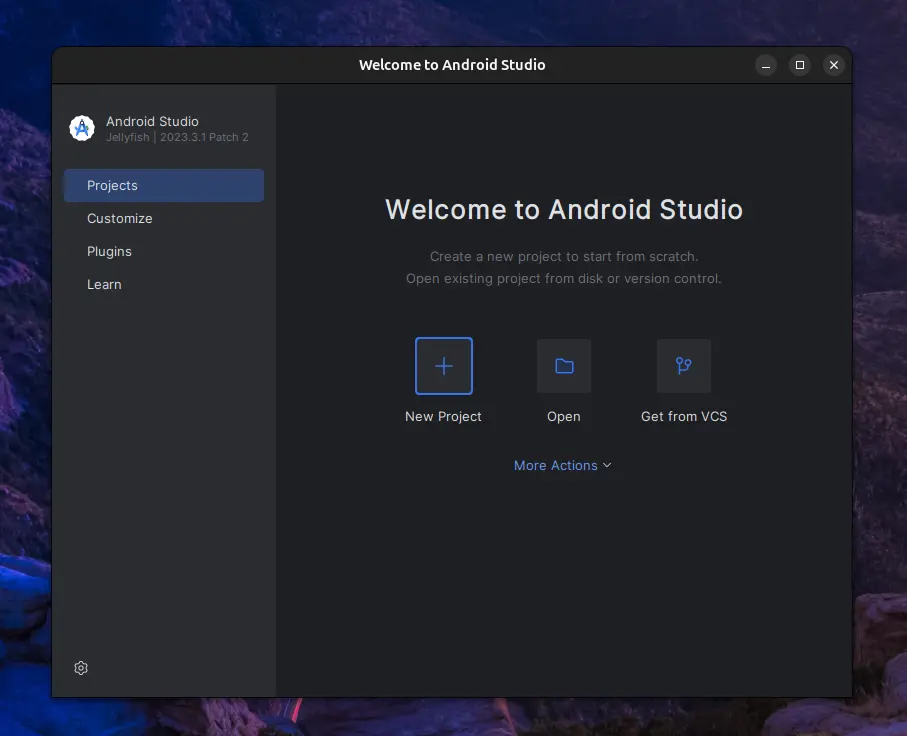
Congratulations!!! You have successfully installed and launched Android Studio on your Linux system. Now, when you launch Android Studio for the first time, it asks for your agreement to some licenses and downloads the necessary packages and dependencies.
This task is quite easy and can be done by anyone; all you have to do is click on some checkboxes and proceed with the Next button until the complete process is finished. Once you’ve done that, your Android Studio IDE is ready to use.
Installing Android Studio via Snap or Flatpak
If you do not prefer to use the archive tarball for Android Studio installation due to any specific reasons, an alternative option is available: you can opt for the Android Studio Snap or Flatpak package, which allows easy installation on any Linux system equipped with them.
For example, Ubuntu comes with Snap, but you can manually install and configure Snap on different Linux systems if it’s not available on them, including Flatpak.
After choosing between Snap or Flatpak for Android Studio installation, simply execute the selected command.
$ sudo snap install android-studio --classic                                                                                 #For Snap
$ flatpak install flathub com.google.AndroidStudio                                                                    #For Flatpak
Once the installation is complete, you can launch the Android Studio IDE via the following command or from the application menu.
$ snap run android-studio                                                                                                                #For Snap
$ flatpak run com.google.AndroidStudio                                                                                      #For Flatpak
Installing Android Studio Preview (or Beta) via Archive Tarball
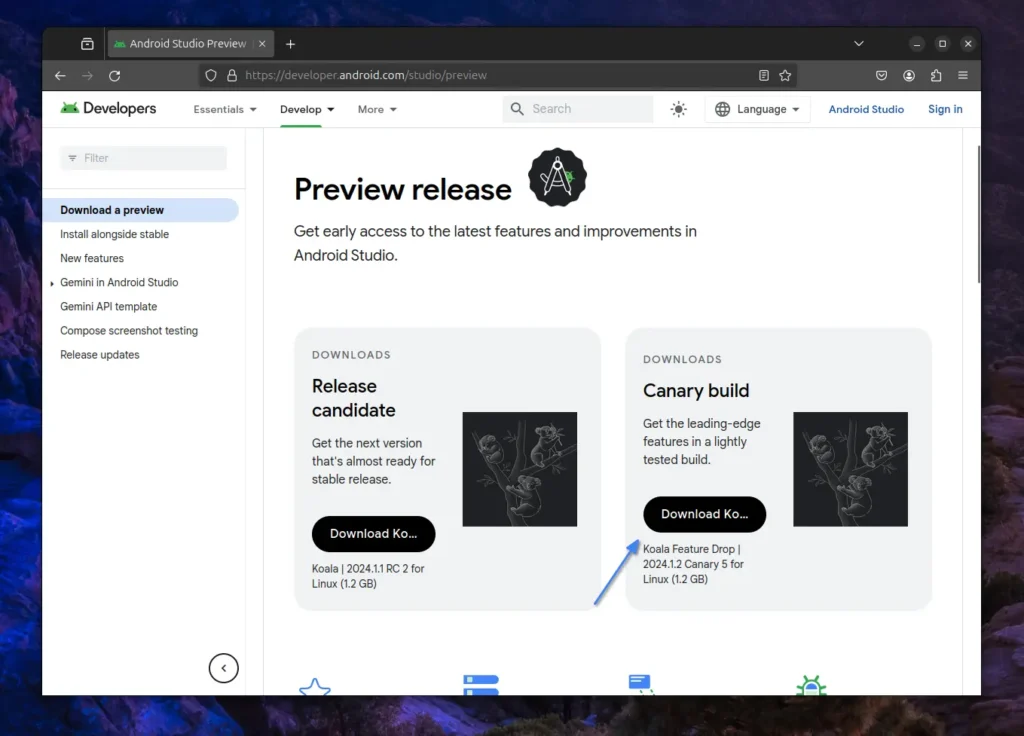
If you need to install the experimental version of Android Studio (also referred to as the preview or canary build), the only available method is the archive tarball since Snap and Flatpak do not provide Android Studio Preview for installation.
So, to install the latest Android Studio Preview named Koala, simply visit the Android Studio Preview download page (https://developer.android.com/studio/preview) and then click on the “Download Jellyfish” button to begin the download process.
Once Android Studio Preview is finished downloading, simply execute the following series of commands to install Android Studio Preview.
$ sudo tar -xzvf ~/Downloads/android-studio-*.tar.gz -C /opt
$ sudo ln -s /opt/android-studio/bin/studio.sh /usr/local/bin/android-studio
$ android-studio
Tips and Tricks for Android Studio in Linux
Here are a few tips and tricks that you can immediately implement to take your Android Studio experience on Linux to the next level.
Create a Desktop Entry for Android Studio on Linux
If you’ve installed Android Studio using the archive tarball method outlined in this article, you may need to launch the Android Studio IDE through a terminal command each time you want to use it, unlike Snap and Flatpak, which automatically generate a desktop entry.
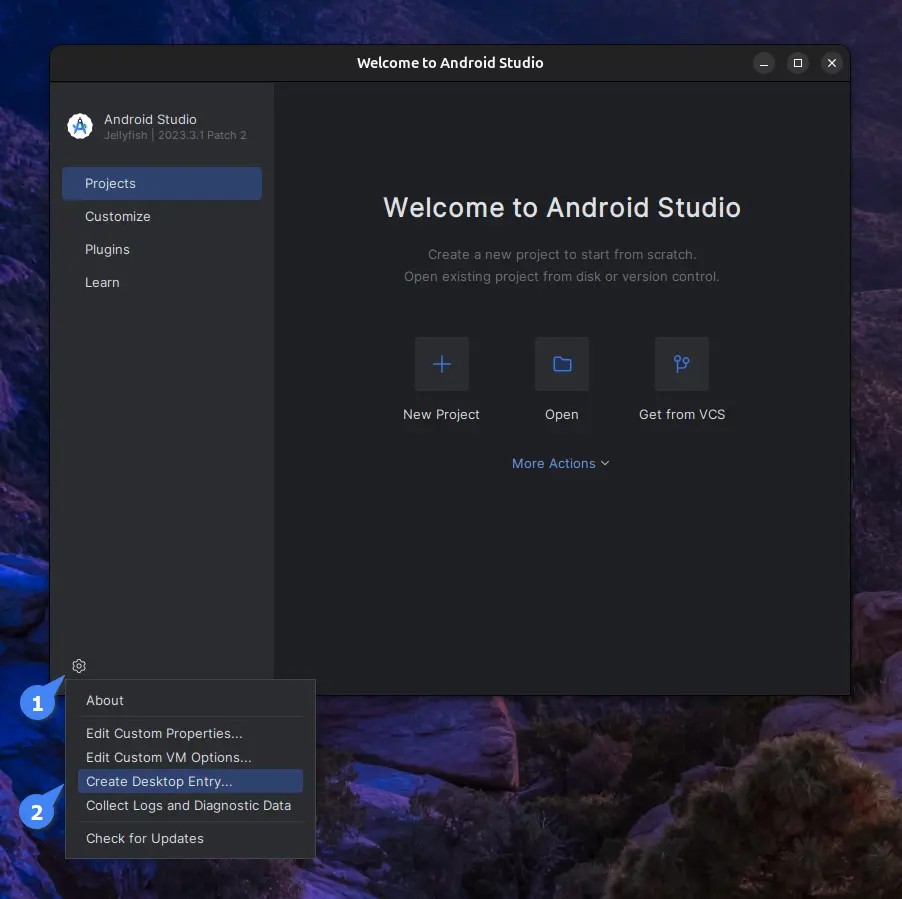
To create a desktop entry for Android Studio installed via an archive tarball, simply launch the IDE using the “android-studio” command, and then go to Gear (icon) -> Create Desktop Entry.
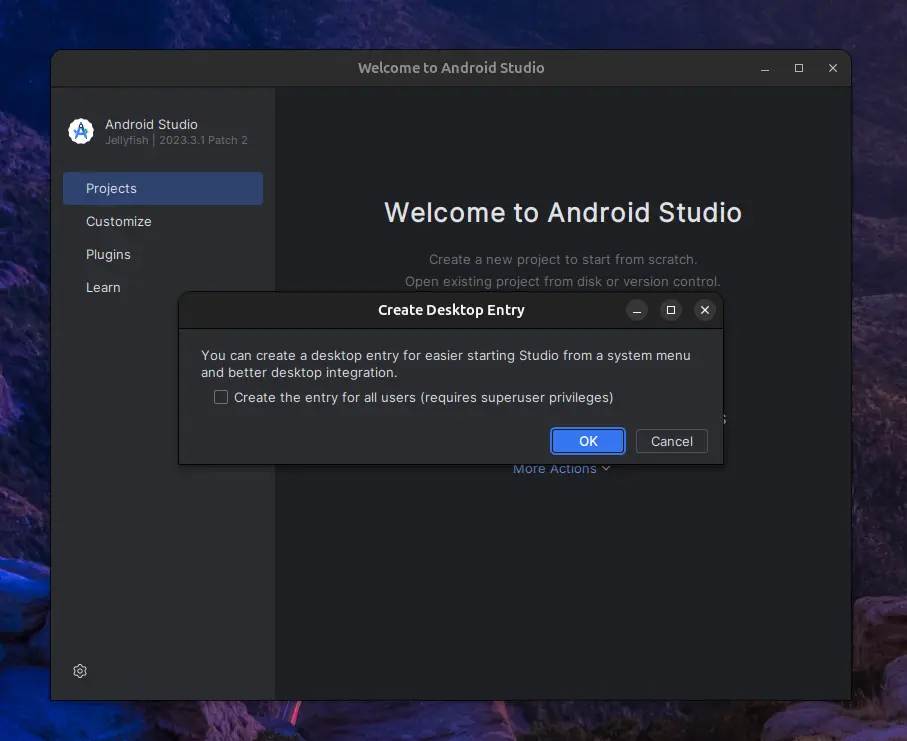
It will open the “Create Desktop Entry” window, where you have the option to create a desktop entry for all users or the current user, and then proceed by clicking the “Ok” button.
Once you are done, you can close the Android Studio IDE window, and in the future, when you want to launch it, you can locate it in the application menu.

Launch Android Studio in Safe Mode
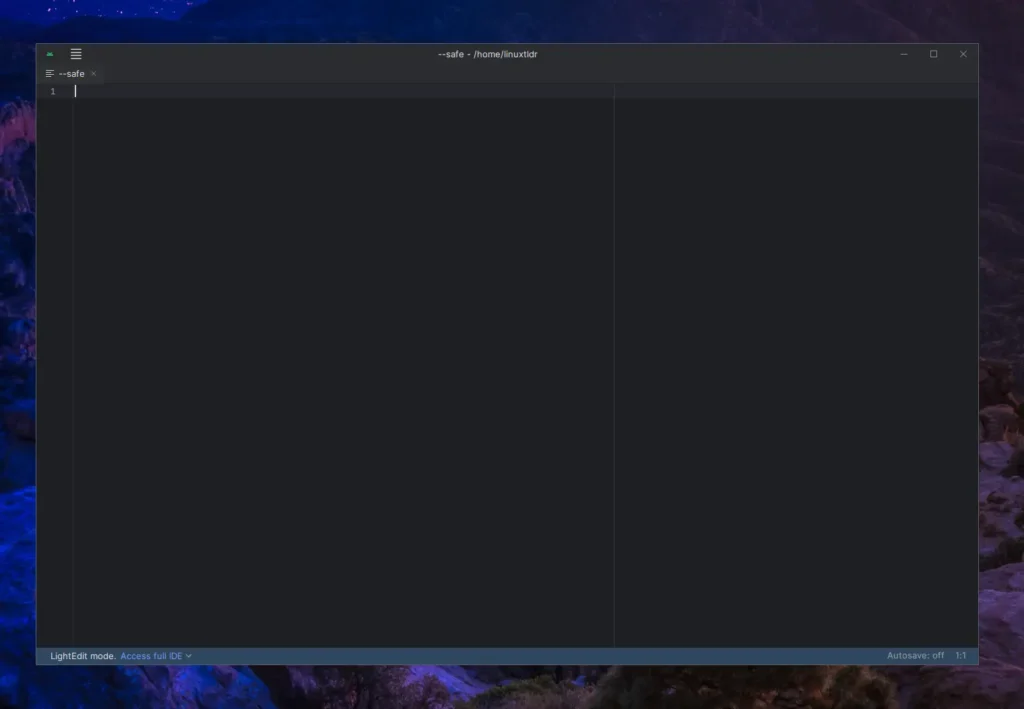
In the latest Android Studio version, there is an option to launch it in safe mode, allowing you to quickly access the IDE with minimal plugins and settings for making minor changes or troubleshooting issues.
So, to launch Android Studio in safe mode, just specify the “--safe” flag in the given command.
$ android-studio --safeOutput:
How to Upgrade Android Studio to its Latest Release
1. If you installed Android Studio via the archive tarball, leverage its internal functionality by navigating to Gear (icon) -> Check for Updates.

This convenient feature allows you to effortlessly explore all available updates across various channels, including beta and stable versions.
2. Alternatively, if you installed Android Studio via Snap or Flatpak, execute one of the appropriate commands to update it to the latest version:
$ sudo snap refresh android-studio                                                                                             #For Snap
$ flatpak update com.google.AndroidStudio                                                                             #For Flatpak
When an update is available, it will automatically start updating; otherwise, it will notify you that no updates are available.
How to Remove Android Studio from Linux
1. Android Studio installed via the archive tarball can be easily removed by executing the following two commands:
$ sudo unlink /usr/local/bin/android-studio
$ sudo rm -rf /opt/android-studio/
Whereas,
- The first command will unlink (or remove) the “
android-studio” soft link. - The second command will remove the “
/opt/android-studio” directory.
2. If you have installed Android Studio via Snap or Flatpak, then simply execute one of the appropriate commands to remove it from your system:
$ sudo snap remove android-studio                                                                                          #For Snap
$ flatpak uninstall com.google.AndroidStudio                                                                         #For Flatpak
Final Word
I hope you find this guide useful, and that it helps you easily install Android Studio on your preferred Linux system. However, if you encounter any issues while performing the steps mentioned or have any questions, please let us know in the comment section.
Till then, peace!


