
Julia is a high-level, high-performance programming language specifically designed for folks interested in technical and scientific computing.
It was designed to fulfill the need for a language blending Python’s user-friendliness and dynamic scripting with the speed of C/C++ and Fortran.
It powers diverse domains requiring high-performance and technical computing, including data science, machine learning, financial modeling, academic research, and more.
This article guides you through installing Julia on your preferred Linux distribution while also demonstrating its usage through various practical examples.
Tutorial Details
| Description | Julia Programming Langauge |
| Difficulty Level | Moderate |
| Root or Sudo Privileges | Yes |
| OS Compatibility | Ubuntu, Manjaro, Fedora, etc. |
| Prerequisites | – |
| Internet Required | Yes |
How to Install Julia on Linux
Julia can be installed via two methods: using the snap package or the official pre-compiled binary. Both of these methods grant you access to the latest version of Julia, empowering you with the freedom to choose the one that best aligns with your needs. Let’s begin with…
Installing Julia via the Snap Package
Assuming Snap is already installed on your Linux system; if unsure, refer to our article on installing the latest Snap version for your Linux distribution.
To install Julia’s latest stable version using Snap, open the terminal and run:
$ sudo snap install julia --classicOutput:

After the installation is complete, execute the following command to access the Julia console:
$ juliaOutput:
Installing Julia via the Pre-Compiled Binary
Opting for the officially pre-compiled binary to install Julia is a recommended approach. Although it involves a few additional installation steps, the choice ultimately rests in your hands.
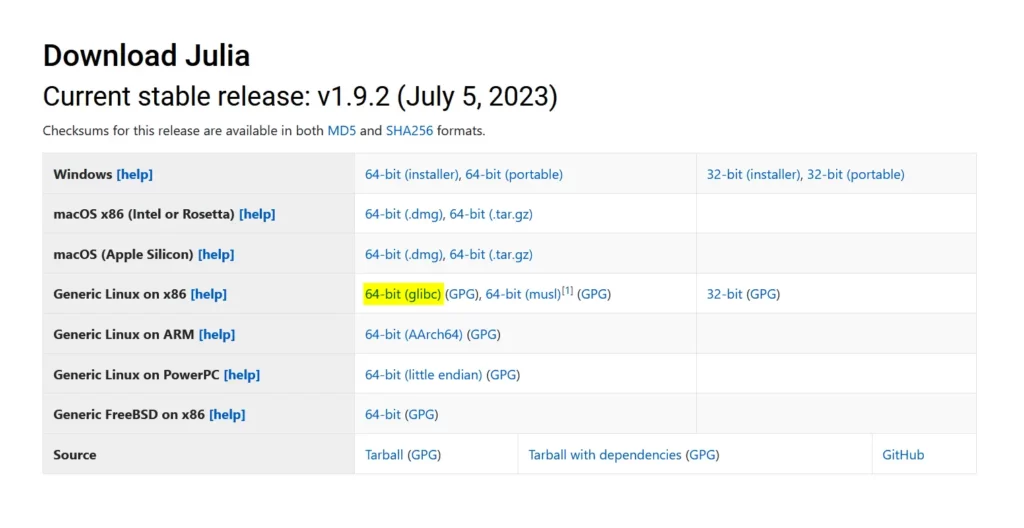
1. To begin with, first visit the official Julia website and download the latest stable release (right now, it’s “v1.9.2“).
2. After successfully downloading the file, proceed by navigating to the designated download directory (typically located at “~/Downloads“). From there, you can extract the contents of the tarball.
$ cd Downloads/
$ tar -xvzf julia-*-linux-x86_64.tar.gz
Output:

3. Remove the Julia tarbal.
$ rm julia-*-linux-x86_64.tar.gzOutput:

4. You can move the extracted Julia folder to a system location to make it available to all users. For example, you can move it to the “/opt” directory:
$ sudo mv julia-* /opt/Output:

5. Create a symbolic link for the Julia binary in a directory that is in your system’s PATH. You can use “/usr/local/bin” for this purpose.
$ sudo ln -s /opt/julia-*/bin/julia /usr/local/bin/juliaOutput:

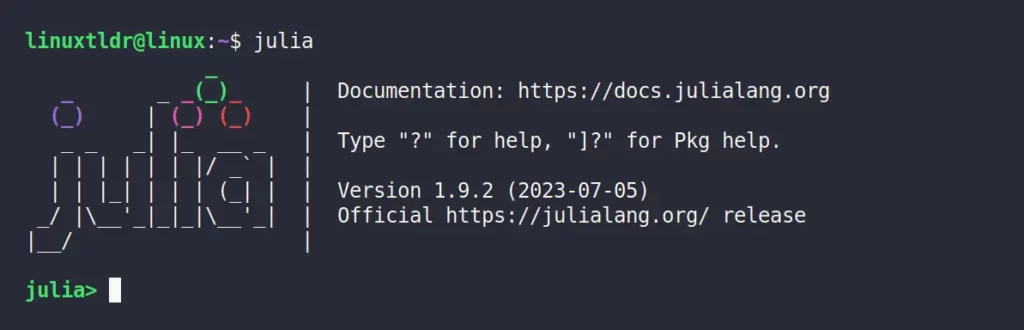
6. Finally, you can now test if Julia is installed and working by opening a terminal and typing:
$ juliaOutput:

Let’s now explore a few examples that showcase the practical application of Julia.
How to Use Julia on Linux
Let’s dive into a series of practical examples that will jumpstart your journey with Julia. Our exploration starts with…
Julia in Interactive Mode
The most basic usage of Julia is utilizing its interactive mode by running:
$ juliaOutput:
Upon initiating the interactive mode, you can start writing code within the interpreter. Let’s illustrate this with a concise yet impactful “Hello, World!” program.
julia> println("Hello, World!")Output:

Congratulations on your inaugural Julia program! When you’re ready to exit the console, simply use the “Ctrl+D” shortcut or execute the “exit()” command.
julia> exit()Output:

Running Julia Programs via Script
The script is a better way to execute multiple commands in Julia at once, utilizing advanced features such as variables, functions, iterations, etc.
To showcase the power of Julia in scripting, let’s begin with…
1. Hello, World!
Begin your journey with a basic “Hello, World!” program in Julia. Just copy the code snippet below into a text file and save it as “script.jl“.
println("Hello, World!")Execute the “script.jl” program using the “julia” command.

2. Basic Arithmetic
The following program shows the usage of variables and different data types in Julia:
a = 6
b = 4

sum_result = a + b
diff_result = a - b
prod_result = a * b
div_result = a / b

println("Sum: ", sum_result)
println("Difference: ", diff_result)
println("Product: ", prod_result)
println("Division: ", div_result)
Output:

3. Lists and Loops
This program iterates through a list of numbers using a loop to calculate the sum.
numbers = [1, 2, 3, 4, 5]

sum = 0
for num in numbers
    global sum += num
end

println("Sum of numbers: ", sum)
Output:

4. Functions
This program gives you a glimpse into the usage of functions in Julia.
function square(x)
    return x * x
end

result = square(4)
println("Square of 4: ", result)
Output:

5. Linear Regression
This example demonstrates the advanced utilization of the Julia programming language by generating random data and fitting a linear regression model in a single instance.
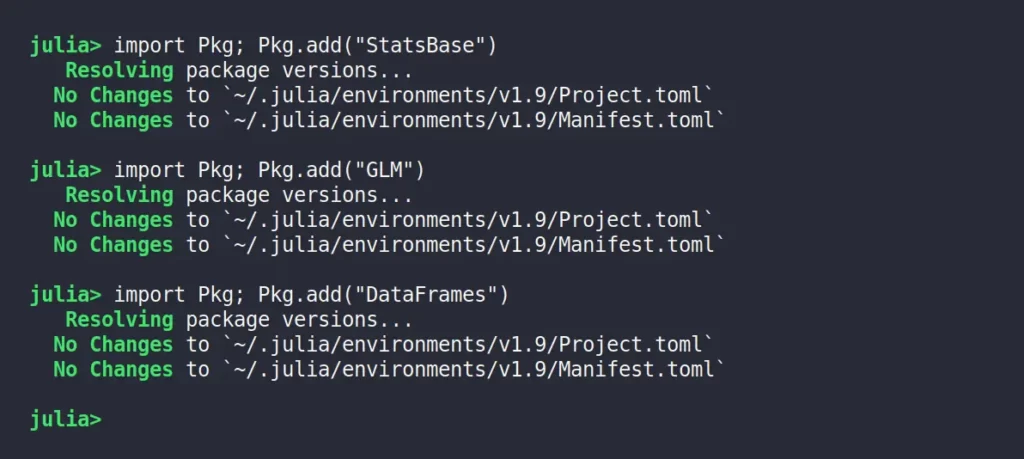
Prior to proceeding, ensure that you have the required packages (“StatsBase“, “GLM“, and “DataFrames“) installed on your Julia interactive mode by executing the following command:
julia> import Pkg; Pkg.add("StatsBase")
julia> import Pkg; Pkg.add("GLM")
julia> import Pkg; Pkg.add("DataFrames")
Output:
Next, create a “script.jl” and paste the following linear regression code into it.
using Random
using StatsBase
using GLM
using DataFrames

# Set a random seed for reproducibility
Random.seed!(123)

# Generate some random data
n_samples = 100
x = rand(1:10, n_samples)
y = 2 .* x .+ 1 .+ 0.5 .* randn(n_samples)

# Fit a linear regression model
model = lm(@formula(y ~ x), DataFrame(x=x, y=y))

# Print the model summary
println(summary(model))

# Get the coefficients
coefficients = coef(model)
intercept = coefficients[1]
slope = coefficients[2]

# Print the intercept and slope
println("Intercept: $intercept")
println("Slope: $slope")
Upon executing this Julia program, you’ll get an output identical to the following example:
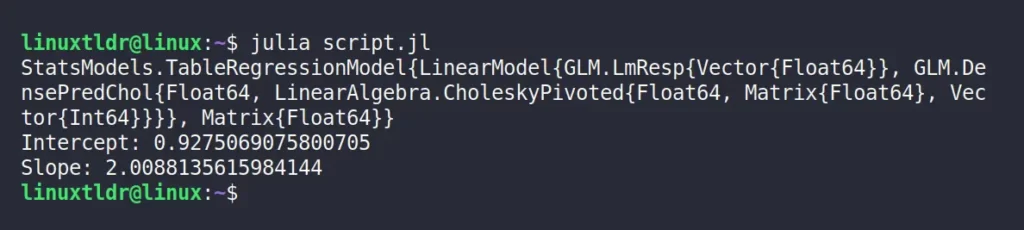
Now, let’s break down the codes in this program. Here, we first generated the data “x” and “y“, where “y” is a linear function of “x” with some added noise.
Then we used the “GLM” package to fit a linear regression model to the data using the “lm” function. The “@formula” macro is used to specify the formula for the regression.
Finally, we printed the model summary, which includes information about the coefficients, residuals, and goodness-of-fit measures. We also extract and print the intercept and slope of the fitted line.
Final Word
I hope you find this article helpful. If you have any questions or queries related to this article, then feel free to ask them in the comment section.
Till then, peace!


