
Upscayl is an open-source AI image upscaler that effortlessly enhances low-resolution or compressed images using advanced algorithms, all while preserving perfect quality.
The project captured my attention last year, and today, significant enhancements and updates have been made to this application, which will be discussed in this article.
If you’re unfamiliar with this tool, here’s a quick overview: It’s a cross-platform application that can be easily installed on Linux, macOS, and Windows. The only system requirement is a Vulkan-compatible GPU for image upscaling.
While it is a cross-platform application, its core commitment to a Linux-first philosophy ensures early access to pre-release builds for Linux users.
Let’s discuss the remaining details while we install it on a Linux system:
How to Install Upscayl on Linux
It’s currently not available in the default Linux repository. However, for Debian, Ubuntu, or Red Hat-based systems, you can install it through AppImage, Flatpak, or Snap. Arch users can utilize the AUR repository.
To install it via the AppImage, start by downloading the latest AppImage from the release section and follow the steps below:
$ chmod +x upscayl-*-linux.AppImage
$ ./upscayl-*-linux.AppImage
To effortlessly install it through Flatpak or Snap, select from the following commands:
$ flatpak install flathub org.upscayl.Upscayl
$ sudo snap install upscayl
After completing the installation, you can easily access them, either via the application menu or by executing the following command in your terminal:
$ flatpak run org.upscayl.Upscayl
$ snap run upscayl
Installing it from the AUR repository via front-end tools like Yay is effortless for Arch users.
$ yay -S upscayl-bin After installing the program, upon launching it, the interface would look like the one below:
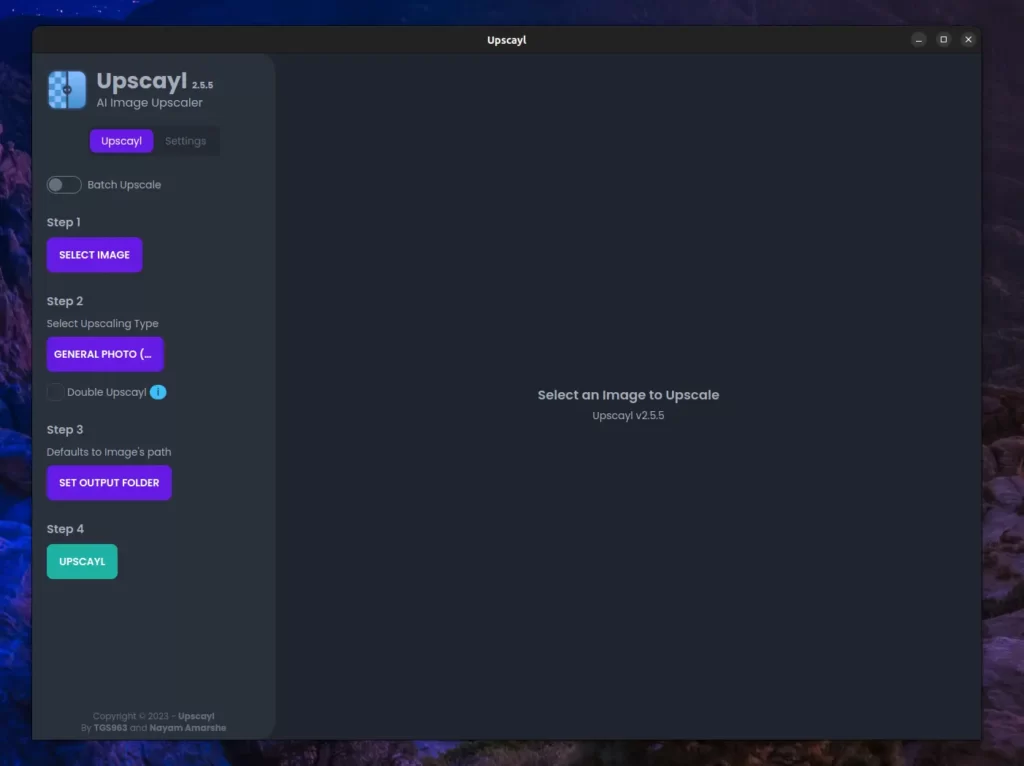
Please note that although we strive to keep our articles up-to-date, the Upscayl interface depicted in the image above may undergo changes over time.
To stay updated with changes and monitor progress, visit this link.
System Specification
Due to its demanding resource usage, your system must meet specific requirements for this tool. Keep in mind that the tests conducted on my system may differ from yours.
To understand these differences, review the specifications of my system provided below, which provide some insight into the requirements.
| Processor | AMD Ryzen 7 6800H |
| Ram | 16GB |
| Graphics | NVIDIA GeForce RTX 3070ti 8GB |
| Tested in | Linux and Windows |
Don’t be disheartened if your system falls short of the aforementioned requirements; simply make sure it boasts a minimum of “4 GB RAM” and a compatible “Vulkan GPU“.
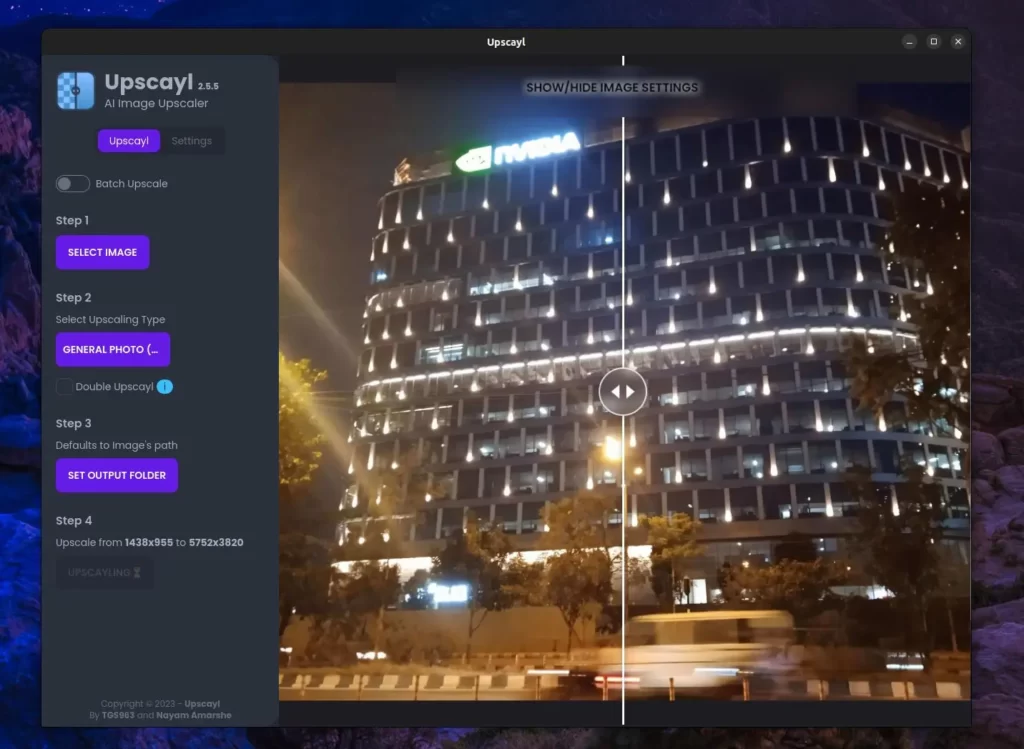
Upscaling the Images using Upscayl
To begin your quest, just open the application and follow the steps mentioned to start upscaling your low-resolution or compressed images.
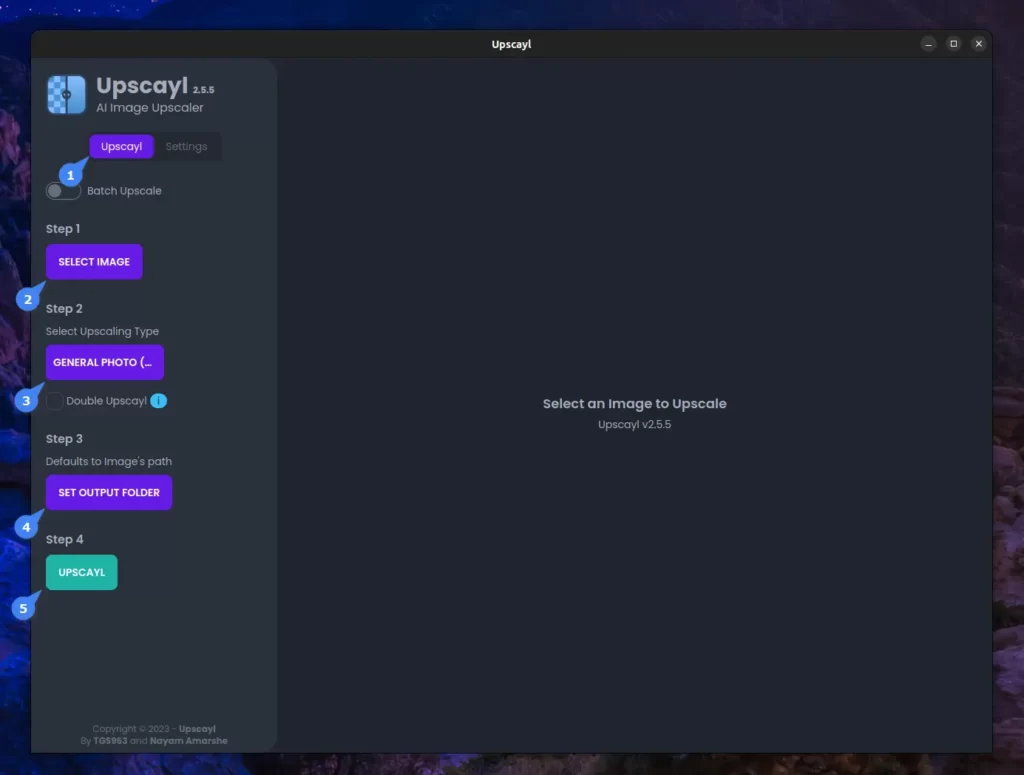
Description of the above-highlighted steps:
- Step 1: Go to the “Upscayl” section.
- Optional: For multiple image upscaling, mark “Batch Upscale“.
- Step 2: Choose your image for upscaling.
- Step 3: Select the upscaling type: default, fast, or ultrasharp.
- Optional: Enabling the “Double Upscayl” option repeats the process multiple times, potentially improving some images but not all.
- Step 4: Set the output folder.
- Step 5: Click “Upscayl” to start.
Once you feel prepared, feel free to proceed. In the meantime, take a moment to check the enhanced image on my system:
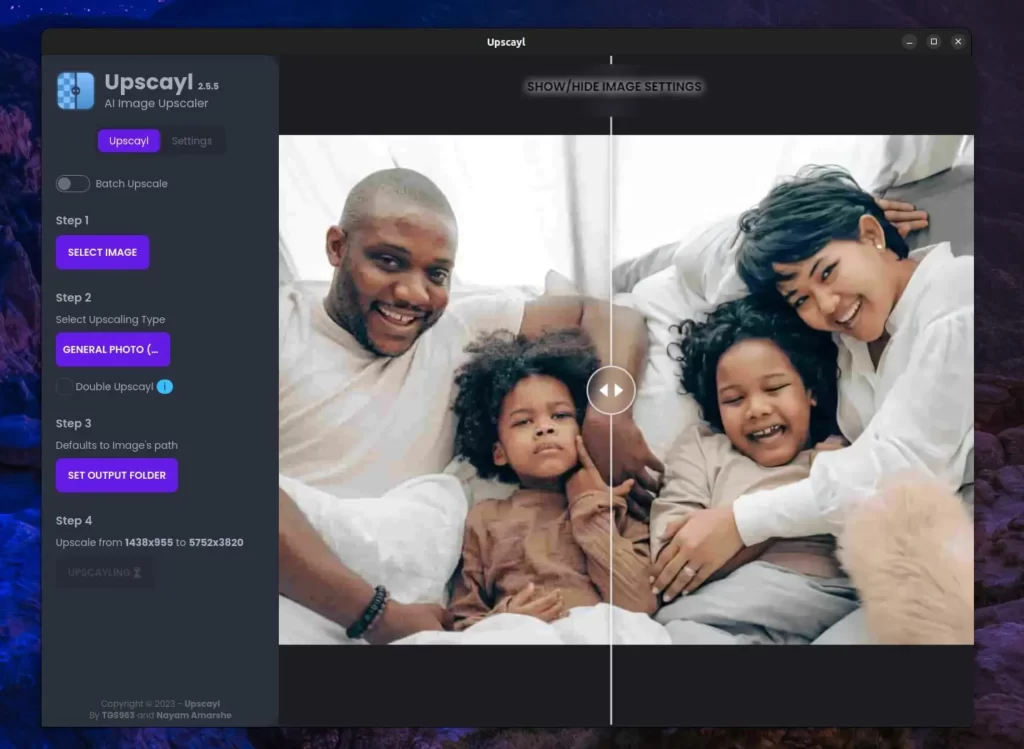
The original image was compressed at 152 KB, and the setting used for upscaling was default. The resulting upscaled image was surprisingly good, ballooning in size to 21.3 MB.
Here are a few additional sample images that have been upscaled from their original blurred versions.
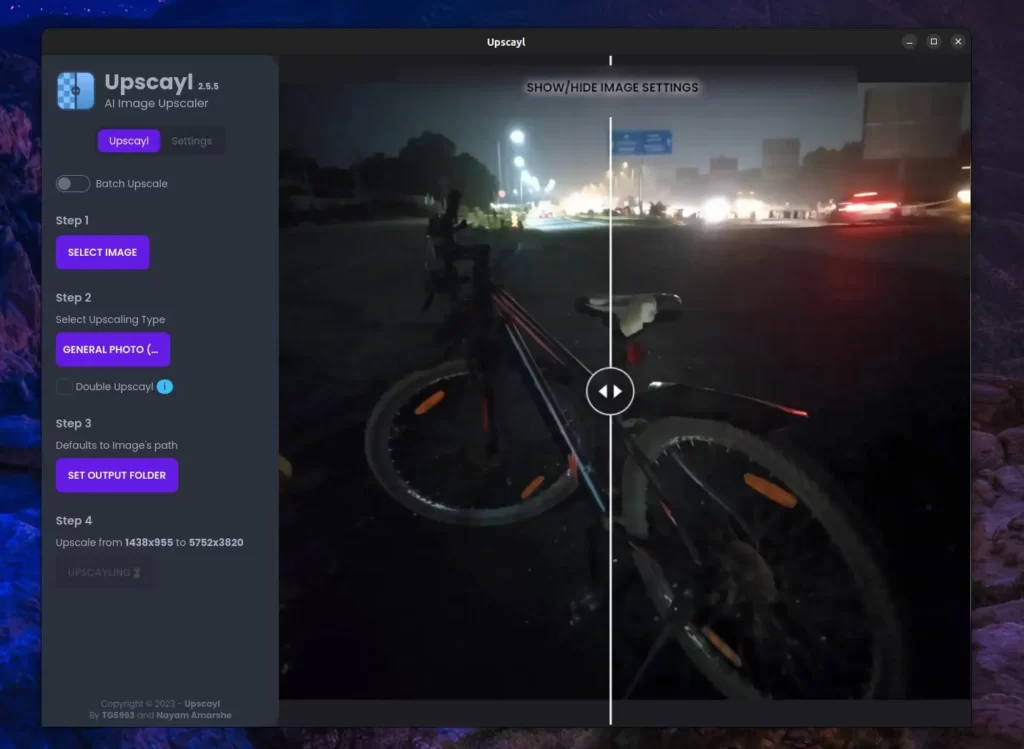
The original image was 203 KB in size, but after upscaling, it grew to 133 MB, with a barely noticeable difference in the result.
Again, the original image was 431 KB in size and skyrocketed to 192 MB after upscaling, with minor changes.
Please consider that your outcomes may vary based on the input image quality and your chosen upscaling method.
You can customize your Upscayl settings from the Settings section to meet your specific needs, which include the theme, default output folder, GPU ID, and image output type (which supports PNG, JPG, and WEBP), as well as the upscaling scale.
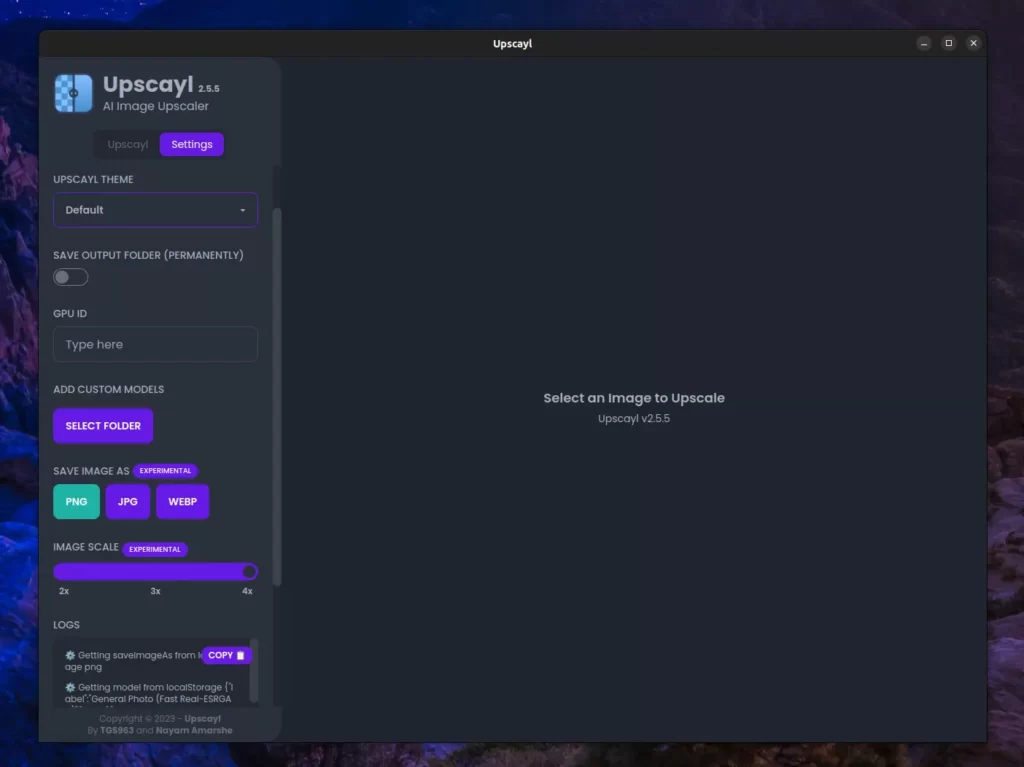
Explore alternative models to better match your preferences; results may vary with different images, so be prepared to manually experiment with all other settings.
Final Word
I experimented with over 20 compressed, low-resolution, and blurred images. The outcomes were unpredictable; some showed drastic changes, while others only affected the file size.
I appreciate it if you share your experiences in the comments; your insights can greatly benefit fellow readers.
Till then, peace!


