
Bash is the default shell for most of the Linux distributions, but it is not the only one; there are other shell interpreters like ZSH (and Fish) that are available.
Kali Linux and macOS Catalina were early adopters of ZSH as the default login shell, replacing the standard Bash (although Bash is available in this system as an alternative).
But because Bash is the default on most Linux systems, people often forget about the Zsh shell. This is disgraceful, because once you try ZSH, you will never go back to Bash.
Tutorial Details
| Description | Z shell |
| Difficulty Level | Moderate |
| Root or Sudo Privileges | Yes |
| OS Compatibility | Ubuntu, Manjaro, Fedora, etc. |
| Prerequisites | wget, curl, git, chsh |
| Internet Required | Yes |
A Short Story of Zsh Shell
The ZSH (or Z shell) can be said to be an extended version of the standard Bash shell interpreter, written by Paul Falstad in 1990 while studying at Princeton University.
It inherits all of the Bash’s existing features and provides its own notable features, followed by:
- Auto command completion
- Command suggestion
- Syntax highlighting
- Improved shell variable handling
- Sharing command history, and many more
Even so, ZSH supports plugins that can be managed using Oh-My-Zsh to extend the existing functionality one step further.
What is Oh-My-Zsh?
Oh-My-Zsh is a free and open-source, community-driven framework for managing the ZSH configuration, plugins, and themes to remove the burden of manual work.
Even though it is not mandatory to install this framework, without it things might be a little tricky to get started. Apart from that, it is not the only but a popular framework for ZSH.
Today, in this article, you will learn to:
- Installing ZSH’s latest version
- Installing the Oh-My-Zsh framework to work with ZSH
- Installing and enabling a custom theme (Powerlevel10k) using Oh-My-Zsh
- Installing and enabling a plugin using Oh-My-Zsh
Step 1: Installing ZSH on the Linux System
ZSH is available in most Linux repositories, so you can directly open your terminal and execute one of the following commands based on your system type to install ZSH.
$ sudo apt install zsh                                                    #On Debian, Ubuntu, Pop!_OS, or Linux Mint
$ sudo dnf install zsh                                                    #On Fedora, AlmaLinux, RHEL, or Rocky Linux
$ sudo pacman -S zsh                                                  #On Arch, Manjaro, or EndeavourOS
Verify the path (or existence of ZSH) after the installation using the which command:
$ which zshOutput:

Step 2: Changing the Default Shell
The next step is to change your default shell to the Zsh shell using the chsh command.
$ chsh -s $(which zsh)It will ask for the current user’s password while changing it, as shown.

Log out and then log back in to apply the changes.
When you open your terminal with a newly installed ZSH, it will ask for a configuration, as shown.
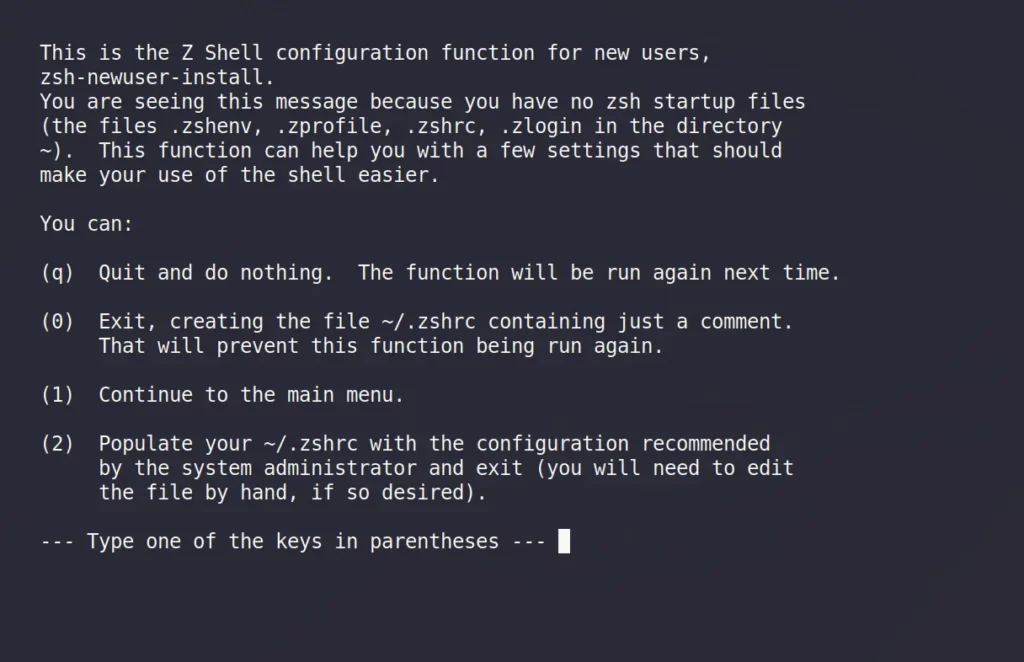
For now, press “0” to create an empty “~/.zshrc” configuration file.
Step 3: Installing the Oh-My-Zsh Framework
You need to install the following program based on your system type before installing the Oh-My-Zsh Framework on your system.
$ sudo apt install git curl wget                                              #On Debian, Ubuntu, Pop!_OS, or Linux Mint
$ sudo dnf install git curl wget                                              #On Fedora, AlmaLinux, RHEL, or Rocky Linux
$ sudo pacman -S git curl wget                                            #On Arch, Manjaro, or EndeavourOS
Execute any of the following commands to install the Oh-My-Zsh Framework after the above program has successfully installed on your system.
$ sh -c "$(curl -fsSL https://raw.github.com/ohmyzsh/ohmyzsh/master/tools/install.sh)"

#OR

$ sh -c "$(wget https://raw.github.com/ohmyzsh/ohmyzsh/master/tools/install.sh -O -)"
After the Oh-My-Zsh Framework is installed, it will utilize the same “~/.zshrc” configuration file to manage themes and plugins as the Zsh shell.
Step 4: Installing and Enabling a Custom Theme
The default theme “Oh-My-Zsh” uses is “robbyrussell“, a quite boring theme, as you can see.

Apart from the default, you can find more themes located at the “~/.oh-my-zsh/themes” path.
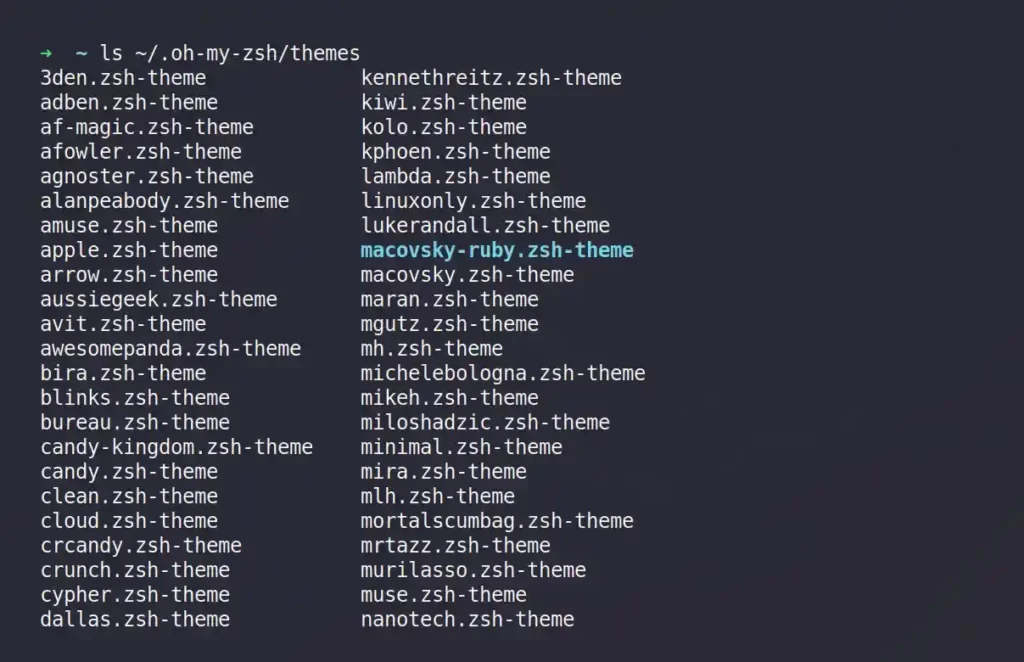
You can apply one of the above themes by editing the “ZSH_THEME” directive in the “~/.zshrc” file.
However, I will suggest you install the most popular and suggested “PowerLevel10k” theme by cloning it in your “themes” directory using the following command.
$ git clone --depth=1 https://github.com/romkatv/powerlevel10k.git ~/powerlevel10k
$ echo 'source ~/powerlevel10k/powerlevel10k.zsh-theme' >>~/.zshrc
Next, execute the “zsh” command or open a new terminal session, and you will be presented with the following setup screen to configure your prompt.
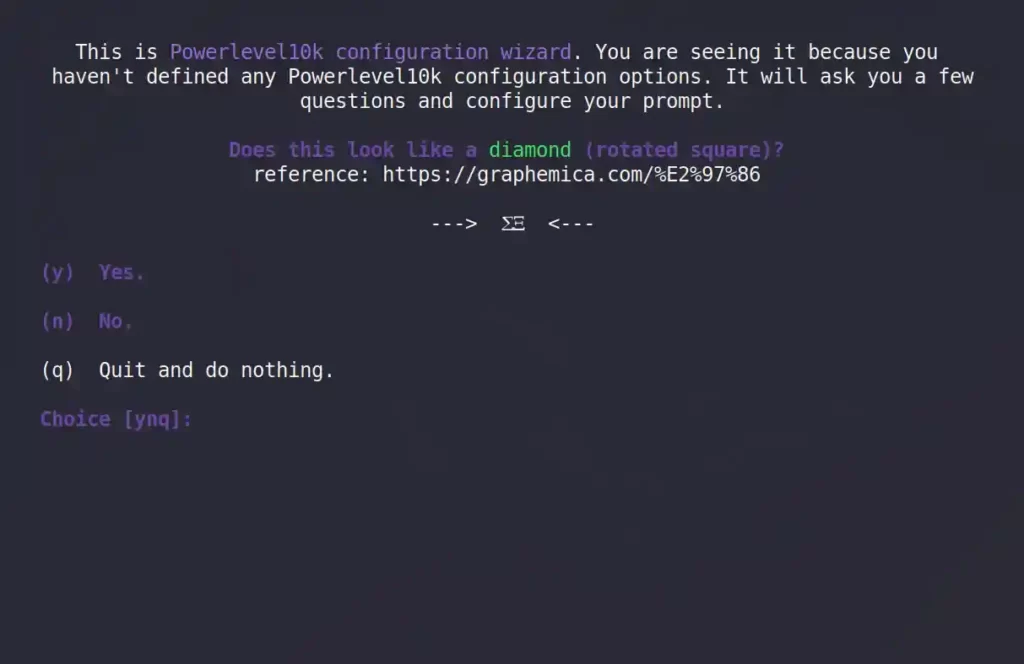
I think you will manage to configure the prompt as you like (it’s a very easy task).
Step 4: Installing and Enabling a Plugin
Identical to themes, Oh-My-Zsh provides you with tons of plugins to extend the functionality of the shell, some of them preinstalled, and you can find them at the “~/.oh-my-zsh/plugins” path.
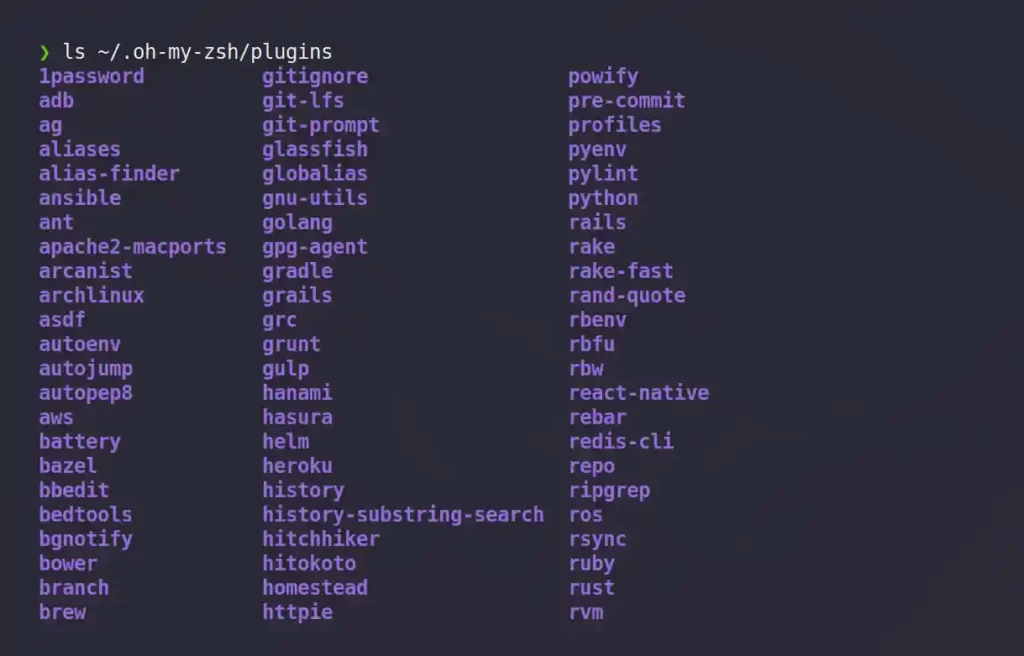
Initially, only the git plugin will be enabled by default; for the rest, you can specify their names; if any plugin you wish to use is not available, you can manually install them.
For example, open your terminal and execute the following command to clone the “Zsh-autosuggestions” plugin to your “plugins” directory.
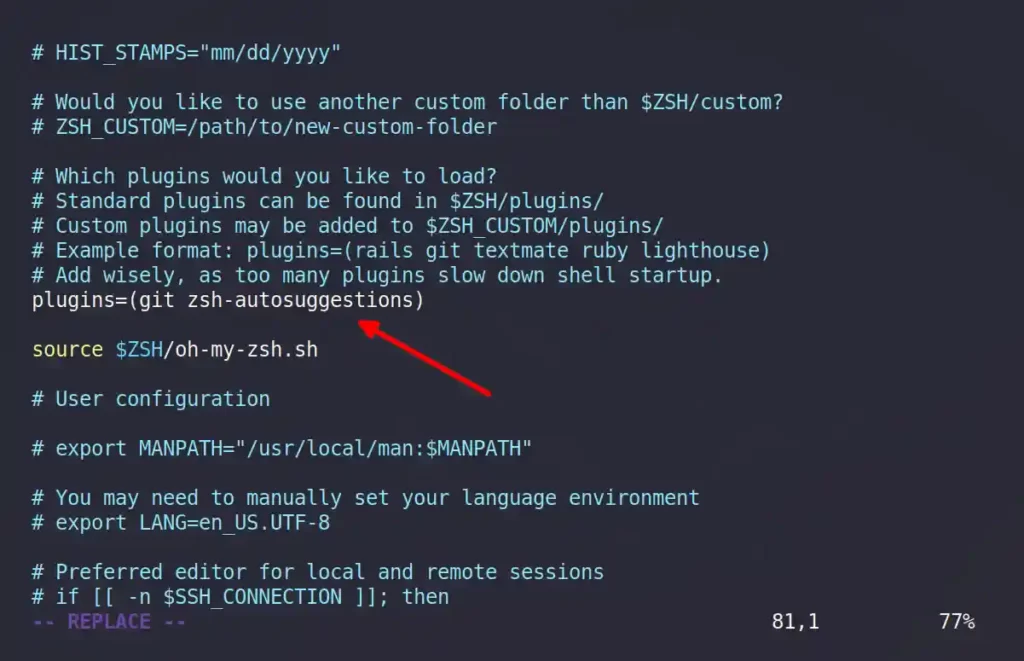
$ git clone https://github.com/zsh-users/zsh-autosuggestions ${ZSH_CUSTOM:-~/.oh-my-zsh/custom}/plugins/zsh-autosuggestionsNext, add the plugin name to the list of plugins inside the “~/.zshrc” file, as shown.
Save and close the file, and reload the modified configuration file using the following command:
$ omz reloadTo verify the plugin is working, you can type the first letter of the command that has been executed in the past, and you will get the shadow of that command, as shown.

Uninstalling the ZSH, Oh-My-Zsh, and PowerLevel10K
The article will be incomplete without showing the removal steps. If you don’t like working with ZSH and want to remove it immediately, then follow each of the following steps.
1. Changing the default shell:
$ chsh -s $(which bash)2. Removing the ZSH:
$ sudo apt remove zsh                                            #On Debian, Ubuntu, Pop!_OS, or Linux Mint
$ sudo dnf remove zsh                                            #On Fedora, AlmaLinux, RHEL, or Rocky Linux
$ sudo pacman -R zsh                                             #On Arch, Manjaro, or EndeavourOS
3. Removing the Oh-My-Zsh directory (which will also remove the manually installed themes and plugins)
$ uninstall_oh_my_zsh4. Remove the ZSH and PowerLevel10K configuration files.
$ rm -rf .zsh* .p10k.zshLastly, log out and log back into your system to apply the changes.
That’s all about the ZSH in this article.
If you have any suggestions or encounter any errors, feel free to tell us in the comment section.


