
The “xxd” command allows to convert data from standard input or a file into hexadecimal or binary output, and it can also reverse the process, converting hex (not binary) to regular characters.
Debugging, inspecting non-textual content in hexadecimal, analyzing binary file structures, transporting data in binary, and interacting with low-level binary data representations are all possible uses.
In this article, I’ll show you how to install XXD on Linux and then how to use the “xxd” command through different examples.
Tutorial Details
| Description | XXD |
| Difficulty Level | Low |
| Root or Sudo Privileges | No |
| OS Compatibility | Ubuntu, Manjaro, Fedora, etc. |
| Prerequisites | – |
| Internet Required | Yes (for installation) |
How to Install XXD on Linux
Ubuntu and a few other popular Linux distributions ship XXD by default. However, if you are unable to locate it and are getting an “xxd: command not found” error, then open your terminal and execute the following command to install it:
# On Debian, Ubuntu, Mint, Pop!_OS, etc.
$ sudo apt install xxd

# On Redhat, Fedora, AlmaLinux, CentOS, etc.
$ sudo dnf install xxd

# On Arch, Manjaro, Garuda, EndeavourOS, etc.
$ sudo pacman -S xxd
Once the installation is complete, the “xxd” command will become accessible.
Usage of XXD Command in Linux
The “xxd” command takes two arguments: one is the option (which is optional), and the other is the data or file path (required).
$ xxd [OPTION] [FILE]I won’t list each option it accepts, but instead, I’ll show you how to use them with examples using the file named “myfile“, which contains:
Top Five Programming Language in 2024
-------------------------------------------
JavaScript
C/C++
Java
Golang
PHP
So, let’s begin with the first example of generating a hexdump from a regular file.
Generate a Hexdump from a File
You can generate a hexdump from a regular file using the “xxd” command without any options by specifying the filename or path. For example, using this command will create a hexdump from “myfile“:
$ xxd myfileOutput:
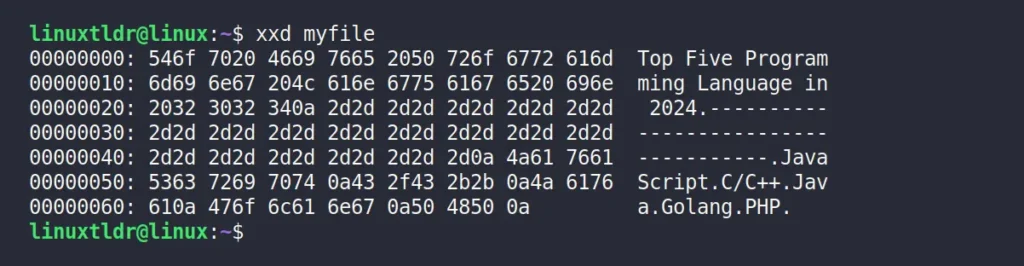
So, let’s use different available options to tweak the default behavior of the “xxd” command.
Trim Lines in the Output
To trim the number of lines from the generated hexdump output, simply specify the number of lines to trim with the “-s” flag. For example, using this command will delete the initial four lines from the output.
$ xxd -s 0X40 myfileOutput:

Instead of specifying the number of lines to trim from the output, you can specify the number of lines you want to print from bottom. For example, using this command will only get the hexdump of the last three lines.
$ xxd -s -0X30 myfileOutput:

Specify the Column Length
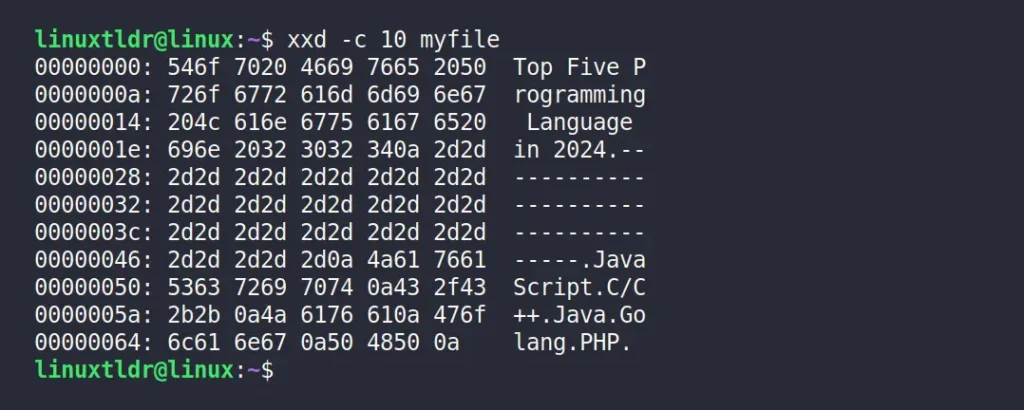
You can specify the number of columns you want to see in the output instead of the default sixteen by using the “-c” flag. For example, using this command will adjust the output to only ten hexadecimal columns.
$ xxd -c 10 myfileOutput:
Specify the Output Length
It is similar to trimming the output, except this time you can specify how many lines of the output you want from the first line using the “-l” flag. For example, using this command will only print the first fifteen lines of the hexdump.
$ xxd -l 0x15 myfileOutput:

Display the Output in Plain Mode
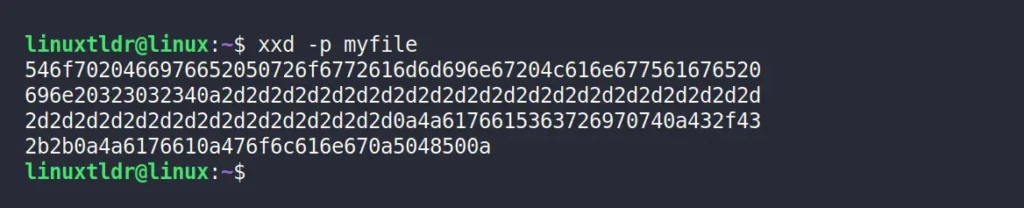
To display the output in plain mode, where the first hexadecimal memory address (or offset) column and last column representing the ASCII will be removed and the rest of the hexadecimal will be shown without any gaps, use the “-p” flag.
$ xxd -p myfileOutput:
Display the Output in Capital Letter
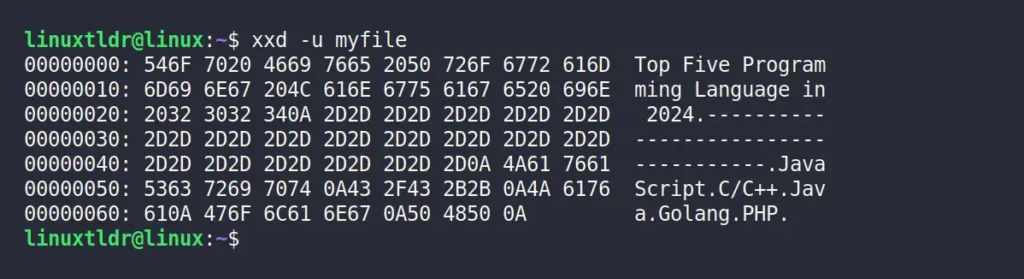
If you find yourself needing to capitalize the letters in hexdump output, simply use the “-u” flag for that task.
$ xxd -u myfileOutput:
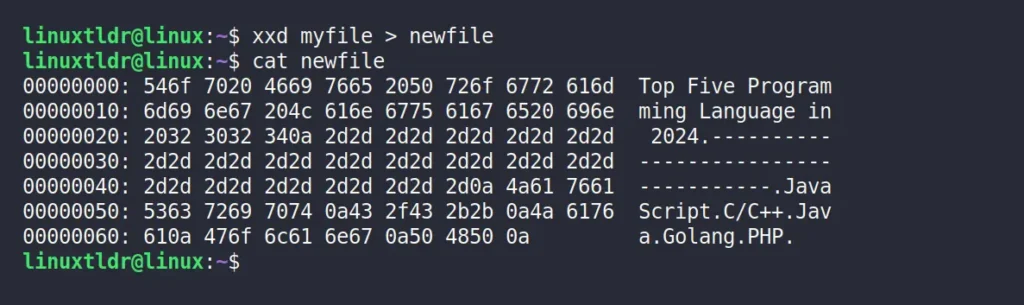
Redirect the Hexdump Output to a New File
To save the hexdump output to a new file, you can use the “>” redirection symbol. For example, using this command will save the output to “newfile“.
$ xxd myfile > newfileOutput:
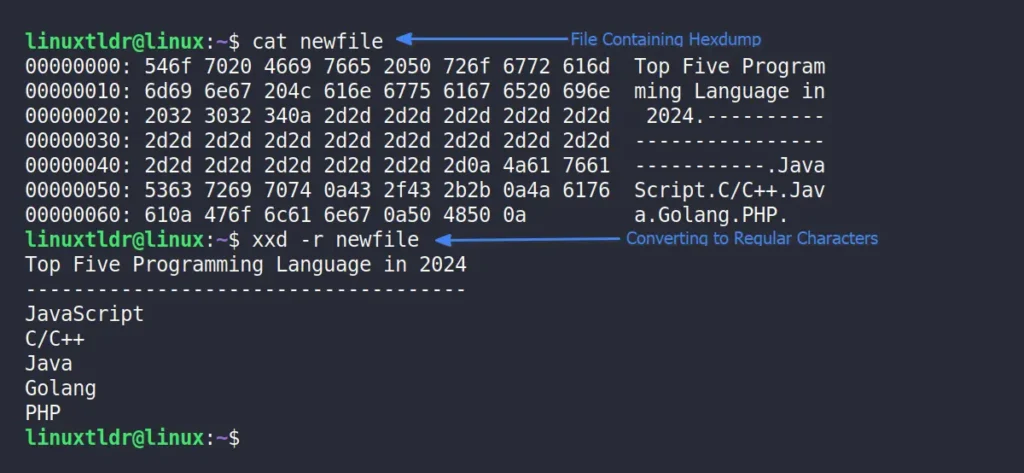
Revert Hexdump Back to Regular Characters
In the earlier method, you learned how to redirect (or save) the hexdump output to a new file. So, if in the future you accidentally delete the original file or have a file containing a hexdump, you can use the “-r” flag to convert the hexdump back to regular characters.
$ xxd -r newfileOutput:
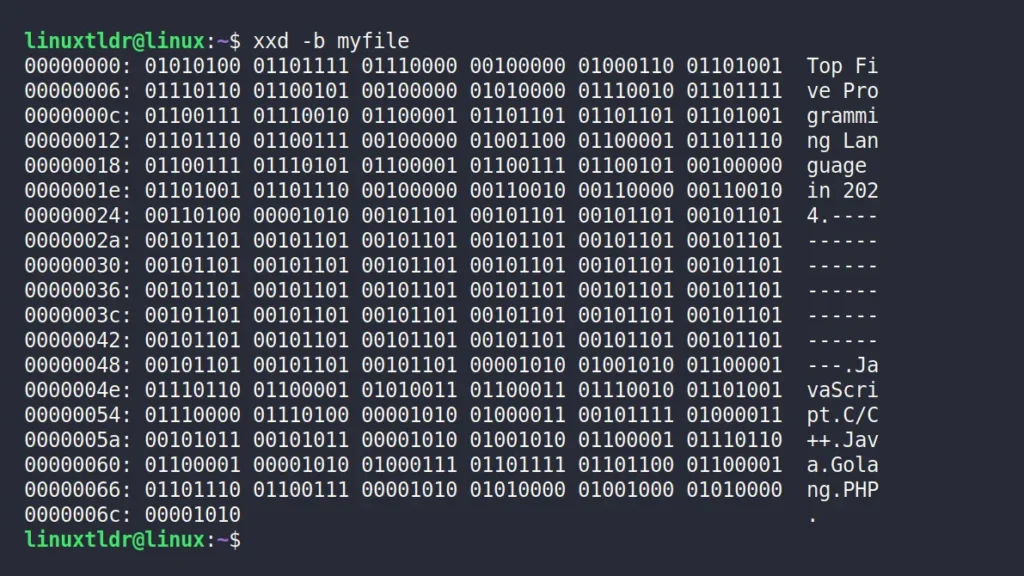
Display a Binary Output Instead of Hexadecimal
Instead of dumping the hex, you can dump binary digits using the “-b” flag, but before you do that, ensure that the plain mode (output the column without gaps) will not work, and the “xxd” command provides an option to reverse the hexdump output to regular characters, but not for binary dump.
$ xxd -b myfileOutput:
How to Remove XXD from Linux
This article wouldn’t be complete without showing its removal step. Although, it comes by default in many popular Linux distributions, I wouldn’t recommend removing it. But if you’ve manually installed it or simply wish to remove it from your system, then execute the following command:
# On Debian, Ubuntu, Mint, Pop!_OS, etc.
$ sudo apt remove xxd

# On Redhat, Fedora, AlmaLinux, CentOS, etc.
$ sudo dnf remove xxd

# On Arch, Manjaro, Garuda, EndeavourOS, etc.
$ sudo pacman -R xxd
Final Word
This article has come to an end. Now, if you have any questions or queries related to the topic, feel free to ask them in the comment section.
Till then, peace!


