
Linux administrators are allowed to create “normal user accounts” with a range from 1000 to 60000 uids, where uid 0 is reserved for “root users” and “system users” are allowed uids from 1 to 999.
Normal users might rarely reach this threshold, creating so many accounts in their system; however, when you reach that point, it will become challenging for you to manage users in your system.
To make things easier, you can create a group and add the collection of users into that group. This will make it easier for you to manage a group of users instead of managing individual users.
To create groups, you can use the groupadd command in Linux that you are about to learn.
Tutorial Details
| Description | Groupadd (Managing Group) |
| Difficulty Level | Moderate |
| Root or Sudo Privileges | Yes |
| OS Compatibility | Ubuntu, Manjaro, Fedora, etc. |
| Prerequisites | groupadd, groupdel |
| Internet Required | No |
Syntax of the Groupadd Command
The groupadd command requires two arguments: one is the flag, and the other is the group name.
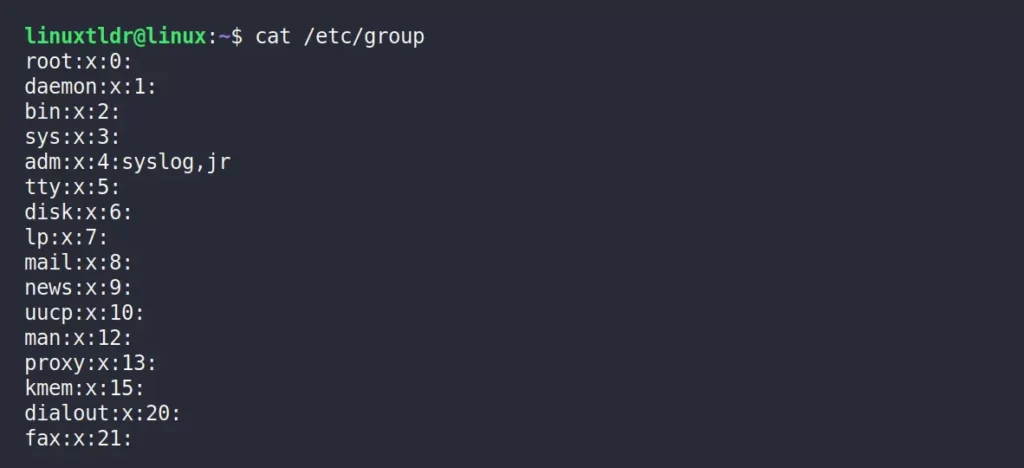
$ groupadd [OPTION] [GROUPNAME]Whenever you will create a new group in your system the record will be added to “/etc/group” file that you can read using the cat command.
$ cat /etc/groupOutput:
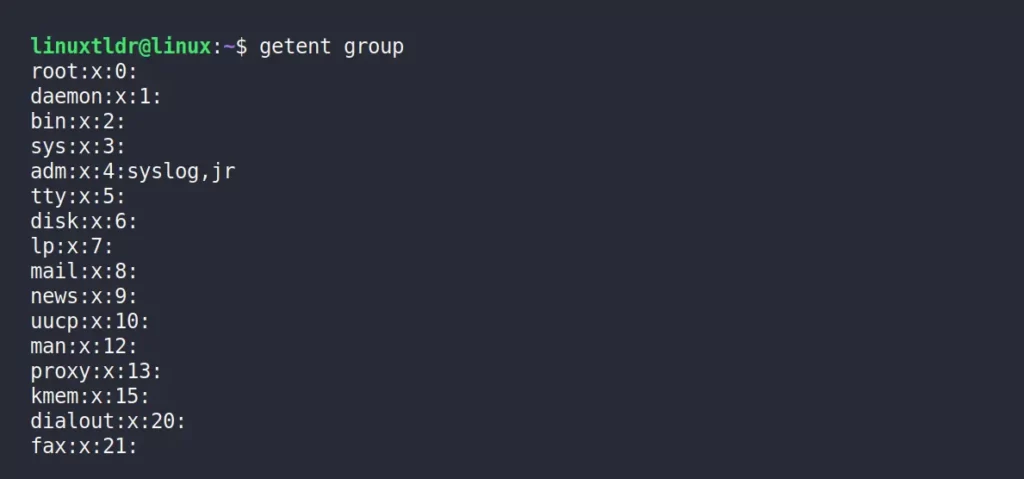
Or you can use the getent command to view the list of groups in your system.
$ getent groupOutput:
Creating a New Group
The following command will create a new group with the specified name (ex: “demogroup“).
$ sudo groupadd demogroupOutput:

To verify the group is created, use the following grep command to search “demogroup” in “/etc/group” file.
$ grep demogroup /etc/group Output:

As you can see above, the group was created with GID 1010.
Creating a New Group with a Specific GID
The “-g” or “--gid” flag will create a new group with a specified GID; if the GID is already assigned to another group, you will get the “groupadd: GID ‘XXX’ already exists” error; if not, your group will be created with a specified GID.
$ sudo groupadd -g 1666 demogroupOutput:

Create a New Group with Duplicate (non-unique) GID
If your specified GID is already being used by another group, you can use the “-o” or “--non-unique” flag, which will create your group with the same (non-unique) GID, but the group name must be different.
$ sudo groupadd -o -g 1666 newgroupOutput:

Read the “/etc/group” file to check the group is created with the same (non-unique) GID but with different name.
$ grep 1666 /etc/groupOutput:

Creating a New Group by Force
When you create a new group in your system, if the specified group name or “GID” (if you are manually specifying) is already being used by another group, you will get the “groupadd: group ‘XXX’ already exists” or “groupadd: GID ‘XXX’ already exists” errors.
To avoid this error and forcefully create your specified group, use the “-f” or “--force” flag.
$ sudo groupadd -f demogroupOutput:

Force creating a group will not remove the old group or replace the old with a new one (ex: “GID”); it will just leave the state without any changes.
Creating a New System Group
The system group is no different from the regular (normal) group. They are usually created for special purposes like system services or taking backups.
The GIDs defined for system groups are chosen from “SYS_GID_MIN” to “SYS_GID_MAX” from “/etc/login.defs” instead of “GID_MIN” and “GID_MAX“.
To create them, you can either use the “-r” or “--system” flag with the group name as shown.
$ sudo groupadd -r systemgroupOutput:

Override the default /etc/login.defs value
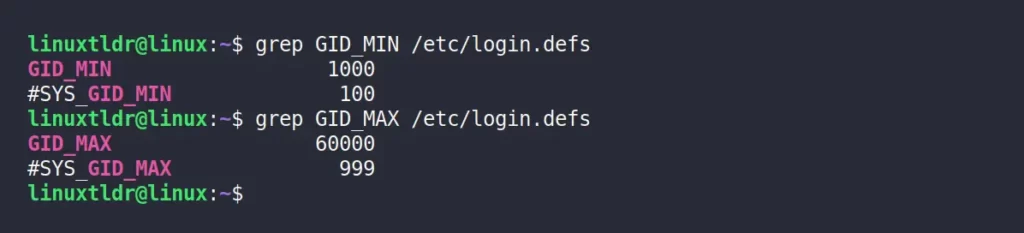
When you create a new group in your system, the GID for your group is selected from the range of “GID_MIN” to “GID_MAX” in your “/etc/logins.defs” file.
$ grep GID_MIN /etc/login.defs
$ grep GID_MAX /etc/login.defs
Output:
However, you can override the default value specified in the “/etc/logins.defs” file and specify your custom range using the “-K” or “--key” flag with the “KEY=VALUE” pair.
For example, if you want to create a new group and the GID should be between “600” and “700”, then use the following command.
$ sudo groupadd -K GID_MIN=600 -K GID_MAX=700 demogroupOutput:

If you read the “/etc/group” file you will find the “demogroup” GID is between the range of “600” to “700” as shown.
$ grep demogroup /etc/groupOutput:

Creating a New Group with a Password
Adding a password to a normal or system group has no practical use and might even create a security issue because more than one user would need to know the group password.
However, if you wish to set a password for your group, use the “-p” or “--password” flag with your password, as shown.
$ sudo groupadd -p YOURPASSWORD demogroupOutput:

Add a User to a New Group
After creating a group, you can add an existing user to your newly created group by using the adduser command.
$ sudo adduser demogroup linuxtldr The above command will add the “linuxtldr” user into the “demogroup” group.

To verify the user is added to that group, use the following groups command:
$ groups linuxtldrOutput:

Alternatively, you can use the usermod command to append a new or existing user to your newly created group.
$ sudo usermod -aG demogroup linuxtldrRemove a User from the New Group
In case you misplaced the user in the wrong group or have any other reason to remove the user from the added group.
Then use the gpasswd command with the “-d” flag, specifying the username with the group name.
$ sudo gpasswd -d linuxtldr demogroupOutput:

Verify the user is removed from the specified group using the following command with username.
$ groups linuxtldrOutput:

Alternatively, you can use the deluser command to remove the specified user from the target group.
$ sudo deluser -d linuxtldr demogroupDelete the Newly Created Group
To remove the group you just created or an existing group, make sure to check that no user or file is dependent on that group.
If you are sure about that, then execute the following command with the group name to delete it.
$ sudo groupdel demogroupOutput:

We will end here. I hope you learned something new in this article.
Feel free to share your thoughts or opinions regarding the topic in the comment section.


