
MySQL Workbench is a GUI front-end (or IDE) tool that integrates SQL development, enabling developers to easily design, model, and manage MySQL databases in a visual and efficient manner.
The IDE will automatically detect the MySQL database on your Linux system and try to access it via the “root” user. Just make sure you’ve got the MySQL database installed on your Linux system.
Oracle Corporation, the developer and distributor of the MySQL database, developed MySQL Workbench. This IDE is accessible across multiple operating systems, including Windows, macOS, and Linux.
In this article, you will learn how to easily install MySQL Workbench on Linux, including Debian, Red Hat, Arch-based distributions, and more.
Tutorial Details
| Description | MySQL Workbench |
| Difficulty Level | Moderate |
| Root or Sudo Privileges | Yes |
| OS Compatibility | Ubuntu, Manjaro, Fedora, etc. |
| Prerequisites | mysql-server |
| Internet Required | Yes |
How to Install MySQL Workbench on Linux
Please note that the installation process for MySQL Workbench varies for different distributions. However, I will guide you through the installation for all of them, beginning with the most recommended option.
Installing MySQL Workbench via Snap for Major Linux Distributions
The easiest way to install the latest version of MySQL Workbench is through Snap. All you have to do is ensure the latest version of Snap is installed on your Linux system.
Once you are ready, open your terminal and run the following command to initiate the installation process:
$ sudo snap install mysql-workbench-communityOutput:

After the installation is complete, you can access the app icon from the application menu or execute the following command to directly run it via the terminal:
$ snap run mysql-workbench-communityIf you prefer to install it from your default package manager, follow the next section.
Installing MySQL Workbench in Debian or Ubuntu-based Distributions
In Debian-based distributions such as Ubuntu, Pop!_OS, and Linux Mint, users can go with the default APT package manager. However, it’s important to note that this tool may not be included in your system’s repository.
To begin, follow the following steps one by one:
1. Visit the official MySQL APT repository page and download the latest deb package.
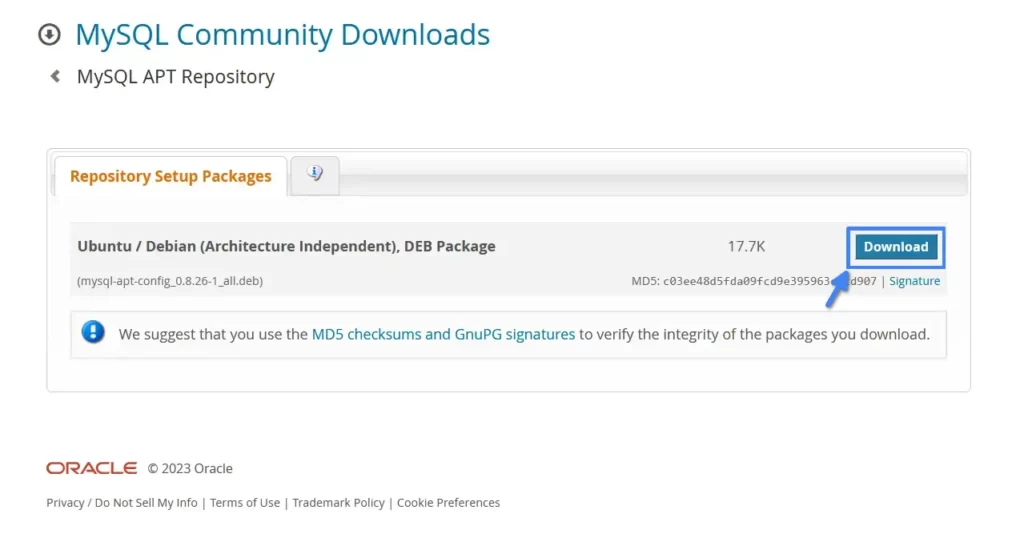
Alternatively, you can download the package by running the following curl command to follow along with this article.
$ wget https://dev.mysql.com/get/mysql-apt-config_0.8.26-1_all.deb2. After downloading is finished, install the deb package using this command.
$ sudo dpkg -i mysql-apt-config_*_all.debOutput:

During the installation, if you’re prompted to select a MySQL product for configuration, just proceed by choosing the “Ok” option.
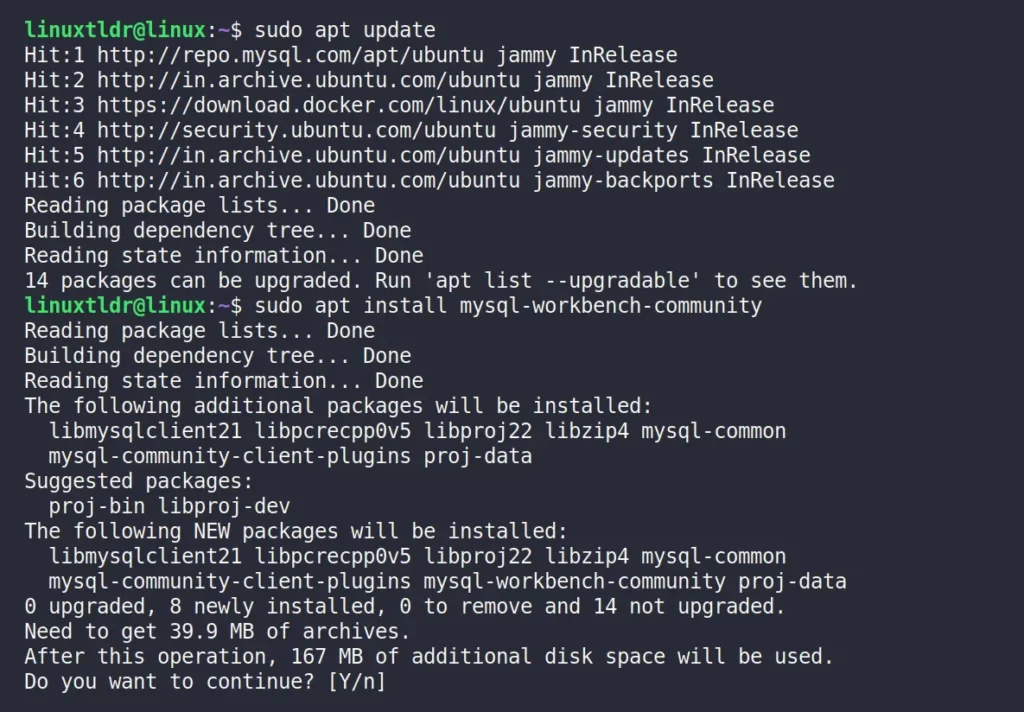
3. Finally, update and install the latest MySQL Workbench version on your system with the following command:
$ sudo apt update
$ sudo apt install mysql-workbench-community
Output:
That’s it! You can now effortlessly access the app icon via the application menu.
Installing MySQL Workbench in Red Hat or Fedora-based Distributions
Users of Red Hat-based distributions such as Fedora, Rocky Linux, AlmaLinux, and more can conveniently install MySQL Workbench from their default DNF package manager.
However, it’s important to note that before proceeding with the installation, you need to set up the MySQL Yum repository.
To begin, follow the following steps one by one:
1. Visit the official MySQL Yum repository page and download the latest RPM package.
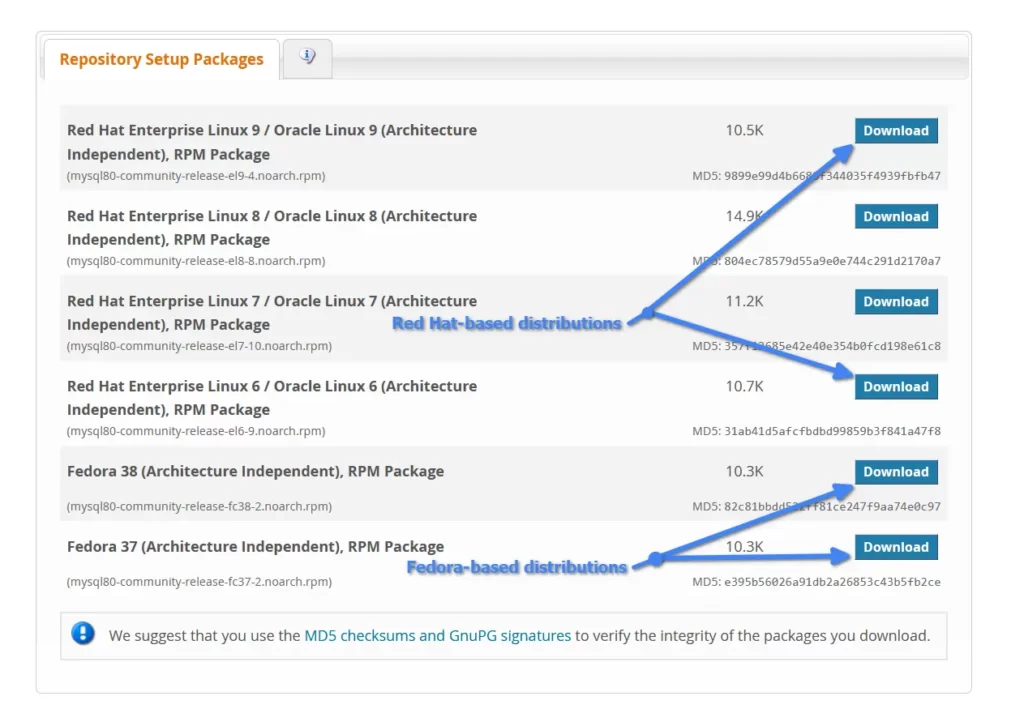
Choose the appropriate Yum repository depending on your distribution to prevent conflicts.
2. Assuming you’ve downloaded the Fedora 38 RPM package (the process is the same for all), proceed by installing the RPM package with the following command:
$ sudo rpm -i mysql80-community-release-*.noarch.rpmOutput:

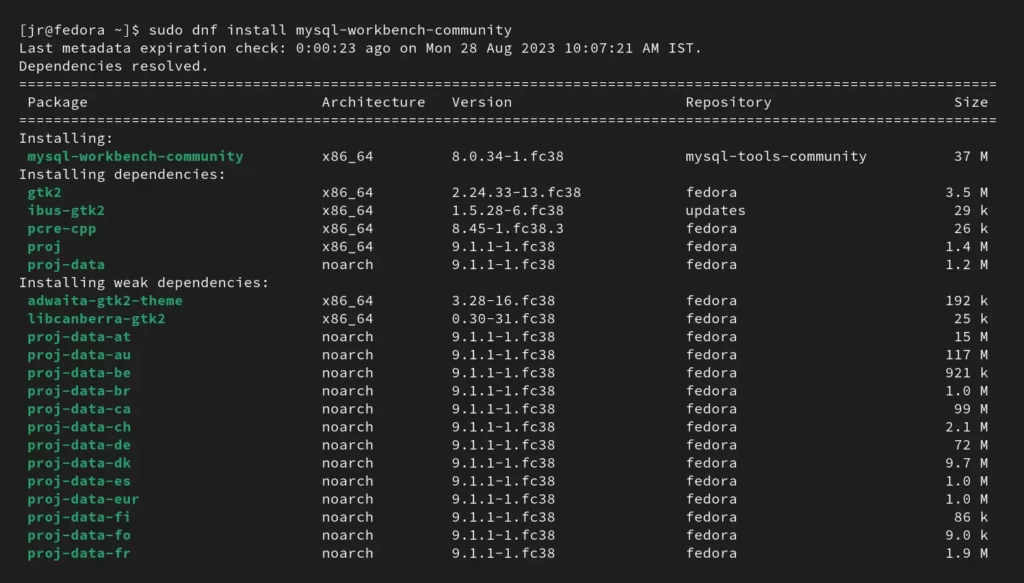
3. Finally, install the latest MySQL Workbench version on your system with the following command:
$ sudo dnf install mysql-workbench-communityOutput:
That’s all! You can now easily find the app icon in the application menu.
Installing MySQL Workbench in Arch or Manjaro-based Distributions
Installing MySQL Workbench on Arch or Manjaro-based distributions is straightforward. You have two options: follow the Snap method or install the latest version using the default Pacman package manager.
To follow the installation method via Pacman, open your terminal and execute the following command:
$ sudo pacman -S mysql-workbenchOutput:
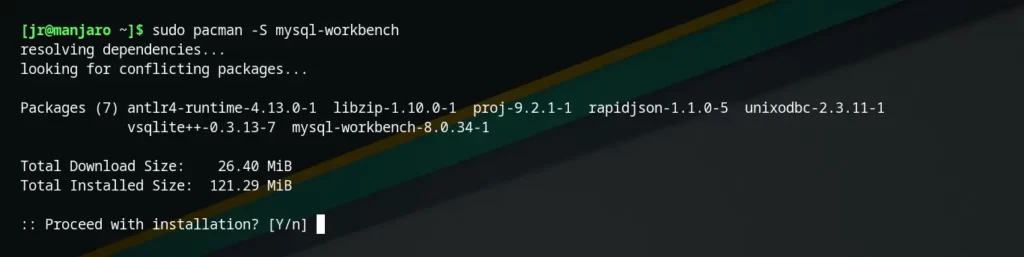
Access the application from the menu after completing the installation.
MySQL Workbench Walkthrough
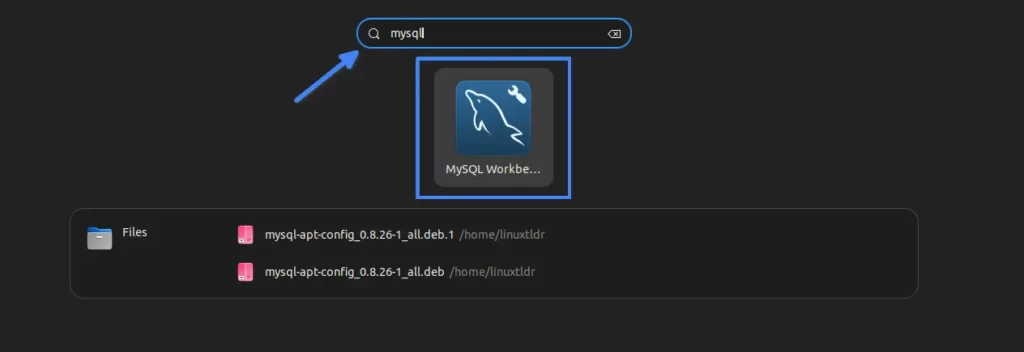
Once installation is finished, search for “mysql workbench” within your system application menu to launch MySQL Workbench.
Upon launching MySQL Workbench, the home window will appear as shown below.
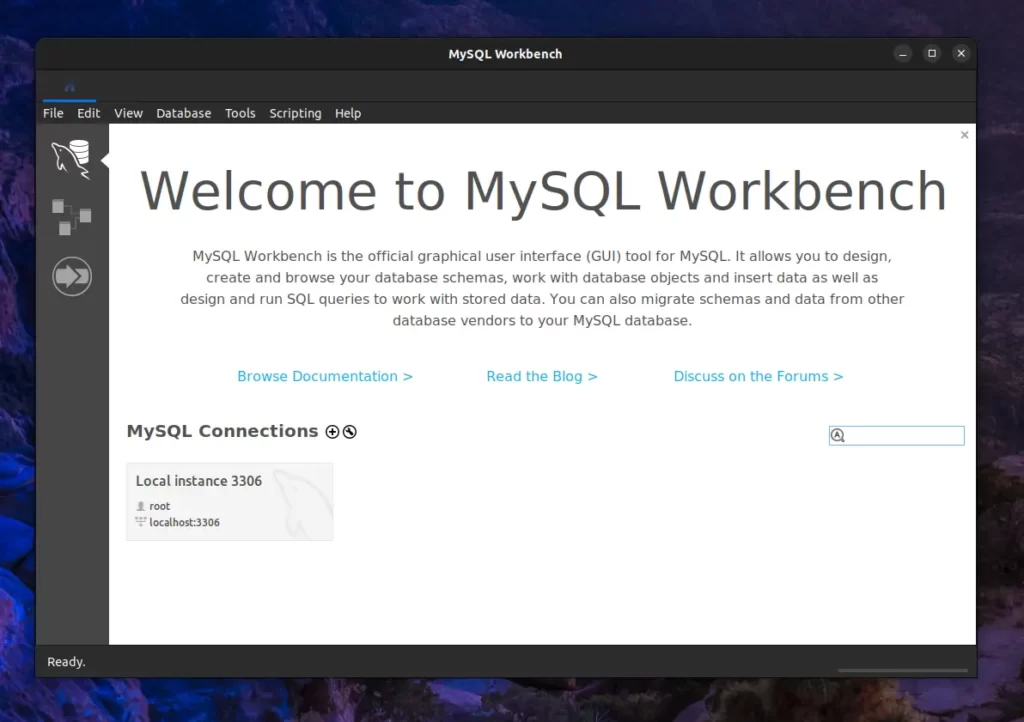
In the image above, upon reviewing the “MySQL Connections” section, you will notice that the MySQL Workbench has identified the MySQL database installed on the system.
When you click on the detected MySQL database, it will prompt you to enter the MySQL “root” password.

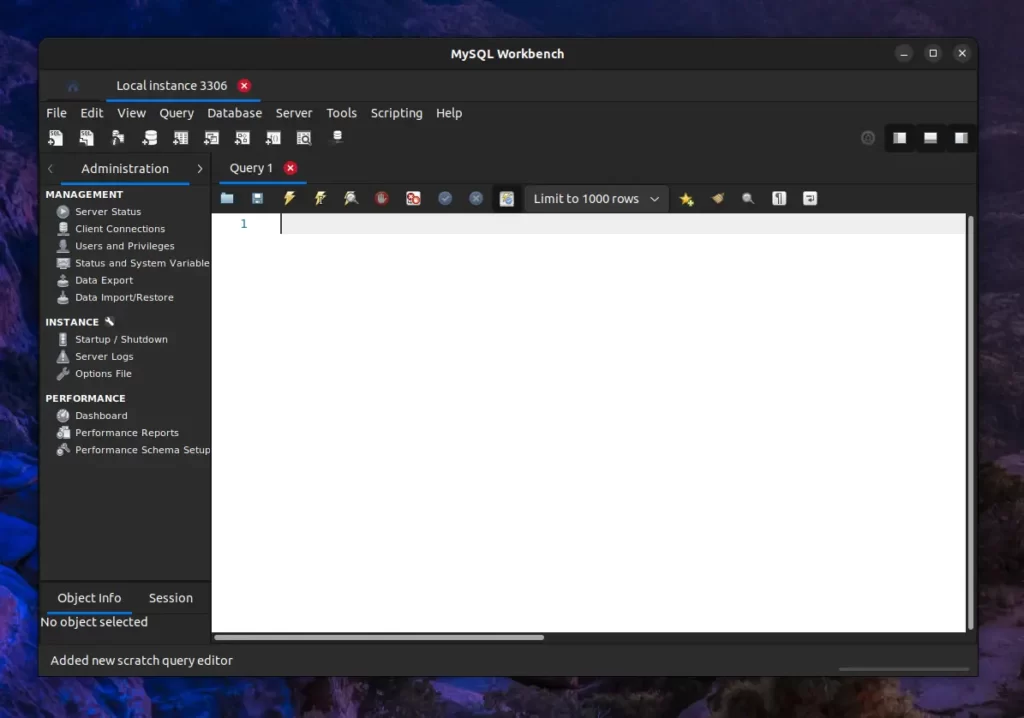
After entering the correct “root” password, you’ll be prompted to the “Administration section” with a query panel. This is where your MySQL Workbench journey begins.
How to Remove the MySQL Workbench from Linux
If you wish to remove MySQL Workbench from your Linux system, you can use one of the following commands, depending on your installation method:
$ sudo snap remove mysql-workbench-community                                             #For Snap
$ sudo apt remove mysql-workbench-community                                                #For Debian, Ubuntu, etc
$ sudo dnf remove mysql-workbench-community                                                #For Red Hat, Fedora, etc
$ sudo pacman -R mysql-workbench                                                                       #For Arch, Manjaro, etc
Final Word
I hope you find this article helpful. If you have any suggestions or questions about the topic, please don’t hesitate to ask them in the comment section.
Till then, peace!


