
Jupyter AI is an incredible and powerful Python extension that brings generative AI models (like ChatGPT) to your JupyterLab or Notebooks to enhance your productivity.
Users can utilize it to explain and generate code, rectify errors, condense content, and even compose entire notebooks seamlessly from natural language prompts.
The tool seamlessly integrates Jupyter with a diverse range of large language models (LLMs) from renowned providers, including AI21, Anthropic, Bedrock, Cohere, Hugging Face Hub, OpenAI, OpenAI (chat), and SageMaker.
In this article, you will learn its powerful features and how to seamlessly integrate it with Jupyter, enabling you to harness the full potential of large language models like ChatGPT.
Tutorial Details
| Description | Jupyter AI |
| Difficulty Level | Moderate |
| Root or Sudo Privileges | Yes |
| OS Compatibility | Ubuntu, Manjaro, Fedora, etc. |
| Prerequisites | Python, Pip |
| Internet Required | Yes |
Jupyter AI Features
Here are some remarkable capabilities of Jupyter AI:
- Seamlessly integrates with leading LLM providers, unlocking their power within your workflow.
- Experience natural conversational flow with the built-in chat UI in JupyterLab, making generative AI interactions effortless.
- Gain deeper insights into code through integrated explanations right in the notebook.
- Effortlessly generate code tailored to your specific problem, streamlining your development process.
- Transform your Jupyter notebook into a dynamic, reproducible AI playground with the “
%%ai” magic command, ensuring functionality across diverse IPython kernel environments.
Quite interesting, right? Now let’s see how you can utilize this tool in your JupyterLab.
A Note for Readers
As of the time of writing this article, Jupyter AI is available in two distinct versions: Jupyter AI 2.x (the most recent iteration), which is compatible with JupyterLab 4.x, and Jupyter AI 1.x, tailored to work seamlessly with JupyterLab 3.x.
The features of both versions are nearly identical, and support for JupyterLab 3.x will continue as long as it is actively maintained.
In this article, you will learn how to seamlessly integrate Jupyter AI 2.x with JupyterLab 4.x and use the most popular OpenAI ChatGPT with it (once you learn this process, integrating other providers is just as straightforward).
How to Install and Configure Jupyter AI with JupyterLab
I consider that you have already installed the latest version of Python 3 and pip on your system before proceeding with the following steps.
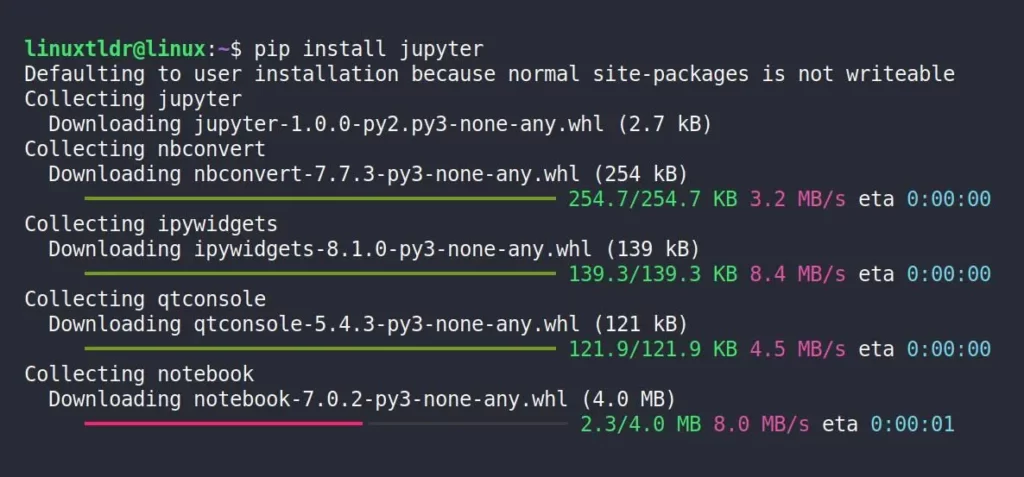
1. Open your terminal. If Jupyter is not installed, execute the first command; if it’s already installed, upgrade to the latest version with the second command.
#Execute to install Jupyter
$ pip install jupyter

#Execute to upgrade the current version of Jupyter
$ pip install --upgrade jupyter
Output:
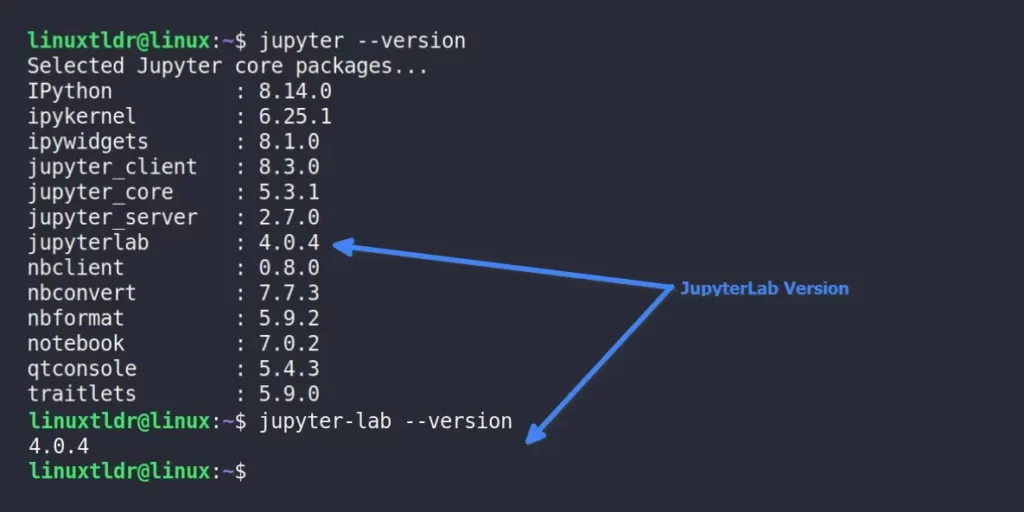
2. Execute the following command to verify your current JupyterLab version is 4.x:
jupyter‘ command is not found, please restart your session or your system, and then try again.$ jupyter --version
#OR
$ jupyter-lab --versionOutput:
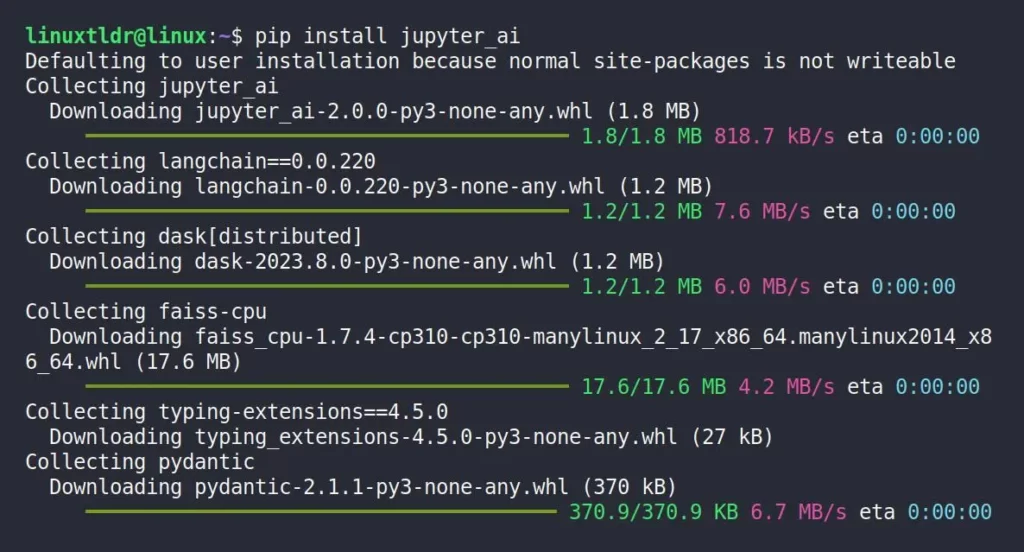
3. To install the latest version of Jupyter AI (JupyterLab extension), run:
$ pip install jupyter_aiOutput:
Please remember that the latest Jupyter AI v2 only supports JupyterLab 4. For JupyterLab 3 compatibility, install Jupyter AI v1 using this command:
#Execute only if you are using JupyterLab 3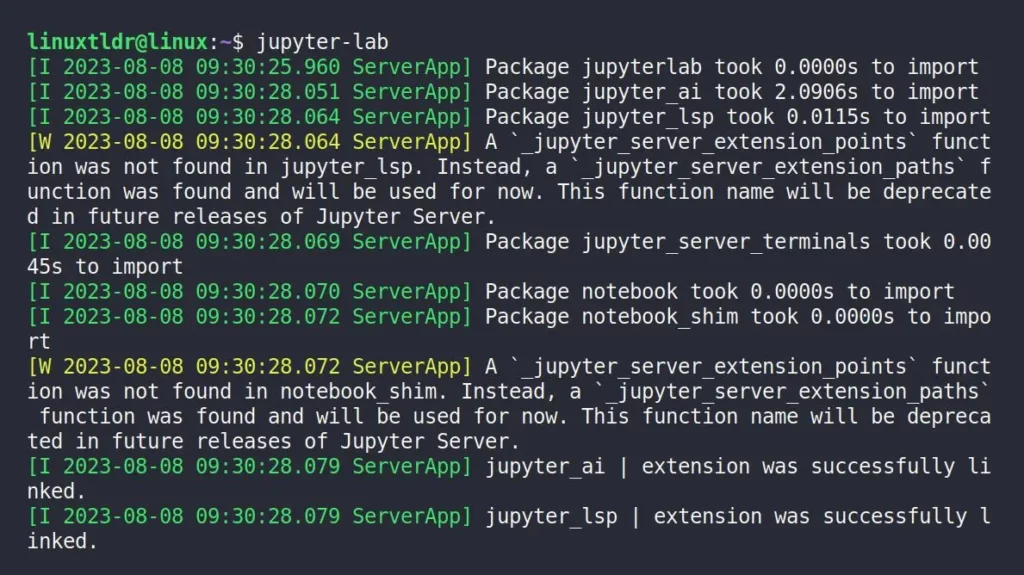
$ pip install jupyter_ai~=1.04. After the installation is complete, launch JupyterLab using the following command:
$ jupyter-labOutput:
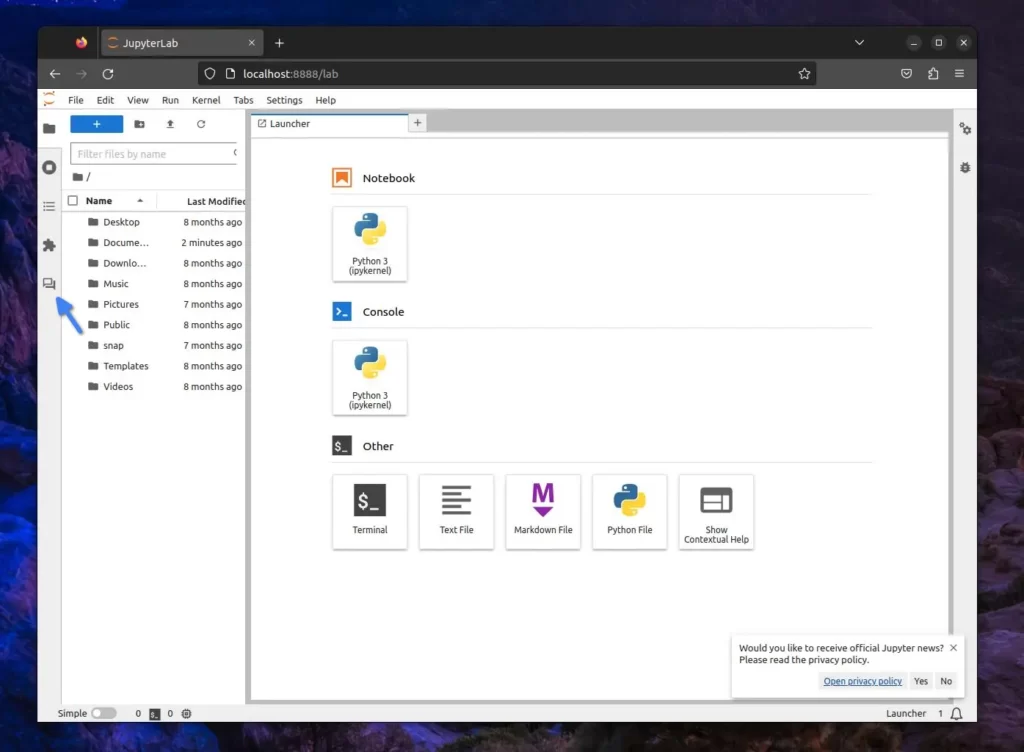
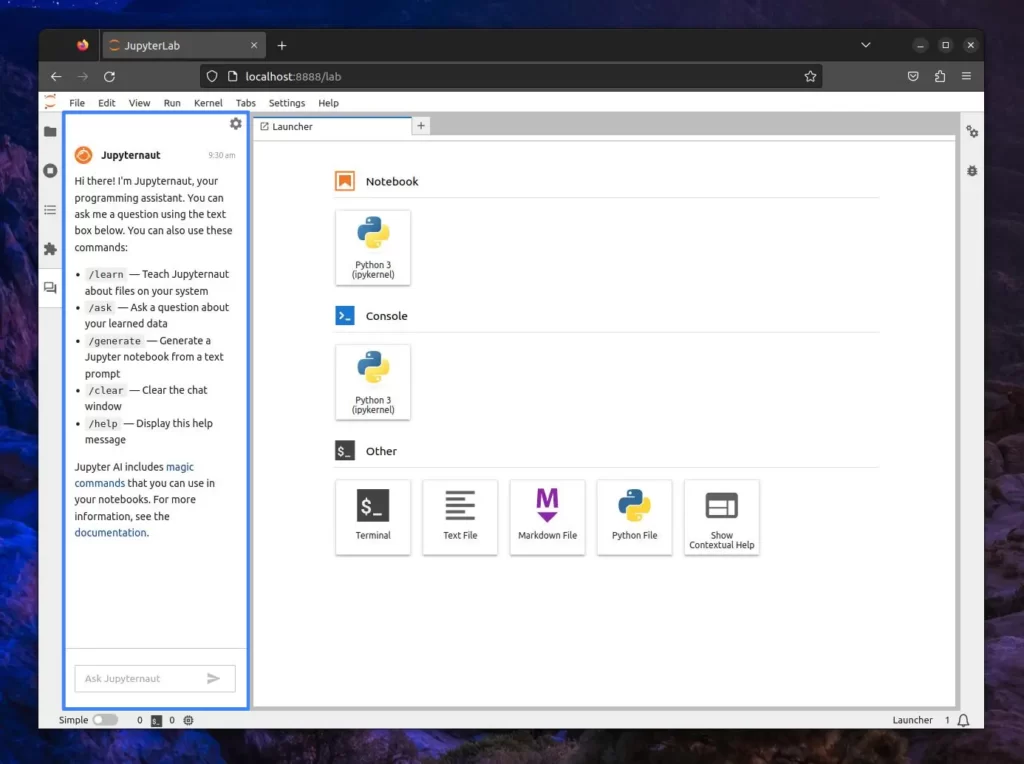
5. In the JupyterLab dashboard, you have to click on the “chat” icon in the left side panel to open the chat interface, as shown in the following picture.
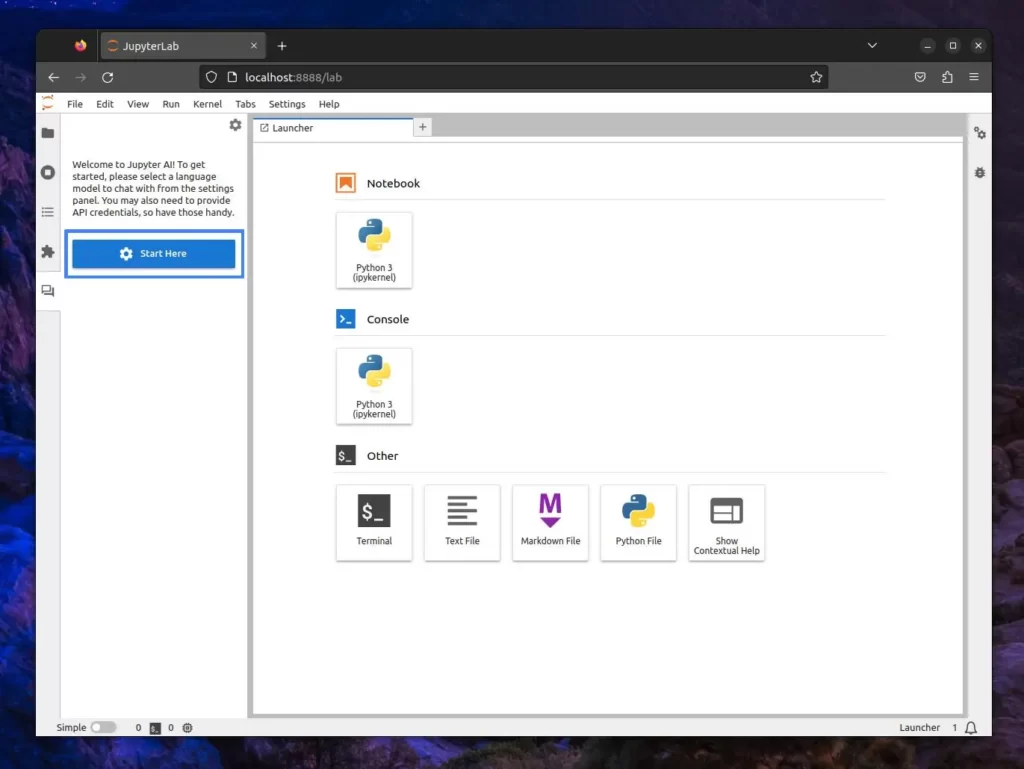
6. When you launch the chat interface, Jupyter AI will prompt you to enter the API key for your desired large language and embedding model. Just click the “Start Here” button to proceed.
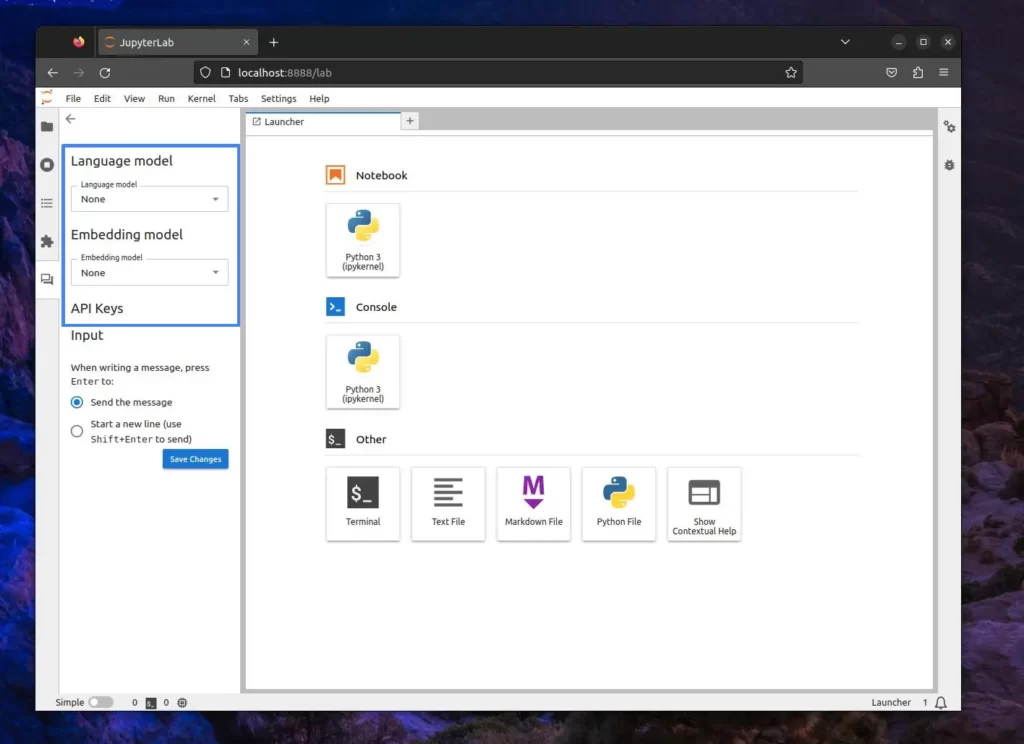
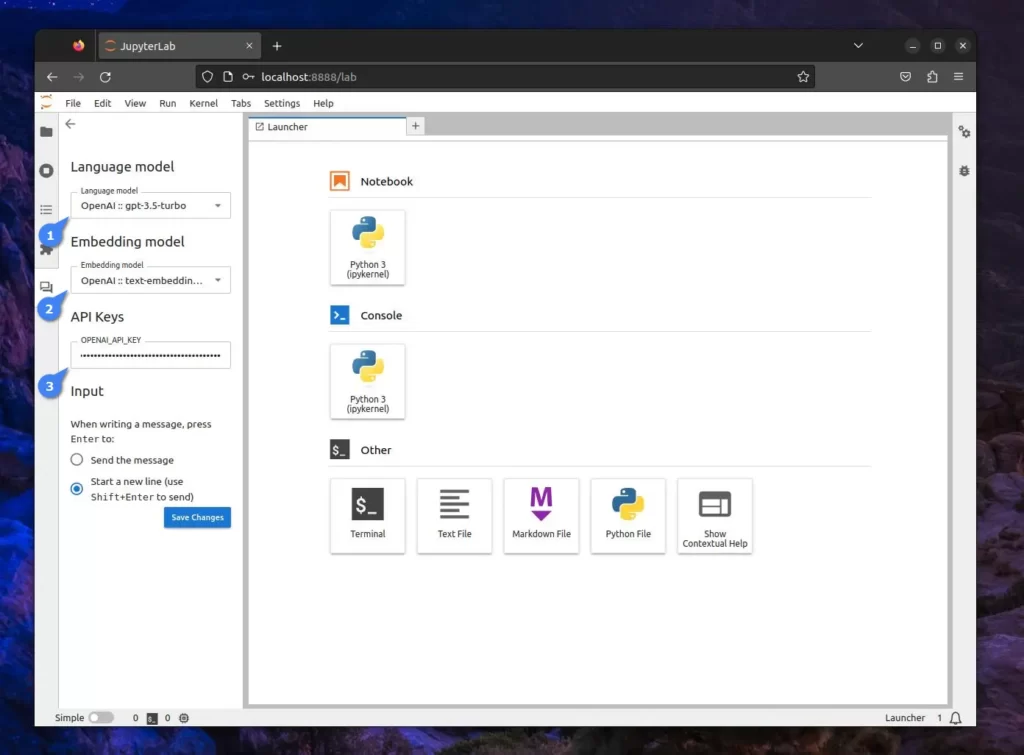
7. Here, it will ask you to choose the language model you want to use for the chat interface and for the embedding model (optional) and specify the API key for the provided language model.
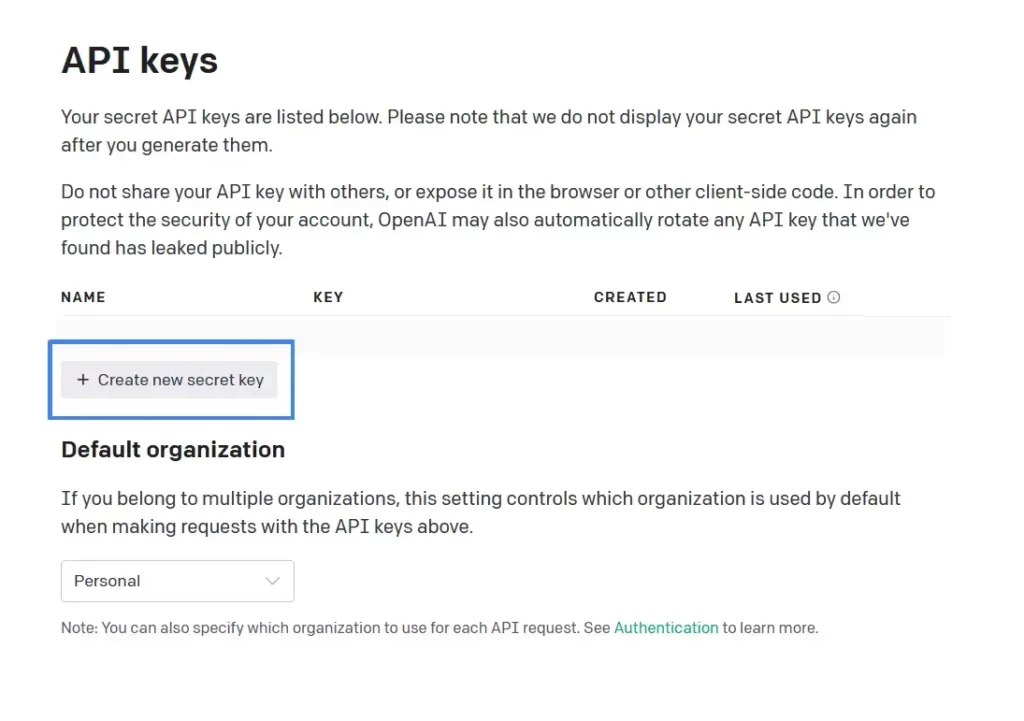
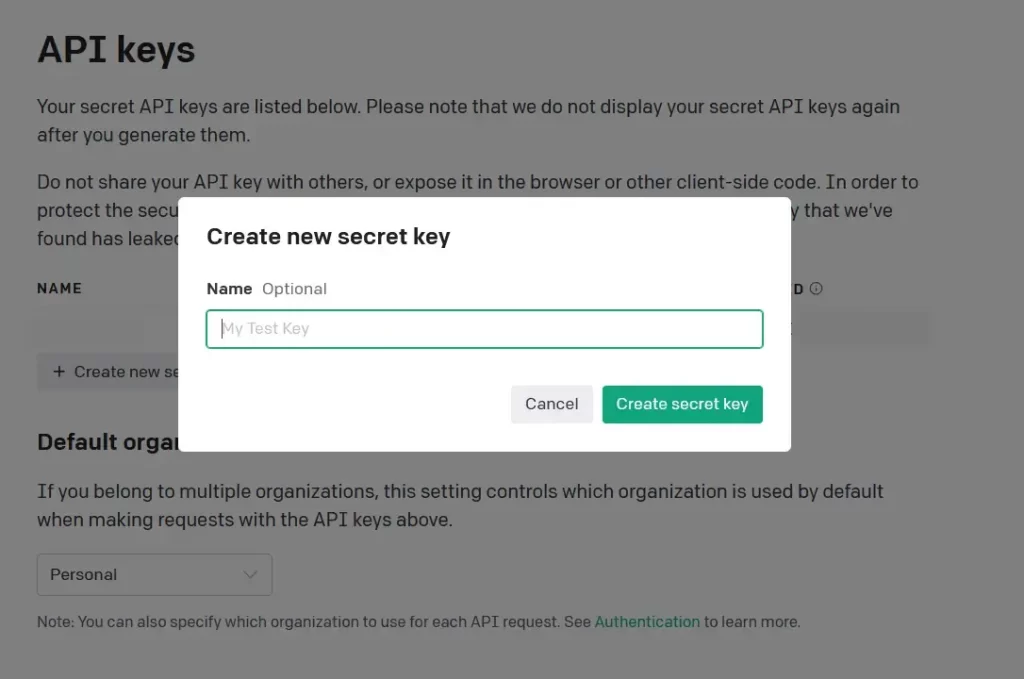
8. Let’s say you want to use ChatGPT as a language model; for that, you have to first obtain the API key through an OpenAI account. If you already have an account, simply go to OpenAI and click the “Create a new secret key” button.
9. Provide a name for the given secret key (optional) when prompted.
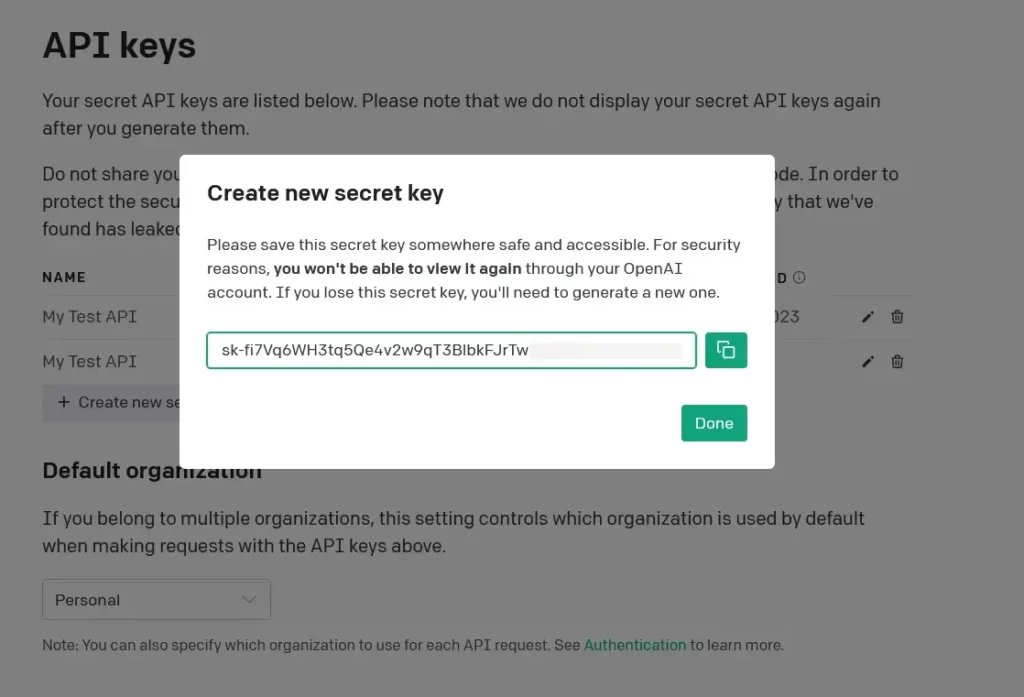
10. Now, it will show you the secret key (only for the last time); simply copy it and save it somewhere else for later use.
11. Following step 7, proceed to specify the language model (for example, “OpenAI :: gpt-3.5-turbo“) and the embedding model (such as “OpenAI :: text-embedding-ada-002“) and finally, paste the previously copied OpenAI secret key into the designated API Keys field.
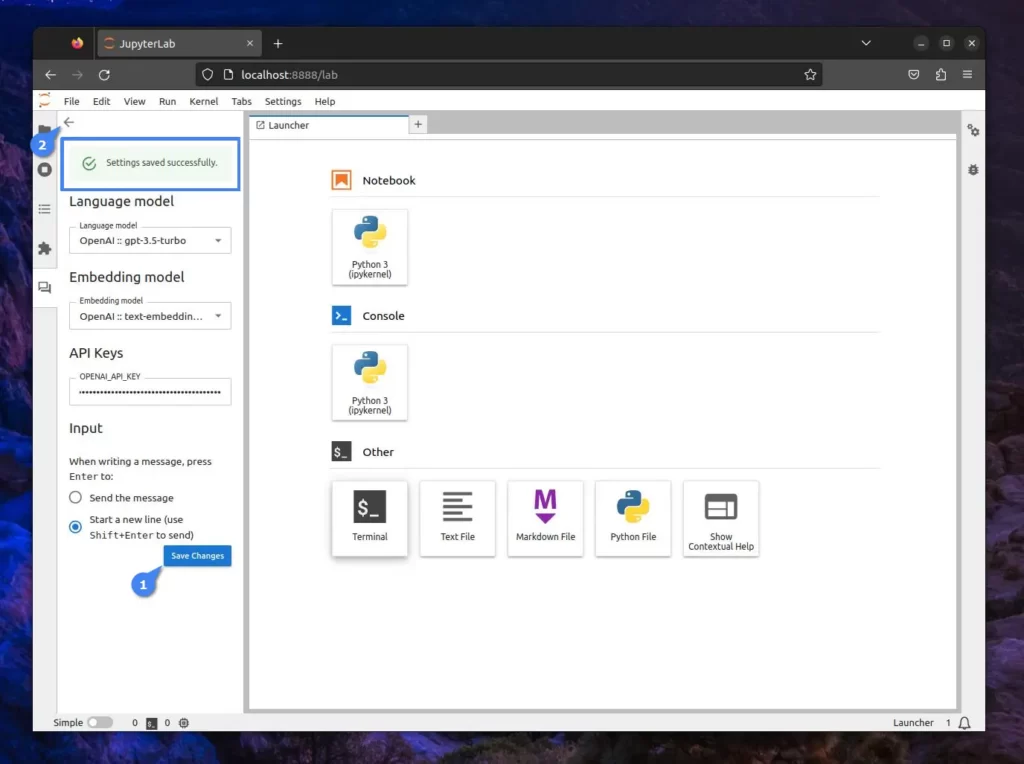
12. After completing the task, simply select your preferred input settings, click “Save Changes“, and then go back.
How to Use Jupyter AI (Jupyternaut, Chatbot) in JupyterLab
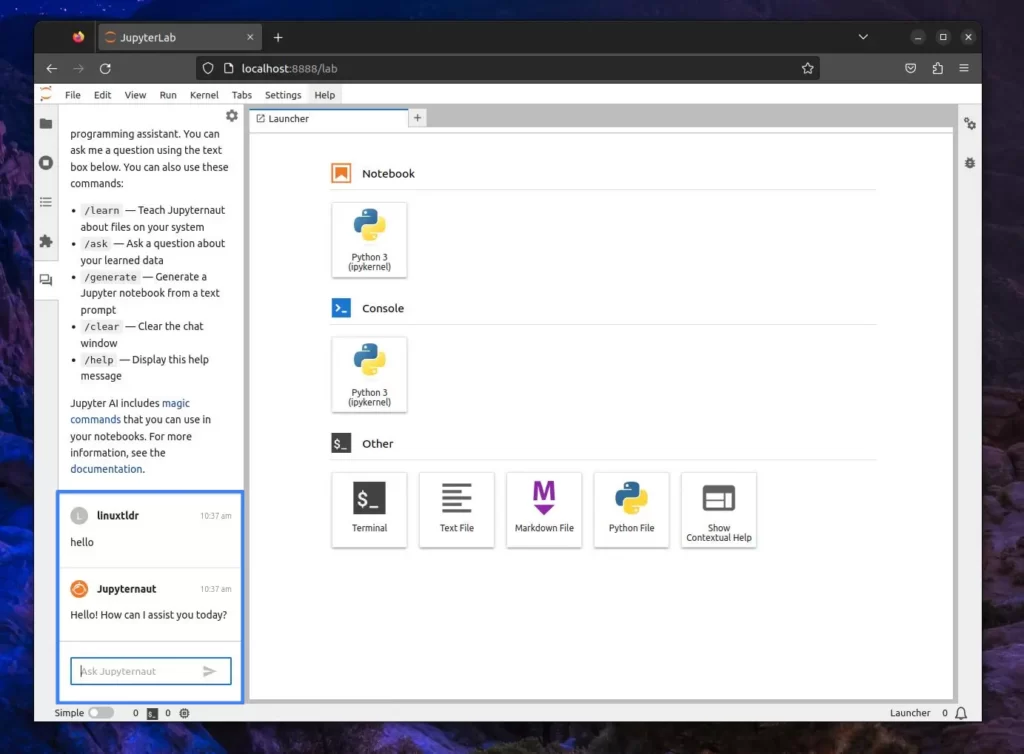
Continuing step 12, when you go back, you will find the message from Jupyternaut (the Jupyter AI chatbot) containing predefined commands.
You can use the predefined commands to start your interaction with the chatbot, such as “/ask” to pose questions, “/generate” for code generation, and “/clear” to reset the prompt.
Alternatively, you can initiate a conversation with your bot by simply greeting it with “hello“.
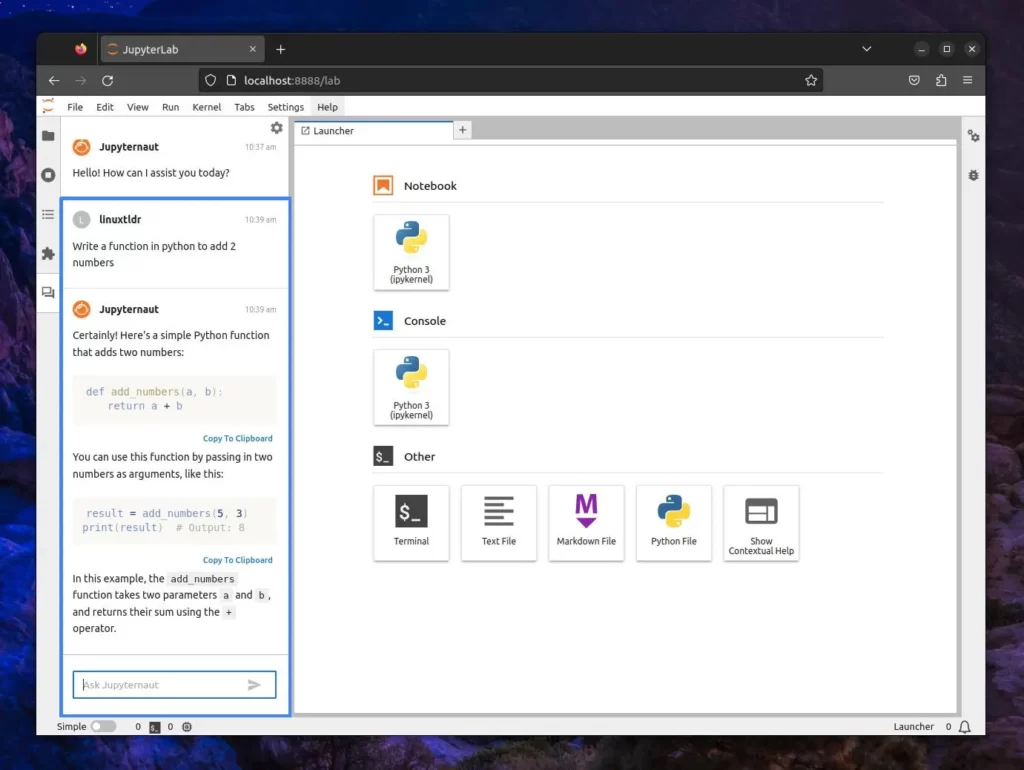
Let’s begin by asking some programming-related questions. For instance, you could ask, “Write a function in python to add 2 numbers“, as shown.
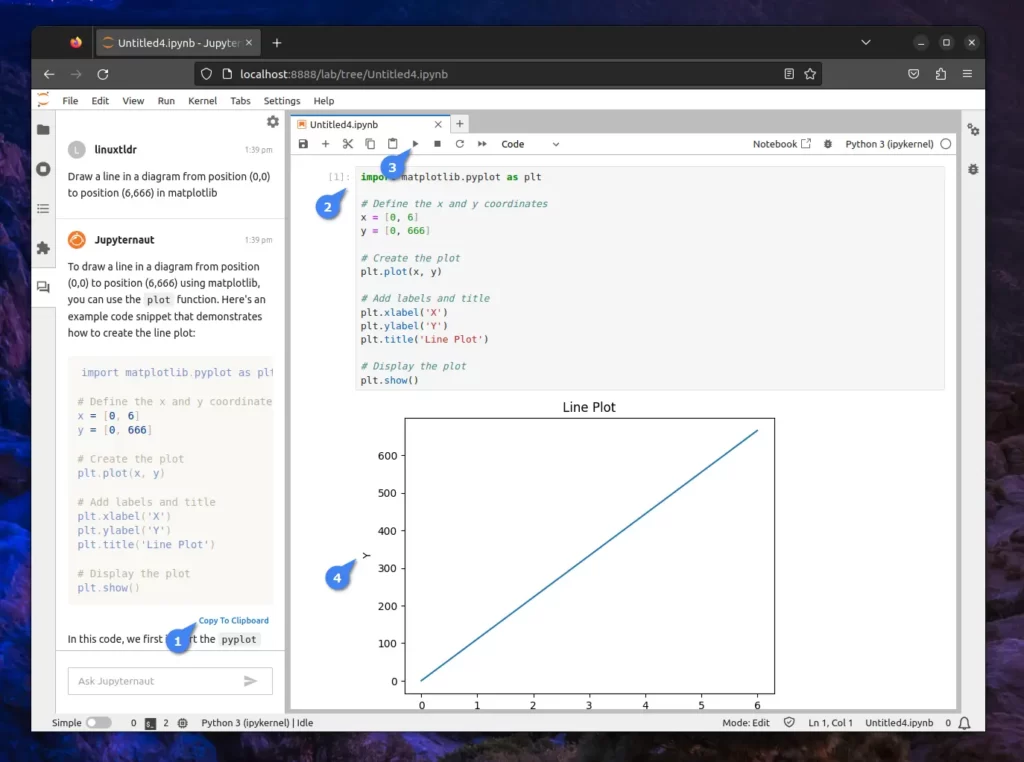
Quite interesting, right? Now, let’s ask a little trick question like “Draw a line in a diagram from position (0,0) to position (6,666) in matplotlib” and check its response.

Let’s assess the provided Matplotlib code from Jupyternaut to verify its functionality. We can achieve this by creating a new notebook, pasting the code into a new cell, and executing it.
Impressively, it executed flawlessly for me. Now, I’ve got competitive Python code that identifies pairs of numbers from the given list whose sum equals the specified value.
To understand the fundamentals of this competitive Python code, simply highlight the entire code or a portion of it, then select the “include section” option in the chat interface. Proceed to ask Jupyternaut, “What does this code do?“.
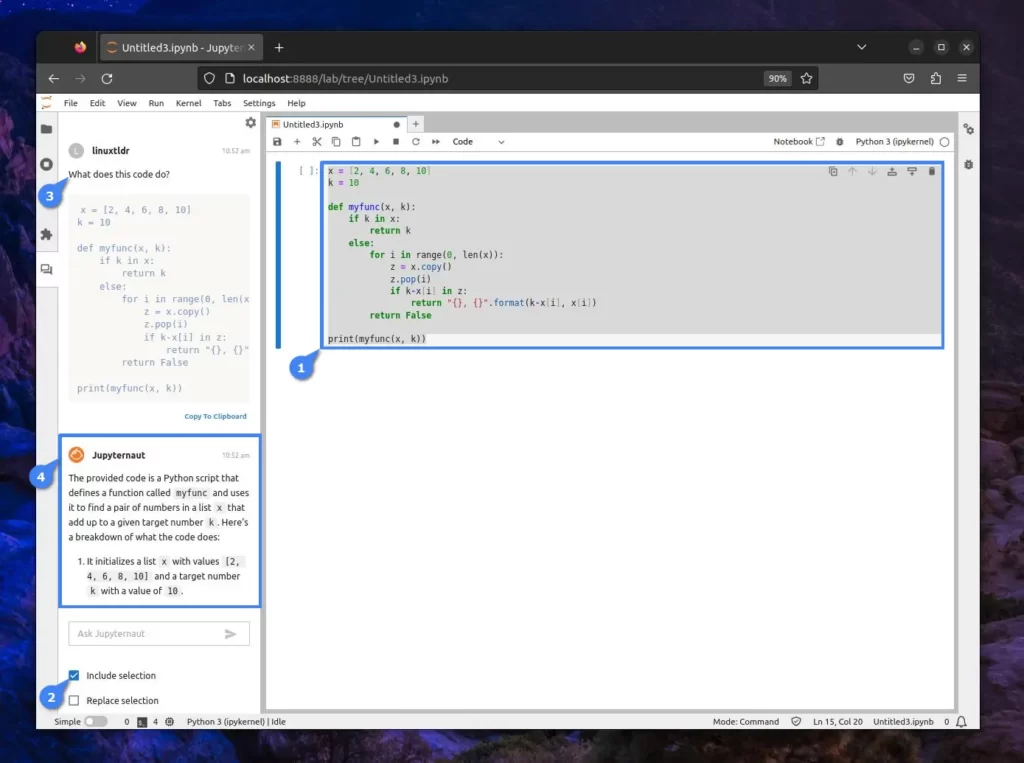
In explanation, it did a fine job for me while missing some elements. However, ask it for more complex questions or generate a code. I’ll leave the rest of it for you.
Final Word
I hope you find this Python extension amazing, and note that while using the API key for free OpenAI ChatGPT, it threw me an error while asking the question that the API usage limit was exceeded.
To resolve it, you have to purchase the OpenAI ChatGPT Plain. Apart from this, the API keys can be set using the environment variables, but I’ve skipped it to make it easier for you to understand the installation process.
However, if you have any questions or queries related to this tool, then feel free to ask them in the comment section.
Till then, peace!


