
Python is a high-level, interpreted, and general-purpose programming language known for its simplicity and readability. Top universities have adopted it widely as the primary language to introduce students to programming.
Even the top MNCs like Google, Facebook, Twitter, and more rely on Python as the fundamental language for powering their AI and ML applications. Due to its flexibility, you can create a wide range of applications, like:
- Web Applications
- Data analysis and visualization
- Machine learning and artificial intelligence
- Scientific Computing
- Automation and scripting
- Game Development
- Desktop Application
- Network Programming
- Internet of Things (IoT)
- Robotics
- Natural language processing (NLP) and many more
Exciting, isn’t it? So, without wasting any time, let’s learn how to install the latest version of Python on your preferred Linux distribution. Additionally, we’ll demonstrate how to set up the pip package manager with practical examples.
Tutorial Details
| Description | Python (with Pip) Installation with Practical Examples |
| Difficulty Level | Moderate |
| Root or Sudo Privileges | Yes |
| OS Compatibility | Ubuntu, Manjaro, Fedora, etc. |
| Prerequisites | – |
| Internet Required | Yes |
How to Install the Latest Python on Linux
Note that Python is a popular programming language, and many Linux distributions like Kali Linux, Parrot, Ubuntu, etc. ship Python out of the box.
Unfortunately, if you are using a light-weight version of Linux, like Tiny Linux or some other, where Python is not installed, you can follow the following steps based on your distribution:
Installing Python on a Debian or Ubuntu System
Python 3.12 or Python 3.10 comes pre-installed in most Debian or Ubuntu-based distributions; if it’s not found in your distribution, simply follow these instructions.
Open your terminal, update the repository, and then install the latest version of Python by executing the given commands:
$ sudo apt update
$ sudo apt install python3 -y
Installing Python 3.13 on a Debian or Ubuntu System
At this moment, the repository for Debian or Ubuntu-based distributions contains an older version of Python, even though Python 3.13 is readily available.
To install the latest Python 3.13 version on Ubuntu, utilize the “deadsnakes” team PPA, which contains the latest Python 3.13 source for Debian or Ubuntu-based distributions.
$ sudo add-apt-repository ppa:deadsnakes/ppa
$ sudo apt update
$ sudo apt install python3.13
You can alternatively specify each Python version number to install different versions.
$ sudo apt install python3.12
$ sudo apt install python3.11
$ sudo apt install python3.10
$ sudo apt install python3.9
$ sudo apt install python3.8
If you’ve installed Python 3.13 on your system with already installed Python 3.12 or Python 3.11. Then, you might be prompted with the Python 3.12 or Python 3.11 interpreters, as they were preinstalled and set as defaults.
So, to access Python 3.13 (recently installed), you need to either execute the “python3.12” command or set it as the default by running the following command.
$ python3 --version
$ sudo update-alternatives --install /usr/bin/python3 python3 /usr/bin/python3.12 1
$ sudo update-alternatives --install /usr/bin/python3 python3 /usr/bin/python3.13 2
$ sudo update-alternatives --config python3
$ python3 --version
Installing Python on a Red Hat or Fedora System
For Red Hat/Fedora-based distributions, you can use the DNF or YUM package manager to install Python on your system.
$ sudo dnf install python3 -y

#OR

$ sudo yum install python3 -y
Installing Python on an Arch or Manjaro System
For Arch and its derivatives (like Manjaro), Python can be installed from the default Pacman package manager by executing the following command:
$ sudo pacman -Sy pythonVerify the Installation
After the installation is successfully completed, execute the following command to verify that Python is accessible from the terminal:
$ python3 --versionOutput:

Note that in many Linux distributions, “python” refers to Python 2.x, and “python3” refers to Python 3.x. The reason for this is to provide support for old or deprecated packages.
However, if you are working on a new project, it is recommended to use Python 3, as Python 2 has reached its end-of-life and is no longer receiving updates.
How to Install Pip on Linux
If you intend to use Python for development purposes, you may also want to install “pip“, the Python package manager, as it may not always be included by default.
The installation step may vary depending on the Linux distribution you are using. Although we have provided you with steps to install it on the most popular Linux distribution.
$ sudo apt install python3-pip -y                                                                 #Debian, Ubuntu, or Pop!_OS
$ sudo dnf install python3-pip -y                                                                 #Fedora
$ sudo yum install python3-pip -y                                                               #Red Hat, CentOS
$ sudo pacman -Sy python-pip                                                                    #Arch, Manjaro, or EndeavourOS
The command above will install Pip using the system package manager; however, there is an alternative approach to installing Pip by downloading the popular “get-pip.py” Python file and executing it with the Python command.
$ curl https://bootstrap.pypa.io/get-pip.py -o get-pip.py
$ python3 get-pip.py
Once the installation is complete, verify the accessibility of the command by executing the following command:
$ pip --versionOutput:

With “pip” installed, you can easily manage Python packages for your projects.
Testing Python with a Sample Script
Once Python is installed, you can either type “python3” and hit “enter” to open the Python interactive session and start writing your program.
But in most cases, it is not recommended to directly use an interpreter. Instead, create a sample script and run it with the Python command using the following steps:
1. Create a new file with a “.py” extension and write your code or paste the following sample code in the script.
print("Hello, LinuxTLDR!")2. Save the Python script to your desired directory with an appropriate name, such as “hello.py“.
3. Open the terminal and navigate to the directory where you saved the Python script (ref: “hello.py“)
4. Execute the Python script using the “python3” command followed by the script filename:
$ python3 hello.pyOutput:

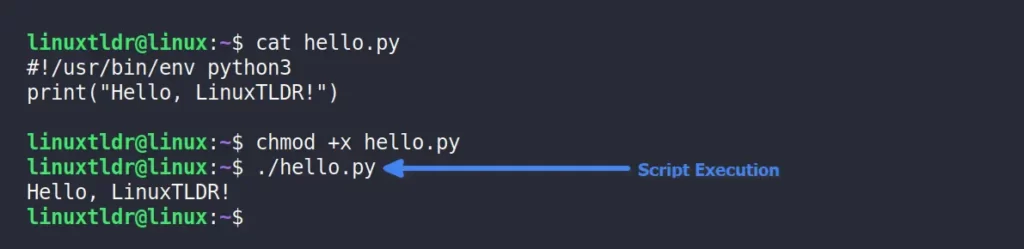
5. Make the Script Executable (Optional): To execute the script without explicitly using the “python3” command, you must include a shebang line at the top of the script. The shebang line specifies the path to the Python interpreter, enabling direct execution. So, your script should look like the following:
#!/usr/bin/env python3
print("Hello, LinuxTLDR!")
6. Before running the script directly, you need to set its executable permissions using the chmod command, as shown:
$ chmod +x hello.py7. You can now run your Python scripts directly by using “./” and the script filename instead of the “python3” command.
$ ./hello.pyOutput:
Testing Pip by Installing Libraries
Pip is the Python package manager that allows you to use and manage external libraries in your projects, apart from the built-in libraries.
The following are some of the popular Python libraries that every individual should know:
- NumPy: It provides support for large, multi-dimensional arrays and matrices, along with a vast collection of mathematical functions to operate on these arrays.
- Pandas: It offers data structures like DataFrame and Series to make it easier to work with structured data and perform data operations efficiently.
- Matplotlib: It provides a flexible interface for creating a wide range of static, interactive, and publication-quality plots and charts.
- Requests: It is used for making HTTP requests in XML documents to extract data from web pages.
- Jupyter: It is an interactive, web-based computational environment that facilitates data analysis, visualization, and collaboration through notebooks.
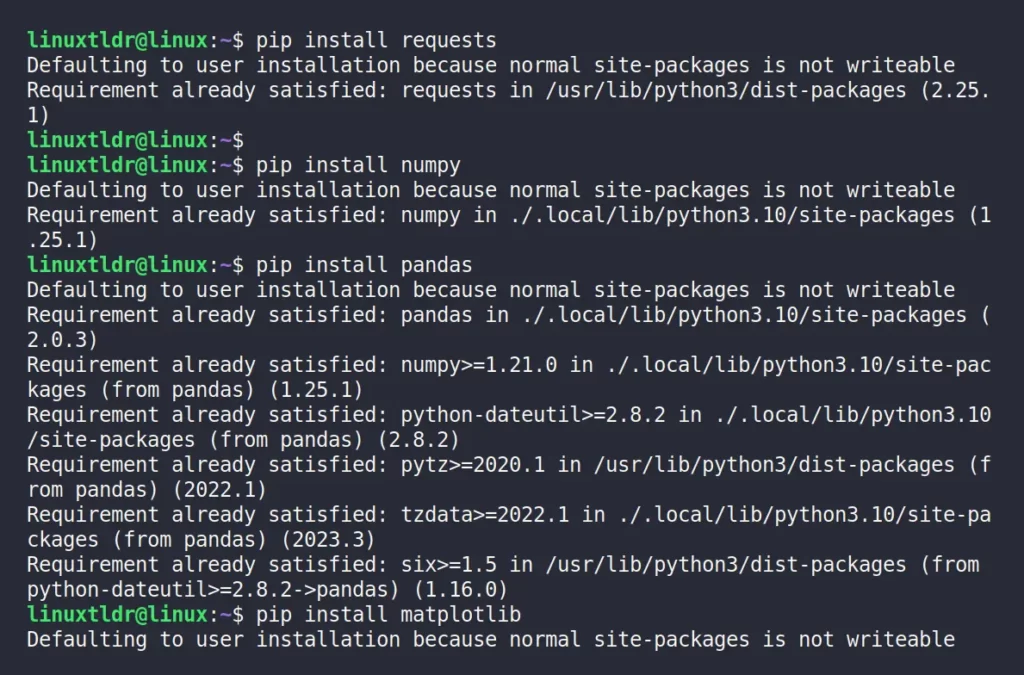
Now, to install the aforementioned libraries on your Linux system via the pip package manager, you can follow the following commands:
$ pip install numpy                                                                                                                   #NumPy
$ pip install pandas                                                                                                                  #Pandas
$ pip install matplotlib                                                                                                             #Matplotlib
$ pip install requests                                                                                                                #Requests
$ pip install jupyter                                                                                                                   #Jupyter
Output:
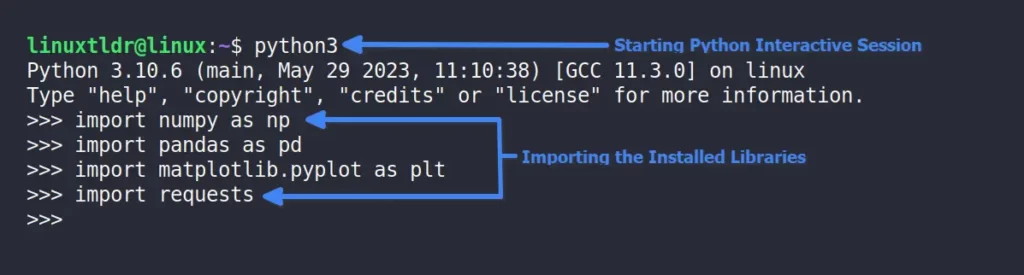
After installing the libraries, you can import them into your Python scripts or interactive sessions. In the following example, I’ve imported them into an interactive session:
exit()” command.$ python3
$ import numpy as np
$ import pandas as pd
$ import matplotlib.pyplot as plt
$ import requestsOutput:
Note that after installing the external libraries using the “pip” command, you only need to import them into your Python project or interpreter whenever you want to use them in your code.
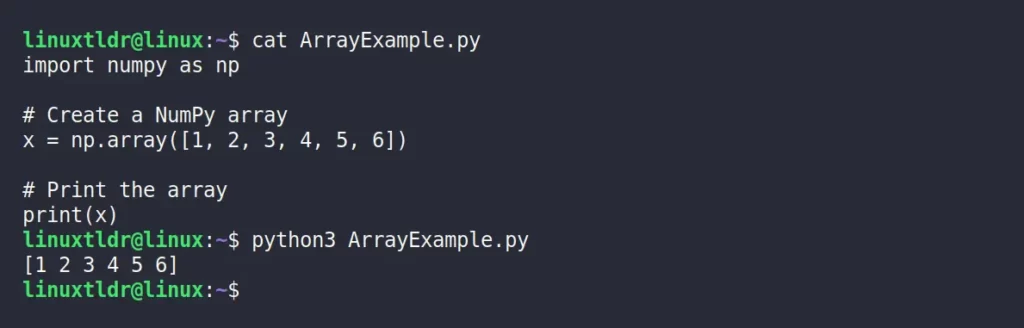
For example, I want to create a simple NumPy array (for which I will only import the NumPy library), as shown:
import numpy as np

# Create a NumPy array
x = np.array([1, 2, 3, 4, 5, 6])

# Print the array
print(x)
Output:
Note that libraries like Jupyter, which itself is not a library or package that you can directly import into a Python script or program.
It is an interactive computing platform that allows you to create and work with Jupyter Notebooks, which are web-based documents containing live code, visualizations, and narrative text.
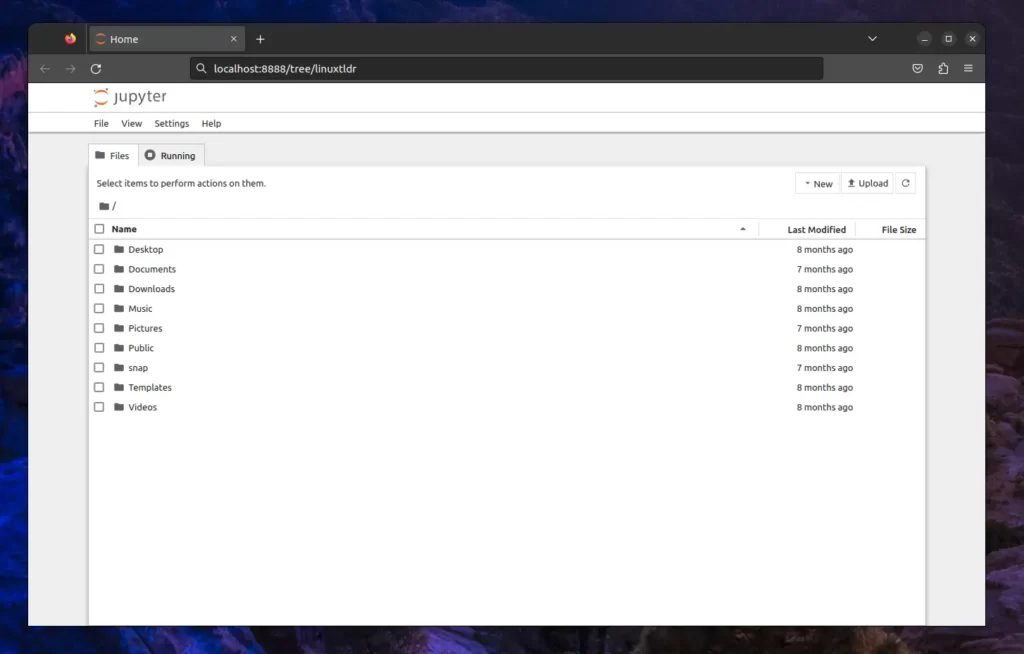
For example, when you issue the following command, it will launch the Jupyter Notebook in your default web browser:
$ jupyter notebookOutput:
How to Configure VIM as an IDE for Python
Python becomes more effective when used within scripts. Creating these scripts can be done through conventional GUI text editors or popular Python IDEs like PyCharm or Spyder.
How about using VIM, a CLI-based text editor, as your primary Python IDE? With VIM, you can do a lot. Let’s start with the most basic.
1. Open your “.vimrc” file using the following command:
$ vim ~/.vimrc2. Add the following configurations:
" Enable line numbers
set number

" Enable syntax highlighting
syntax enable
set background=dark

" Enable auto-indentation
set autoindent
set smartindent
set tabstop=4
set shiftwidth=4
set expandtab

" Enable Python-specific settings
autocmd FileType python setlocal tabstop=4 shiftwidth=4 expandtab

" Enable line wrapping
set wrap

" Enable line wrapping with a visual indicator
set linebreak
set showbreak=+++

" Enable mouse support (optional)
set mouse=a

" Enable clipboard support (requires Vim to be compiled with +clipboard)
set clipboard=unnamedplus
This configuration sets up basic Python-friendly settings like indentation, line numbers, syntax highlighting, and more. Feel free to customize it further to suit your preferences.
Once you’re done, save and close your file. Editing Python files with a “.py” extension will automatically transform your environment into a full-fledged IDE.
How to Remove Python from Linux
To remove Python from your current Linux system, including pip (if installed), you can choose one of the following commands based on your Linux system:
For Debian and Ubuntu:
$ sudo apt remove python3 -y                                                                                        #For Python
$ sudo apt remove python3-pip -y                                                                                 #For Pip
If you installed the latest Python 3.13 using the “deadsnakes” team PPA, begin by removing the PPA, followed by removing the Python version you installed, for example, “Python3.13“.
No module named 'apt_pkg'” error while removing the PPA, resolve it by switching your default Python version to either 3.12 or 3.11 using the “sudo update-alternatives --config python3” command.$ sudo add-apt-repository --remove ppa:deadsnakes/ppa
$ sudo apt remove python3.13
$ sudo apt autoremoveFor Red Hat or Fedora:
$ sudo dnf remove python3 -y                                                                                          #For Python
$ sudo dnf remove python3-pip -y                                                                                   #For Pip

#OR

$ sudo yum remove python3 -y                                                                                        #For Python
$ sudo yum remove python3-pip -y                                                                                 #For Pip
For Arch or Manjaro:
$ sudo pacman -R python                                                                                                 #For Python
$ sudo pacman -R python-pip                                                                                          #For Pip
Final Word
I hope you find this article useful, as I tried to cover all the important things one should know before starting with Python.
If something is skipped and should be included, then do let me know via the comment section, including your queries or questions.
Till then, peace!


Kudos to the writer for packing so much valuable content into a brief read!
Thank you for your appreciation.