
This article shows you how to set up .onion website with a custom domain for localhost on the dark web. Why would someone want to host their website on the dark web? The reasons could be anything from hosting a private site and keeping others’ eyes away from it to showcasing a site to friends to demonstrate its coolness.
The dark web website’s web address ends with .onion followed by random strings of letters and numbers, though they actually represent the public key generated when the user created their hidden service.
To access your website, you need a specialized web browser, and Tor Browser is currently the most popular browser for accessing onion websites. We’ve already written an article on Tor installation, so you can follow that and install it on your Linux system.
Without wasting any further time, let’s see how one can easily host a V3 .onion website with a custom domain on Linux.
Tutorial Details
| Description | Host Localhost on DarkWeb with Custom Web Address |
| Difficulty Level | Moderate |
| Root or Sudo Privileges | Yes |
| OS Compatibility | Ubuntu, Manjaro, Fedora, etc. |
| Prerequisites | – |
| Internet Required | Yes |
How to Host V3 .Onion Website With Custom Domain on Linux
To show you how to host an .onion website on the dark web, you must first need a webserver; this server acts as the backend, so when you set up an onion service and someone accesses your site, they will reach your local web server through the onion network.
I’ve included a list of widely used webservers below.
| Web Server | Comes Preinstalled | When to use |
|---|---|---|
| Apache2 (recommended) | Ubuntu, RedHat, Fedora, OpenSUSE, etc. | It’s overall good and the most popular, so you can start using it directly. |
| Nginx | Manual installation is required. | If you need parallel processing and a fast webserver, then opt for this. |
| Python HTTP Server | Manual installation is required. | It’s only good for testing purposes. |
In this tutorial, I’ll use Apache2 as a webserver for my onion website and later configure it with the Tor network and a custom domain. So, let’s start with setting Apache2…
How to Install Apache2 on Linux
Apache2 is a popular web server that comes pre-installed in most Linux distributions, but in some distributions where it’s not installed, you can use one of the following commands to install it:
# On Debian, Ubuntu, Mint, Pop!_OS, etc.
$ sudo apt install apache2

# On RedHat, Fedora, AlmaLinux, etc.
$ sudo dnf install httpd
Once done, you must enable the Apache2 service to auto-start on every system boot; for this purpose, you can use the following systemctl command:
# On Debian, Ubuntu, Mint, Pop!_OS, etc.
$ sudo systemctl enable apache2

# On RedHat, Fedora, AlmaLinux, etc.
$ sudo systemctl enable httpd.service
The Apache2 installation task is complete; now, “/var/www/html” will serve as the document root directory for Apache2 (where all files accessible via the webserver are stored).
I suggest you remove all the content from the document root directory and then create a new “index.html” file using the following commands:
$ sudo rm -r /var/www/html/*
$ sudo touch /var/www/html/index.html
Once done, edit the “/var/www/html/index.html” using your choice of text editor; if you ask for my recommendation, I suggest using either Vim or Nano commands to edit it.
$ sudo nano /var/www/html/index.html

#OR

$ sudo vim /var/www/html/index.html
Once you open the file, copy and paste the following HTML template.
<!DOCTYPE html>
<html lang="en">
<head>
    <meta charset="UTF-8">
    <meta name="viewport" content="width=device-width, initial-scale=1.0">
    <title>Linux TLDR</title>
</head>
<body>
    <h1 style="text-align: center;">Welcome to Linux TLDR</h1>
    <p style="text-align: center; font-style: italic;">Welcome to <a href="https://linuxtldr.com/">Linux TLDR</a>, your go-to for guides, troubleshooting, and the latest updates on Linux distributions.</p>
</body>
</html>
Once you’ve finished editing, save the file. If you’re using Nano Editor, press “Ctrl+O“, hit “Enter“, and then “Ctrl+X“. If you’re using the Vim editor, enter in command-line mode and then type and enter the “!wq” command.
Just to confirm that all configurations are correct, restart your web server.
# On Debian, Ubuntu, Mint, Pop!_OS, etc.
$ sudo systemctl reload apache2
# On RedHat, Fedora, AlmaLinux, etc.
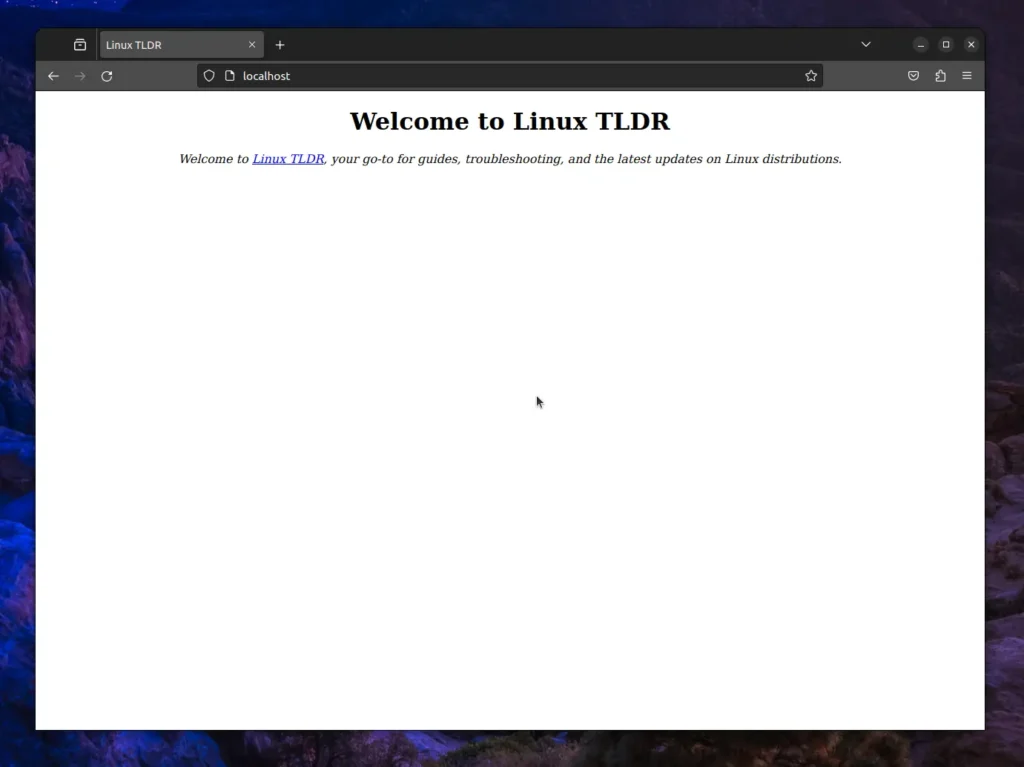
$ sudo systemctl reload httpd.serviceFinally, you can open your favorite browser, either Chrome or Firefox, and access your web server from the following web address:
http://localhostOutput:
If you’re unable to access the web server, try the following solution:
- Make sure you are accessing localhost without https; the web address must be “
http://localhost“. - Restart the Apache2 service using the “
sudo systemctl reload apache2 or httpd.service” command. - Check if any existing process is using port 80 (which is used by Apache2) using “
sudo ss -tulpn | grep :80“. If it is found, then stop the process responsible for using that port.
The above solution will fix the issues, but if the problem still persists, then you can ask for our assistance in the comment section. So, now let’s see how you can setup Tor…
How to Setup and Host Onion Website on Linux
To host an onion website on your Linux system, you need to install the Tor package from your default package manager. Below, I’ve provided the commands for installing Tor on some popular Linux distributions, so you can open the terminal and execute them to start the installation.
# On Debian, Ubuntu, Mint, Pop!_OS, etc.
$ sudo apt install tor

# On RedHat, Fedora, AlmaLinux, etc.
$ sudo dnf install tor

# On Linux or macOS
$ brew install tor
Once the installation is complete, open the Tor config file (named “torrc“) using the following command:
$ sudo nano /etc/tor/torrc

#OR

$ sudo vim /etc/tor/torrc
Once the file is open, you can either locate the following lines and uncomment them (basically remove “#” before them) or, to avoid a headache, simply copy-paste them at the end of the file if you’ve never edited a “torrc” file before to avoid repetition.
HiddenServiceDir /var/lib/tor/hidden_service/
HiddenServicePort 80 127.0.0.1:80
After editing, save and close the file, then restart the Tor service to apply the changes.
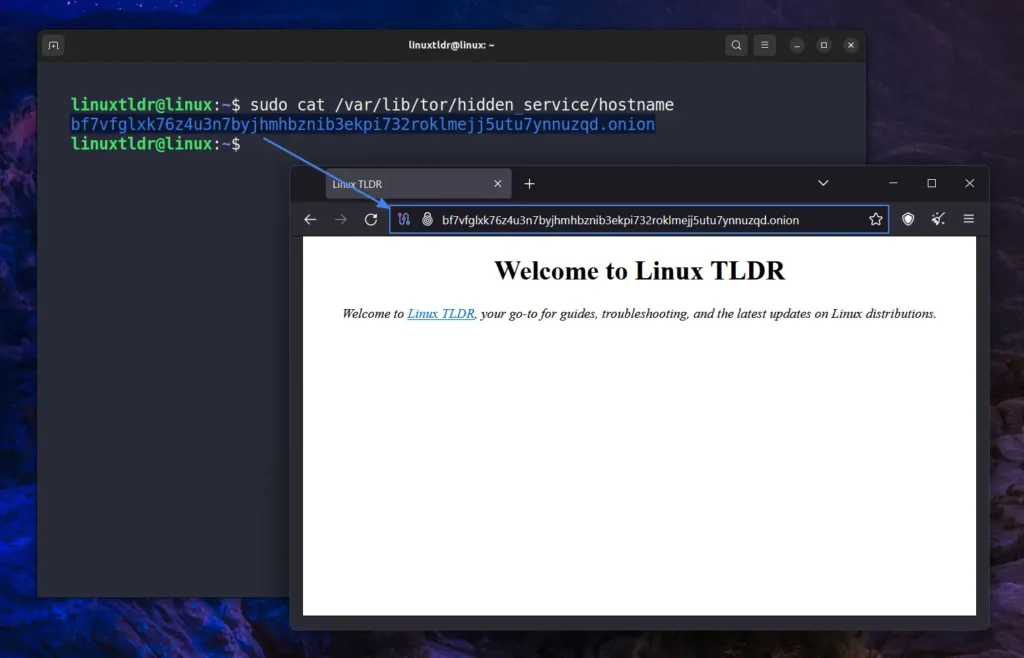
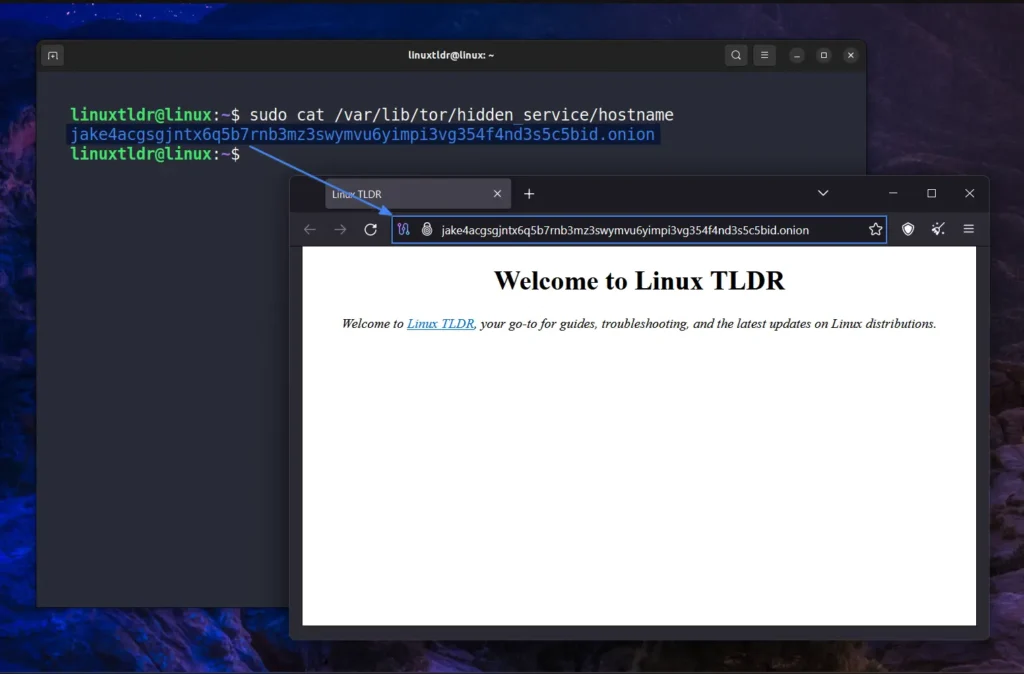
$ sudo systemctl restart torThen execute the following command to get your onion address, and you can simply copy-paste it in the Tor browser address bar:
$ sudo cat /var/lib/tor/hidden_service/hostnameOutput:
If the Tor browser is unable to access the localhost, you can use the following solution:
- Make sure you correctly copied the onion address from the “
hostname” file. - Restart the Apache2 service using the “
sudo systemctl reload apache2 or httpd.service” command and the Tor service using the “sudo systemctl restart tor” command.
The above solution will fix the issues, but if for any reason it is not able to work in your case, then do let us know in the comment section.
How to Get Custom Domain for V3 Onion Website on Linux
Until now, you have successfully started an Apache2 web server on your Linux system and served the localhost to a Tor network with a random onion web address.
However, if you have seen popular onion web addresses for Facebook, GitHub, or Reddit, you might have noticed that their brand initials are first mentioned in their onion web addresses; for Facebook, it would be “facebookwkhpilnemx***.onion“.
While having only a few brand initials mixed with random letters and numbers may not help users remember the URL address, it’s a good way to provide them with a sense of reassurance that they’re accessing a genuine site. And for that purpose, I’ll show you how to add your brand’s initials to your onion web address.
You can generate a V2 .onion address with “eschallot“, but it’s not recommended. For that reason, I’ll show you how to generate a V3 .onion address using “ed25519” with the “mkp224o” tool.
First, open your terminal and install some necessary dependencies using the following command:
# On Debian, Ubuntu, Mint, Pop!_OS, etc.
$ apt install gcc libsodium-dev make autoconf

# On RedHat, Fedora, AlmaLinux, etc.
$ sudo dnf install libsodium-devel
$ sudo dnf groupinstall "Development Tools"
Once finished, clone the mkp224o tool, execute the “autogen” and “configure” files, and proceed to compile and install it on your Linux system by running the “make” command:
$ git clone https://github.com/cathugger/mkp224o.git
$ cd mkp224o/
$ ./autogen.sh
$ ./configure
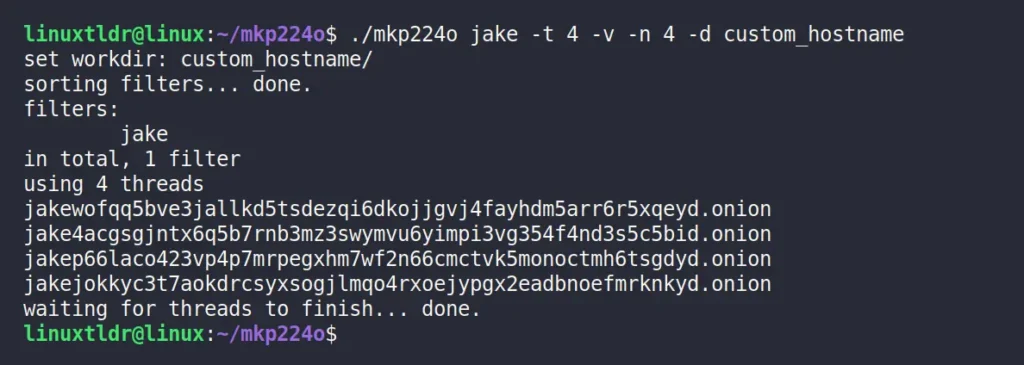
$ makeThen you can use the following command to generate your first custom .onion web address with the first four initials “jake“.
$ ./mkp224o jake -t 4 -v -n 4 -d custom_hostnameOutput:
The following is a breakdown of all the options used to generate the custom .onion web address:
- “
jake“: The command will check for this initial to generate the web address. - “
-t 4“: This specifies the number of threads to use, with a larger number resulting in faster execution but requiring more processing power. - “
-v“: Enable verbose (which means every detail will be shown on screen). - “
-n 4“: Generate four suggestions. - “
-d custom_hostname“: Write the generated hostname and keymatter to the “custom_hostname” directory in the present working directory.
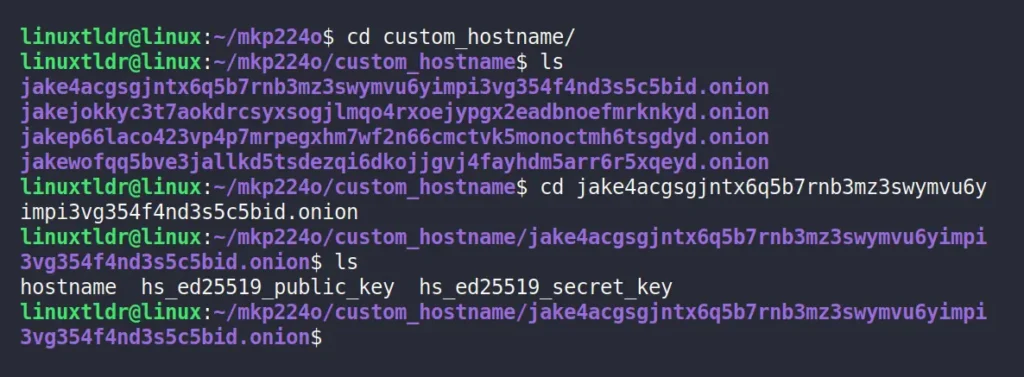
Once the onion web address generation task is complete, all necessary files will be saved to the “custom_hostname” directory. So, when you list the contents of this directory, you’ll find multiple folders named after the onion address you’ve just generated. Simply enter any one folder to access all the necessary files needed to set up your custom onion address.
$ cd custom_hostname/
$ ls
$ cd <your_desired_onion_directory>
$ ls
Output:
Copy all the content of this directory to your Tor server “/var/lib/tor/hidden_service” directory using the following command:
$ sudo cp * /var/lib/tor/hidden_serviceOutput:

Restart your Tor service to apply all the changes:
$ sudo systemctl restart torYou can now copy your chosen custom .onion web address from the directory or simply check the Tor “hostname” file and paste it into the Tor browser address bar.
$ sudo cat /var/lib/tor/hidden_service/hostnameOutput:
That’s it. You have finally got your first custom V3 .onion web address on the Tor network.
Final Word
I hope you find this article useful. I know it’s a little complex to do, but if you’re interested in this topic, you’ll find it exciting to have your own custom .onion address.
When accessing your onion site, you might encounter a delay, which is quite common due to its nature. You can’t do anything about it, but you can try restarting Tor or the web server, as it sometimes works for me.
Here, I’ll end this article, but if you have any questions or queries related to the topic, then do let me know in the comment section.
Till then, peace!


