
“fzf” (or fuzzy finder) is a small, blazingly fast, and cross-platform command-line utility that allows you to perform interactive or dynamic searches via an interactive interface for effortless navigation and selection from matching options.
It’s very flexible, and most often you will use it with pairs of two commands, whether they’re related to files, command history, processes, hostnames, git commits, etc., piped together.
To be honest, when I initially discovered this tool, I first read the official documentation, which was a bit overwhelming. Later, I found the following official Fzf explanation videos, which I watched, and then I understood why and how you can use it to improve your command-line productivity.
In this article, I explain its installation steps on most Linux distributions and a few command-line usages that I personally use.
Tutorial Details
| Description | fzf: Fuzzy Finder |
| Difficulty Level | Moderate |
| Root or Sudo Privileges | No |
| OS Compatibility | Linux, Windows, and macOS |
| Prerequisites | – |
| Internet Required | Yes (for installation) |
How to Install Fzf on Linux
The “fzf” can be easily installed on Linux in multiple ways; on macOS, you can refer to the brew section in this article, and users on a Windows system can install it via Chocolatey, Scoop, Winget, and MSYS2.
Since this article is primarily aimed at Linux users, if you’re running a Linux system, you can install “fzf” in multiple ways, each of which is mentioned below for you to choose based on your preferences.
Installing Fzf Using Package Manager
If you are using one of the following Linux distributions where “fzf” is readily available in the repository, you can use your default package manager to install it.
- Alpine Linux Edge
- Arch
- Gentoo
- openSUSE Tumbleweed
- Termux
- Void Linux
The following are commands to install “fzf” using the default package manager on the supported distribution.
#On Alpine Linux
$ sudo apk add fzf

#On Debian and Ubuntu
$ sudo apt install fzf

#On RedHat and Fedora
$ sudo dnf install fzf

#On Nix
$ nix-env -iA nixpkgs.fzf

#On Arch and Manjaro
$ sudo pacman -S fzf

#On Gentoo
$ emerge --ask app-shells/fzf

#On OpenSUSE
$ sudo zypper i fzf
Installing Fzf Using Brew
If Brew is installed on your Linux system, or if you are running macOS, simply execute the following command to install it.
$ brew install fzfThen run the following command to install useful key bindings and fuzzy completion:
$ $(brew --prefix)/opt/fzf/installInstalling Fzf Using Git
Lastly, you can install it by cloning the project directory and then executing the install script.
$ git clone --depth 1 https://github.com/junegunn/fzf.git ~/.fzf
$ ~/.fzf/install
How to Use Fzf
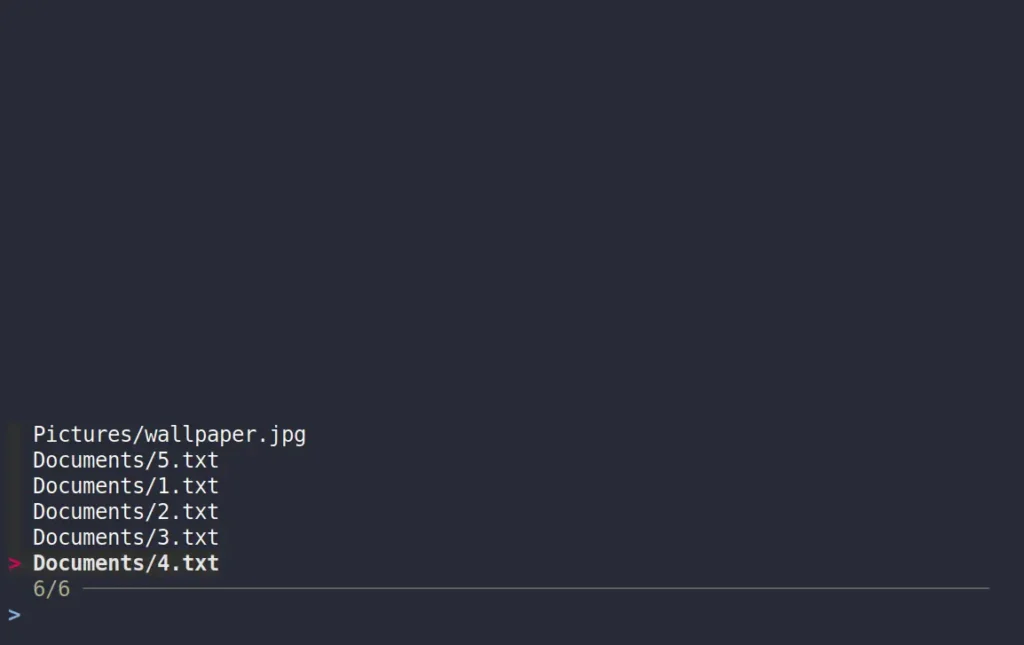
Once installed, when you start using it by issuing the “fzf” command, it will open an interactive finder in your current path, which will recursively start searching for all the files under the current directory tree from “stdin” and write the selected item to “stdout“.
find * -type f | fzf“).$ fzfOutput:
There is also a way to start “fzf” right away with other commands using the “Ctrl+T” shortcut key, adding “**” as a parameter, then pressing the “Tab” key, or by adding “$(fzf)” to the command as an argument.
Feeling overwhelmed, right? Let me explain with an example. So, if you’re planning to read a file using a cat command or want to open it with editors like Vim or Nano.
Then, traditionally, you would type the command and specify the path to your file (typing the path manually). However, by using “fzf” with your command, you can directly open an interactive session where you can quickly locate your file and open it with the specified command without typing the complete path manually.
Here’s an example demonstrating how “fzf” can assist you in easily locating your files.
#Quickly locating file to read using Fzf
$ cat <press Ctrl+TAB>
$ cat **<press TAB>
$ cat $(fzf)

#OR

#Quickly locating file to edit using Fzf
$ vim <press Ctrl+TAB>
$ vim **<press TAB>
$ vim $(fzf)
Now, these were the basic usages of “fzf“, but its real power lies in using it with other commands via piping, allowing you to interactively search whatever you pipe to it via the “|” operator. For example, you can use the following command to select from a list of running processes and then choose the one you wish to close.
$ ps aux | fzf | awk '{print $2}' | xargs killOutput:
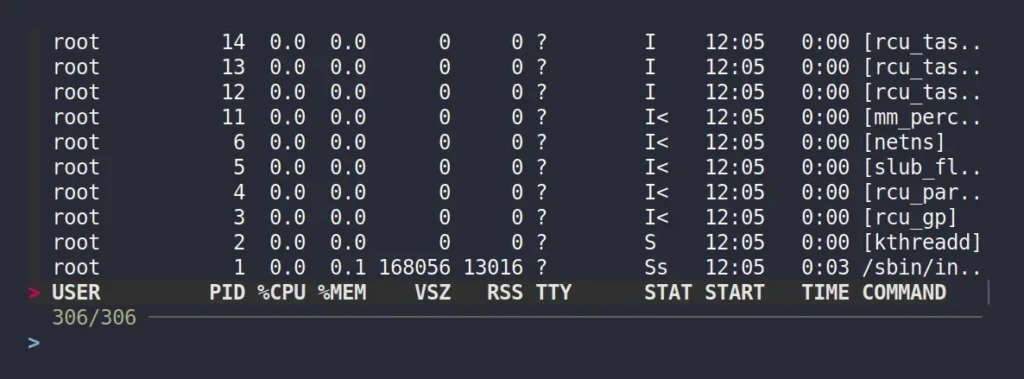
Here, the “ps aux” command will list all the running processes, then pipe the results to “fzf” for you to select them. Once you make a selection, the awk command selects the process ID from the second column, and “xargs” submits the result back to the “kill” command.
Until now, when the “fzf” interactive session launched, it listed all the files from the current directory. However, if you are only looking for specific files, such as text or images, then going through all the results seems time-consuming.
To save time, specify the specific file type via their extension to “fzf” with the “--query” option to only show them in the interactive session.
#To only list a file named "README".
$ fzf --query "README"
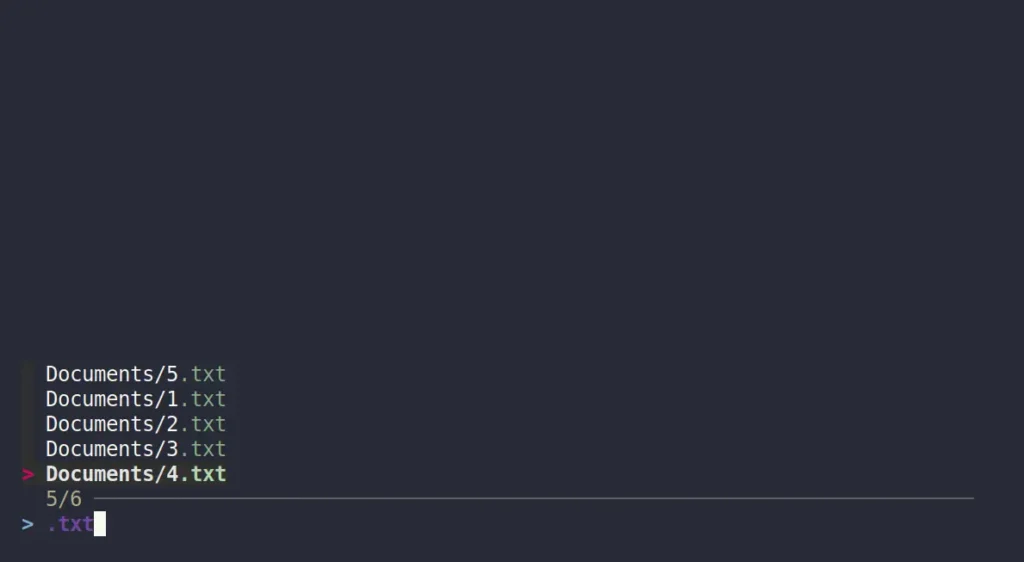
#To only list a text file.
$ fzf --query ".txt"
#To only list an image file.
$ fzf --query ".jpg"
#To only list a video file.
$ fzf --query ".mp4"The following is an output of only listing text files in the “fzf” interactive search.
I’ll leave it, as further exploration is too easy to do by oneself.
How to Remove Fzf from Linux
If you want to remove “fzf” from your Linux system, simply follow the method you followed during installation. For example, if you have installed it via Package Manager, then run the respective command.
#On Alpine Linux
$ sudo apk del fzf

#On Debian and Ubuntu
$ sudo apt remove fzf

#On RedHat and Fedora
$ sudo dnf remove fzf

#On Nix
$ nix-env -e nixpkgs.fzf

#On Arch and Manjaro
$ sudo pacman -R fzf

#On Gentoo
$ emerge --deselect app-shells/fzf

#On OpenSUSE
$ sudo zypper rm fzf
If you have installed it via Brew, then run:
$ brew uninstall fzfLastly, installation via script can be removed by running:
$ ~/.fzf/uninstallFinal Word
Fzf is super fast and can be used in many cases. For example, you can create a different alias for “fzf” with different options and instantly use them when editing a file, closing processes, or stopping services; the scope is very wide.
If you have any questions or queries related to the topic, then do let me know in the comment section.
Till then, peace!


