
Geany is a lightweight yet powerful IDE for programming languages like Python, C/C++, Java, and 50+ more, offering useful features that make it a viable replacement for Notepad++ on Linux.
It is fast, highly customizable, supports 77 file types, is translated into 40 languages, provides syntax highlighting, code completion, and can be further extended by external plugins, all while enjoying excellent community support.
The standout feature of this IDE is its cross-platform support, being available for Windows, macOS, and, of course, Linux through source code, package manager, or Flatpak.
In this article, you will learn the correct way to install Geany on your favorite Linux distribution and enable the dark theme with a few tips and tricks.
Tutorial Details
| Description | Geany Text Editor |
| Difficulty Level | Low |
| Root or Sudo Privileges | No |
| OS Compatibility | Ubuntu, Manjaro, Fedora, etc. |
| Prerequisites | – |
| Internet Required | Yes (for installation) |
Features of Geany
Here is a list of features you can review before installing.
- Auto-completion and syntax highlighting
- Support for C/C++, Java, PHP, HTML, Python, Perl, Pascal, and 42+ more
- Support for call tips, folding, and symbol lists
- Integrated terminal environment and bookmark support
- Extensibility through external plugins
Now, let’s see how you can install it on your favorite Linux distribution.
How to Install Geany on Linux
It can be installed in three ways: via Flatpak, source code, or a package manager; and if you’re using Ubuntu, you can install it from the software center.
If you seek my advice, I recommend installing it via Flatpak, as it is easy to install, easy to upgrade, doesn’t require sudo privileges, and can be easily installed on any Linux distribution with Flatpak support.
So, if your system is installed and configured with Flatpak, simply issue the following command to install Geany.
$ flatpak install flathub org.geany.GeanyOnce the installation is finished, you can launch it from the application menu or by running:
$ flatpak run org.geany.GeanyIf you find Flatpak inconvenient and still want to install using your system’s default package manager, you can go for it, but remember that the version provided via the package manager can be outdated.
For example, while writing this article, Geany 2.0 has been released, yet the versions provided in the package manager are Geany 1.38. So, I hope you understand why I am concerned about the package manager.
Yet, if you are happy with an older version that lacks the latest features and might have some bugs, start by executing one of the provided commands based on your Linux distribution.
$ sudo apt install geany                                                                               #For Debian, Ubuntu, Pop!_OS, etc.
$ sudo dnf install geany                                                                               #For RHEL, Fedora, Alma Linux, etc.
$ sudo pacman -S geany                                                                             #For Arch, Manjaro, EndeavourOS, etc.
Again, after the installation, the application icon will start appearing in the application menu.
Lastly, the installation from source code was intentionally skipped because it is a bit trickier for beginners, and installation from the Ubuntu Software Center can be easily done by anyone.
How to Launch Geany on Linux
Once the installation of Geany is finished, you can find it in the application menu.

The following is the typical appearance of Geany after its initial launch.
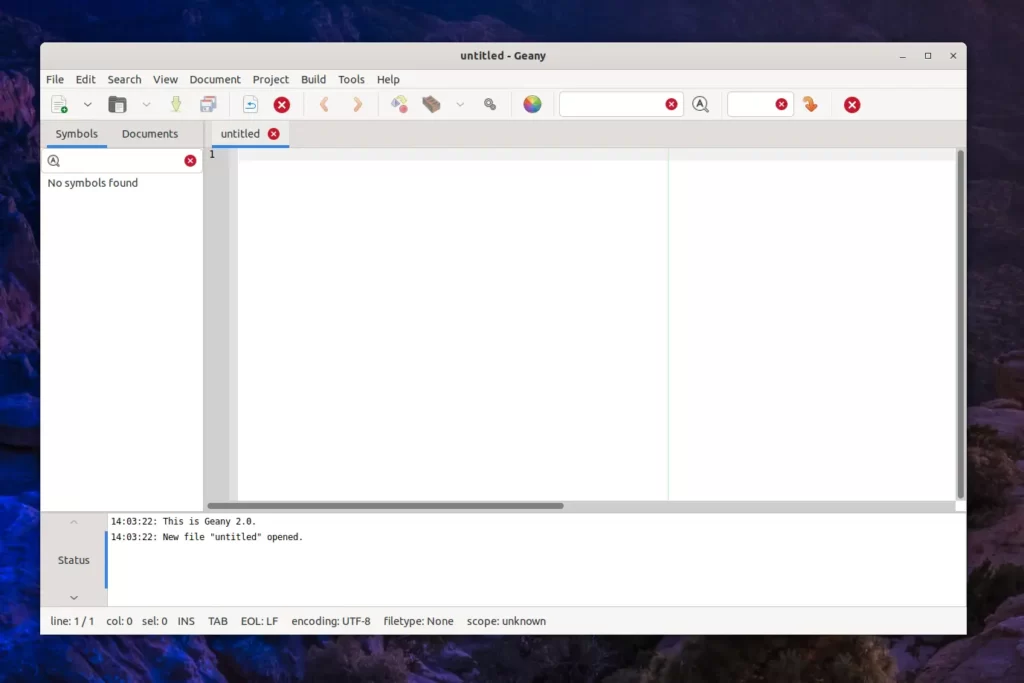
Now, if you’re a fan of dark themes, there’s both good and bad news: Geany comes with only a light theme. However, the good news is that you can easily download and install a dark theme for Geany.
How to Download and Install a Dark Theme on Geany
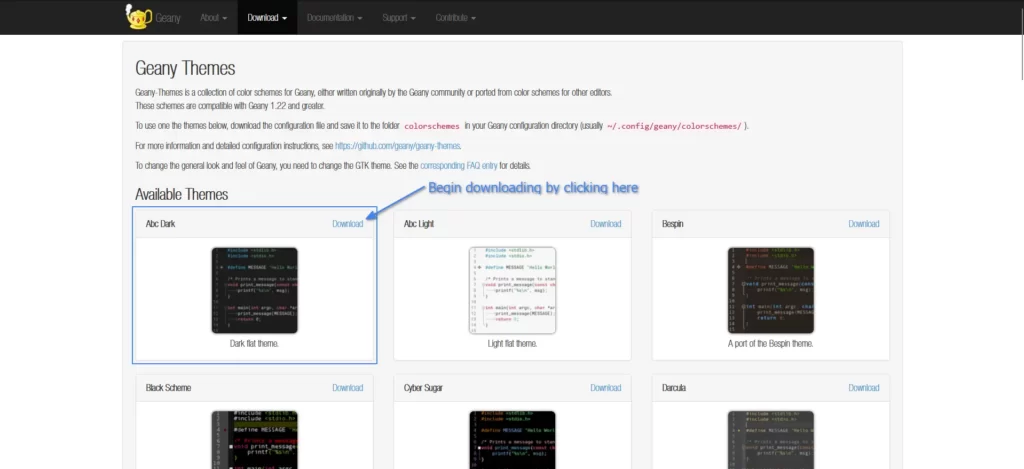
To enable the dark theme or any other theme, first navigate to the Geany theme page and select the one you want to enable. For instance, I will go with “Abc Dark“, as shown.
Once the configuration file is downloaded, navigate to the downloaded directory.
$ cd ~/Downloads/
$ ls
Output:

Now, you need to move the “abc-dark.conf” configuration file to the corresponding Geany “colorschemes” directory based on your chosen installation method—be it flatpak, package manager, or source—you can use one of the following commands:
# If Geany is installed through a package manager or source code, execute the following command:
$ cp abc-dark.conf ~/.config/geany/colorschemes/

# If Geany is installed through a flatpak, execute the following command:
$ cp abc-dark.conf ~/.var/app/org.geany.Geany/config/geany/colorschemes
When you have finished, return to Geany, navigate to “View” → “Change Color Scheme…“, and select the “Abc Dark” theme from the Color Schemes window, as shown.
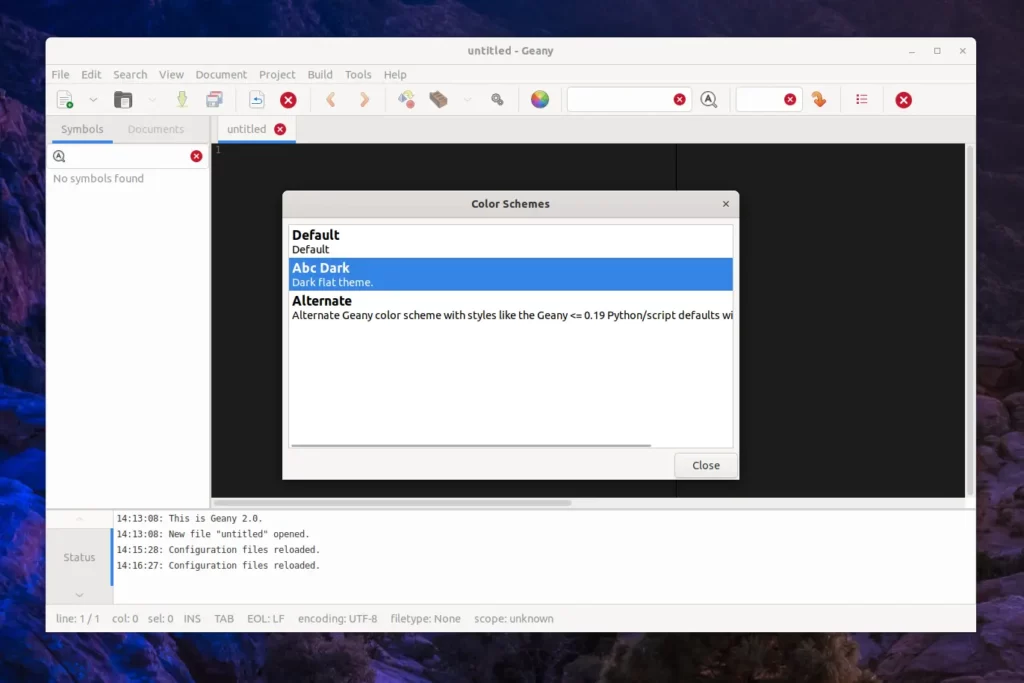
Now, your editor area will switch to dark mode based on the selected theme. Please note that currently, Geany does not have any options to change the theme of widgets.
However, you can hide all windows to increase the editor area for a better experience by selecting “View” → “Toggle All Additional Widgets”.
Geany Key Bindings
Here are some common keyboard shortcuts in Geany that you can use to improve your workflow:
- Ctrl + N: New document (create a new file)
- Ctrl + O: Open existing document (file)
- Ctrl + S: Save the current document
- Ctrl + Shift + S: Save all open documents
- Ctrl + P: Print the current document
- Ctrl + F: Find text in the current document
- Ctrl + H: Find and replace text in the current document
- Ctrl + G: Go to a specific line in the current document
- Ctrl + A: Select all text in the current document
- Ctrl + Tab: Switch between open documents (tabs)
- Ctrl + Shift + Tab: Cycle backward through open documents (tabs)
- Ctrl + Q: Close the current document/tab
- Ctrl + W: Close Geany
The above are some common Geany keyboard shortcuts, but for a comprehensive list, check out the Geany Keyboard Shortcuts page.
How to Update Geany on Linux
If you have installed Geany via Flatpak, simply issue the following command to initiate the update process.
$ flatpak update org.geany.GeanyGeany, installed through the package manager, can be effortlessly updated to the latest version via a straightforward system update.
How to Remove Geany from Linux
To remove Geany from your Linux system, simply execute one of the following commands based on the installation method you used:
$ flatpak uninstall org.geany.Geany                                                             #For Flatpak
$ sudo apt remove geany                                                                              #For Debian, Ubuntu, Pop!_OS, etc.
$ sudo dnf remove geany                                                                              #For RHEL, Fedora, Alma Linux, etc.
$ sudo pacman -R geany                                                                               #For Arch, Manjaro, EndeavourOS, etc.
Final Word
Geany is a good editor if you care about FOSS software and are looking for a lightweight text editor, yet it still lacks many features provided by advanced editors like VSCode.
Now, if you have any questions or queries related to the article, please feel free to share them with us in the comment section.
Till then, peace!


I stumbled upon this IDE in a Phoronix article and managed to install it, but I was having trouble enabling dark mode. This article saved my time, providing clear and precise instructions for enabling it, both for the package manager and even for Flatpak.
Thanks for it!
I use Geany as a text editor only, since it was the closest thing I could find to one I used on Windows (NoteTab light), because of the ability to have so many tabs open at once. I’ve been using Linux (and Geany) for 10 years now. More people need to know about this wonderful tool.