
Atuin is a steroid for your traditional shell history, using SQLite as a database to record each user-issued command along with additional context like exit status, hostname, session, cwd, etc.
It also offers a free public server or the option to self-host to sync your shell history across multiple systems in real time is available, and each stored data is encrypted on the server.
To give you my suggestion: if you’re a beginner, I suggest sticking with your traditional shell history for at least a short period before transitioning to Atuin, as it will undoubtedly improve your productivity in situations where you need to quickly retrieve long executed commands in any terminal window running on the current or another system.
In this article, I’ll point out its benefits, installation steps, and a few command-line usages with practical examples.
Tutorial Details
| Description | Atuin: Magical shell history |
| Difficulty Level | Low |
| Root or Sudo Privileges | Yes (for installation) |
| OS Compatibility | Ubuntu, Manjaro, Fedora, etc. |
| Prerequisites | – |
| Internet Required | Yes (for installation) |
Features of Atuin
The following is a list of Atuin features that set it apart from traditional shell history:
- An SQLite database stores all user input.
- Each user input instantly becomes available on another terminal session or system configured with Atuin.
- Backup and sync are encrypted, and you can use the public server or opt for self-hosting.
- Each user input is stored with additional context such as exit code, cwd, hostname, session, command duration, etc.
- “Ctrl+R” and “UP” are rebinded to Atuin’s full-screen history search UI (manual configuration is still available).
- The old history file and its records remain accessible, with each command being actively updated in the file.
- Configuration with Bash, Fish, and Zsh shells is effortless and hassle-free.
How to Install Atuin on Linux
The installation step is quite easy if you want to install it only on your current system. Then simply execute the following command to begin the installation:
$ bash <(curl https://raw.githubusercontent.com/atuinsh/atuin/main/install.sh)Once the installation is complete, you have three options: either immediately start using it, enter the “atuin register” command to create an account on the Atuin public server, or enter the “atuin login” command if you have credentials for an already existing Atuin account.
The step to create an account or log in with an existing account is quite easy, so I’ll directly show you its command-line usage.
How to Use Atuin on Linux
Once the installation is complete, make sure to restart your terminal session to refresh the new changes made to your shell configuration file. Once done, either use the “Ctrl+R” shortcut key, press the “UP” arrow key, or execute the “atuin search -i” command to enter the Atuin full-screen history search UI.
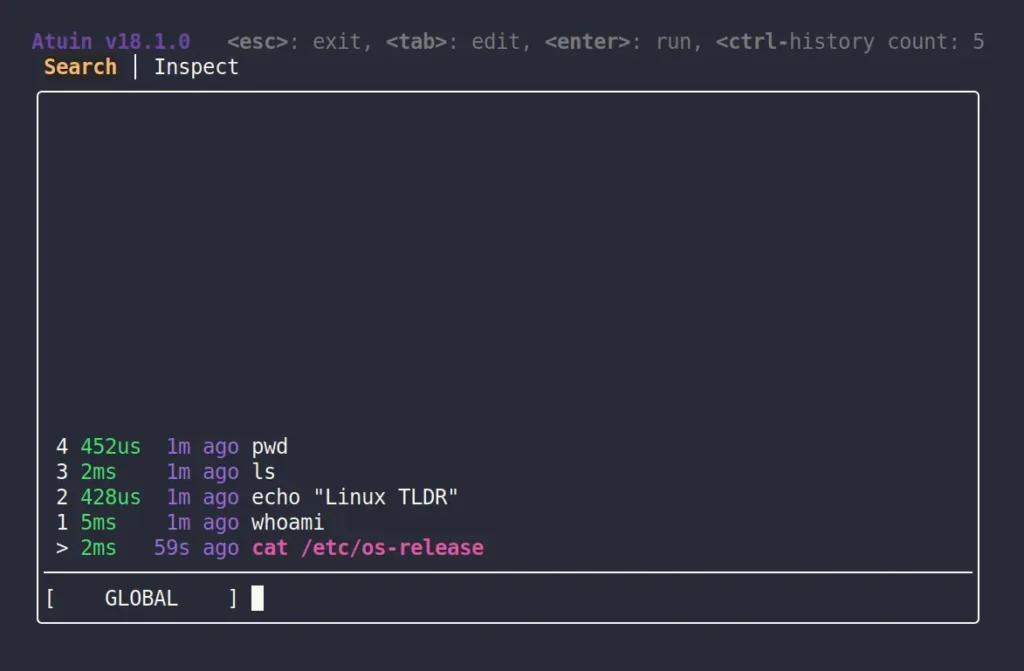
Here, you can use the “UP/DOWN” arrow key to scroll; each command entry has its index number, command duration, and command execution time.
To filter out results, you can enter the first few initials of the command you have been looking for to refine the results to your desired command.

Once found, you can press the “ENTER” key to execute it, the “Tab” key to return to the shell with the selected command to make new modifications, or to quit, either by pressing the “ESC” button or holding the “DOWN” key.
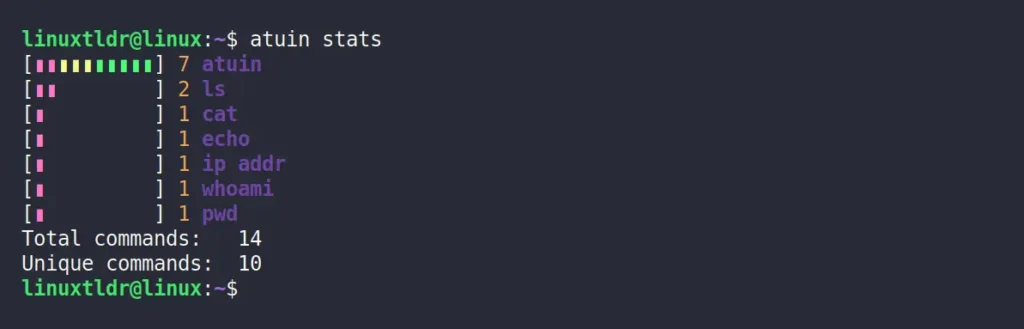
To find out the stats of your most executed command, along with the number of times it’s executed, as well as additional information such as total executed commands and unique commands, execute the following command:
$ atuin statsOutput:
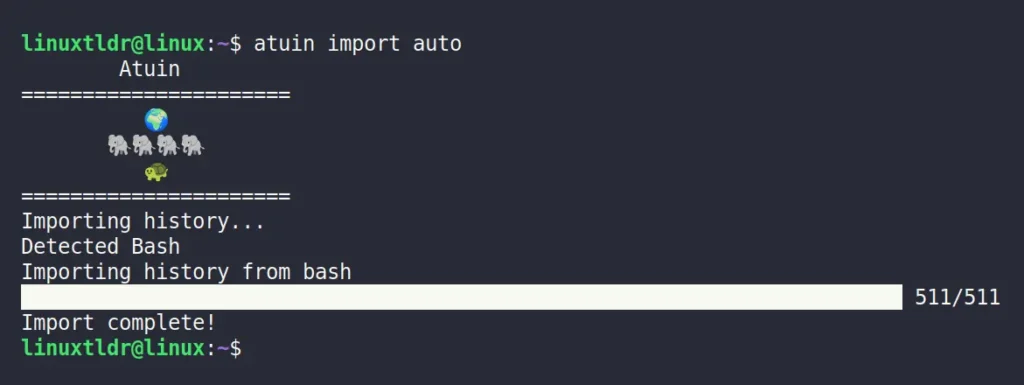
To import commands from your traditional shell history to Atuin, simply run the following command; it will automatically detect your current shell and import all the records.
$ atuin import autoOutput:
To check the imported or existing Atuin records, including execution date, time, and execution duration in traditional format, execute the following command:
$ atuin history listOutput:

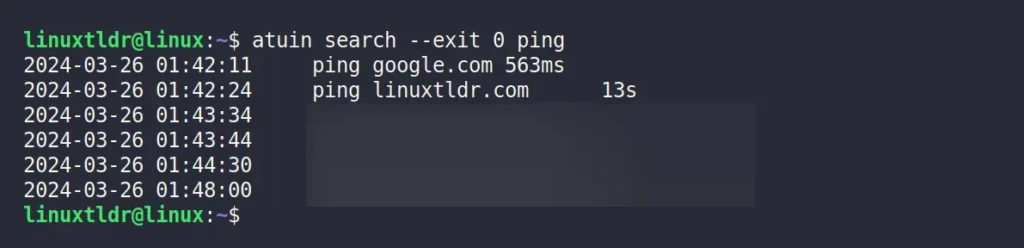
Tracking a successfully executed command can be easily done by using the exit status code; for example, “0” denotes a successful exit code. Therefore, to track all successfully executed ping commands, the “atuin” command will appear as follows:
$ atuin search --exit 0 pingOutput:
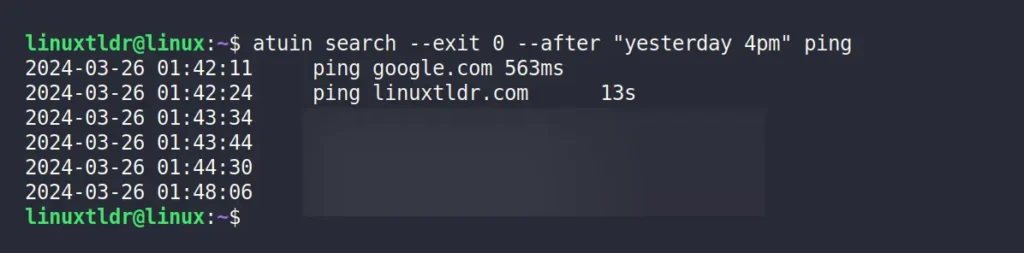
Instead of listing all the successfully executed commands, you can filter out data by date. For example, searching for the “ping” command that exited successfully before yesterday at 4 p.m. with exit code “0” will look like the example below.
$ atuin search --exit 0 --after "yesterday 4pm" pingOutput:
There are many more things you can do with it, but I’ll end this article here. I would also suggest you check out its help section by running the “atuin --help” command.
Final Word
Atuin is an amazing tool, and once you’re addicted to it, it becomes hard to resist. It’s always the first thing you install on a new system. That’s why I suggest beginners stay away from it unless they properly understand the workings of the traditional shell history, as they won’t benefit from using it in all environments.
If you have any questions or queries related to the topic, then please let me know in the comment section.
Till then, peace!


